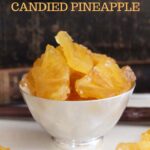
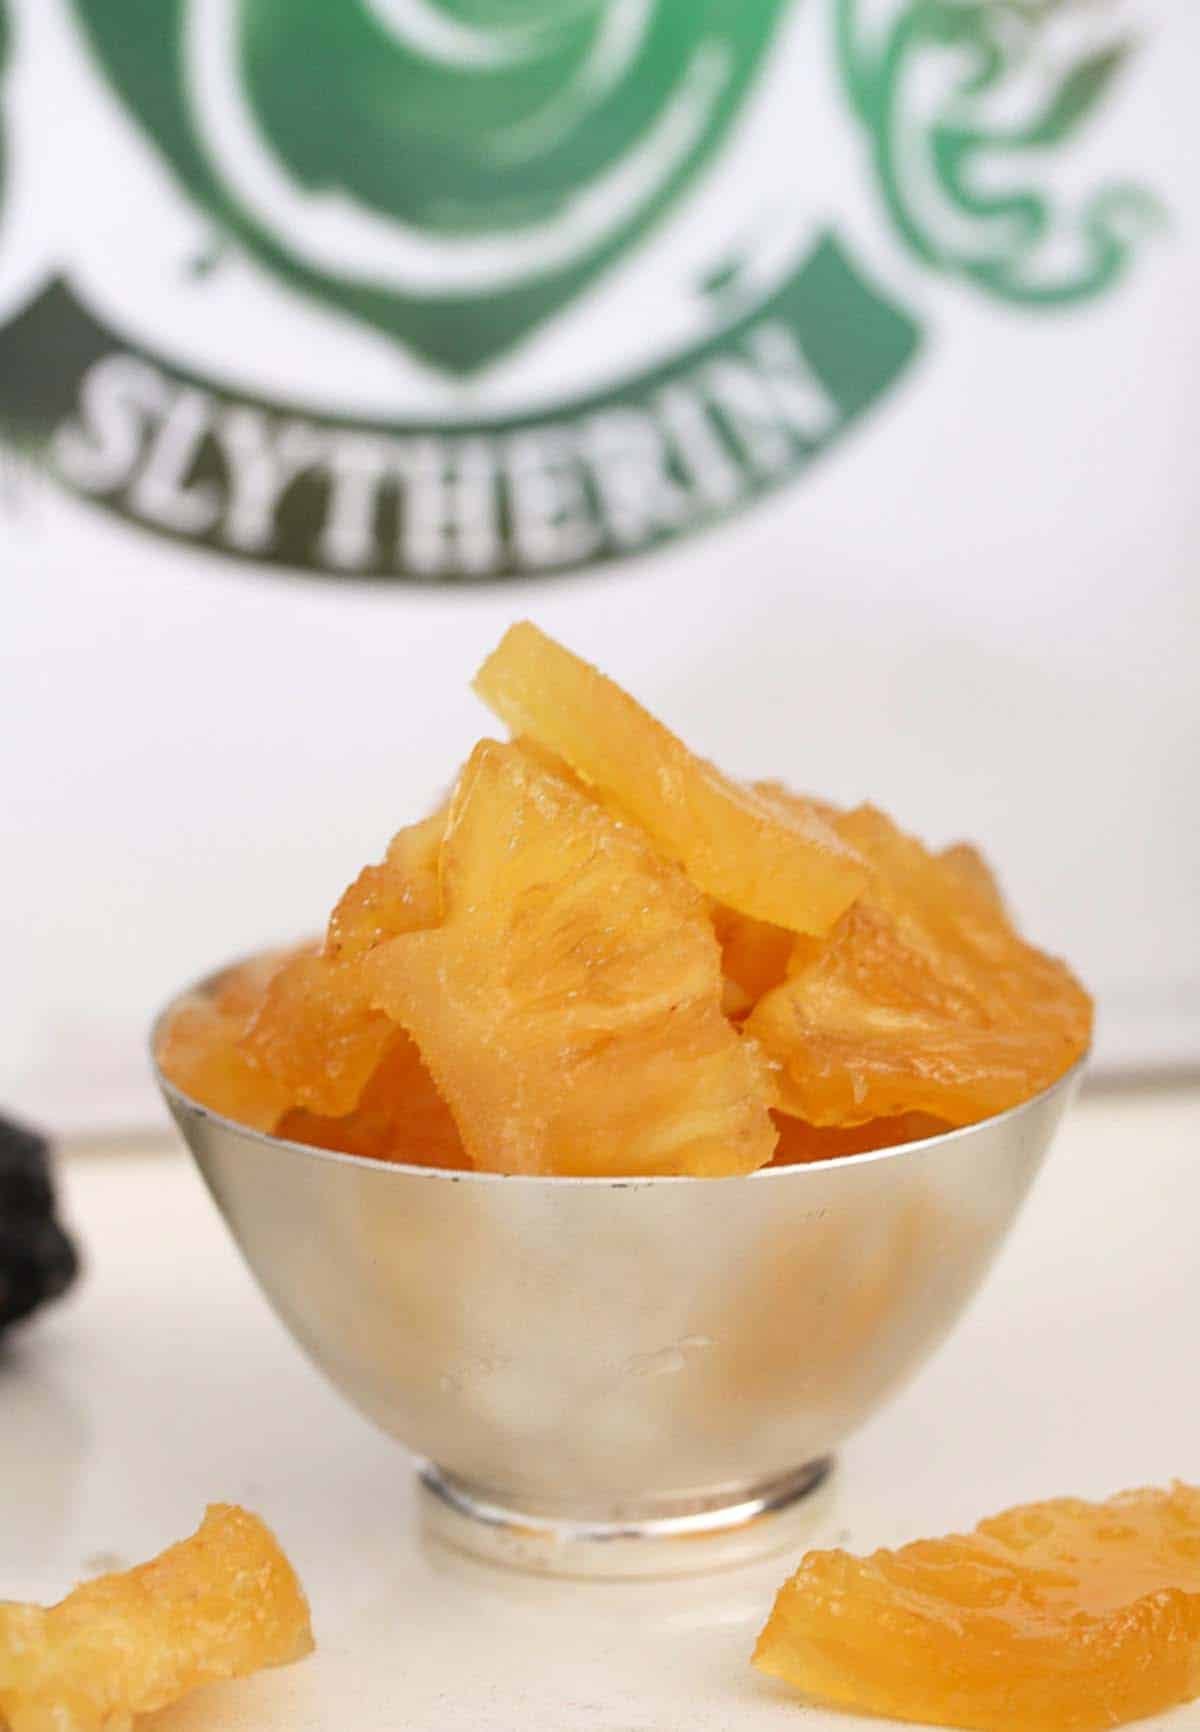
Learn how to make crystallized pineapple or candied pineapple. This recipe makes a surprising, delicious, and inexpensive homemade gift.
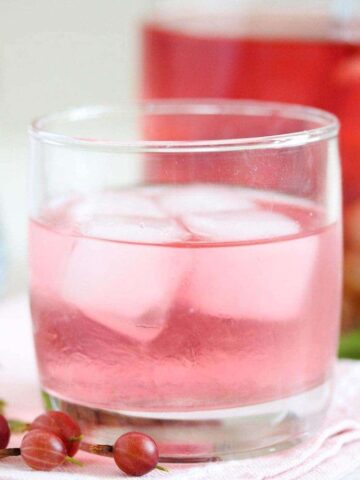
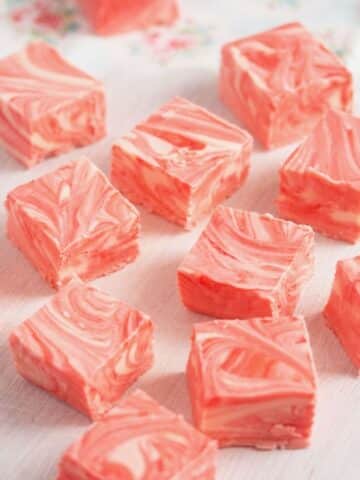
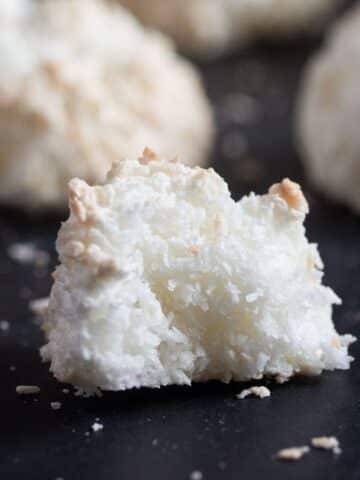
Christmas is approaching fast, and, like every year, I like making homemade gifts for friends and neighbors. I often make cookies, jams, Raffaello Coconut Balls, Thermomix Baileys, or this candied pineapple.
Jump to recipe
What is candied or crystallized pineapple?
This is a recipe I made with Harry Potter in mind, better said Professor Horace Slughorn. The professor loves good things, loves his comforts, and surrounds himself with fine furniture, lots of cushions, and good food, just like a fussy old lady. But when needed, he knows what to do with his wand.
Candied pineapple is a sweet treat made with pineapple pieces and sugar syrup. The fruit is cut into chunks or slices, blanched, and then doused in syrup over the course of several days.
The recipe is super easy; however, there is a catch! Making pineapple candy takes 14 days. It is a recipe for people who enjoy experimenting in the kitchen, trying new things and are curious about food. There are faster recipes out there. I have tried one of them using canned fruit and corn syrup and taking only one day to make, but it was not what I had imagined under crystallized pineapple, definitely not what I would imagine Professor Slughorn eating.
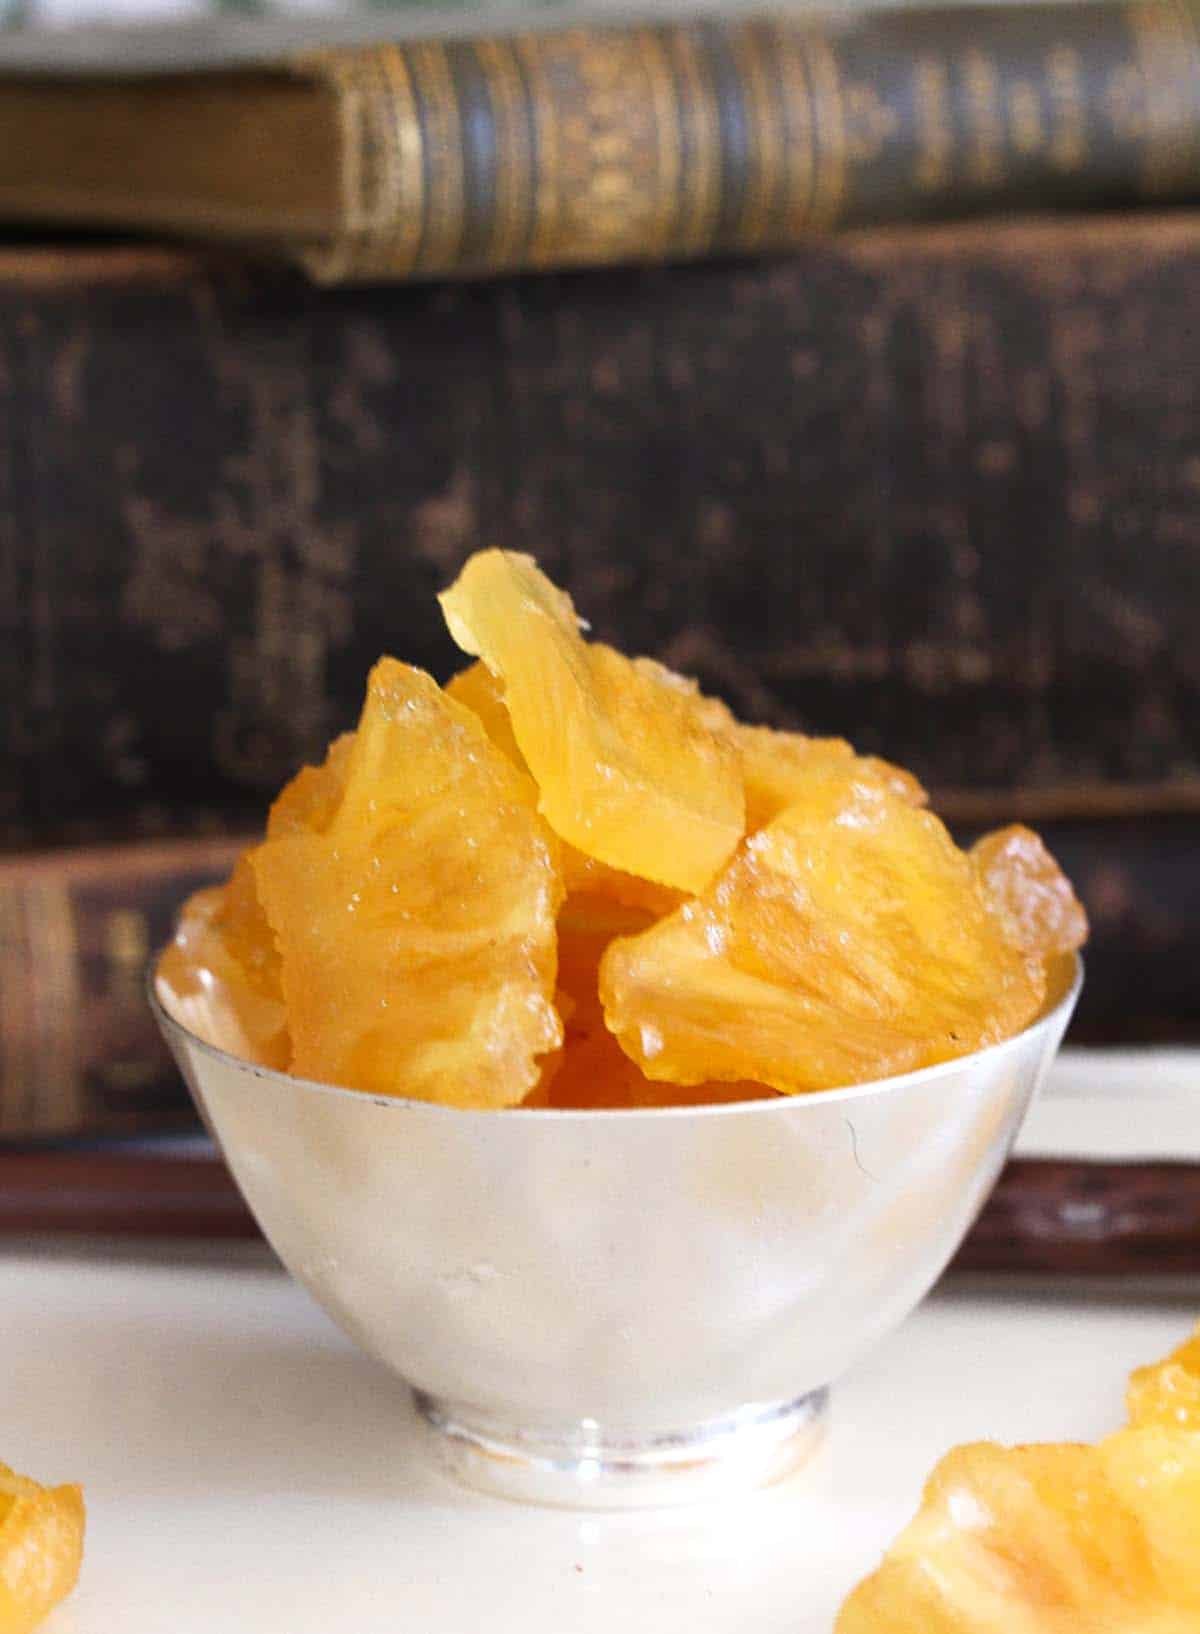
What do you need?
Only four ingredients: fresh, ripe pineapple, granulated sugar, a little salt, and water.
How to make the recipe?
Start making candied pineapple at least 14 days before Christmas (or any other occasion).
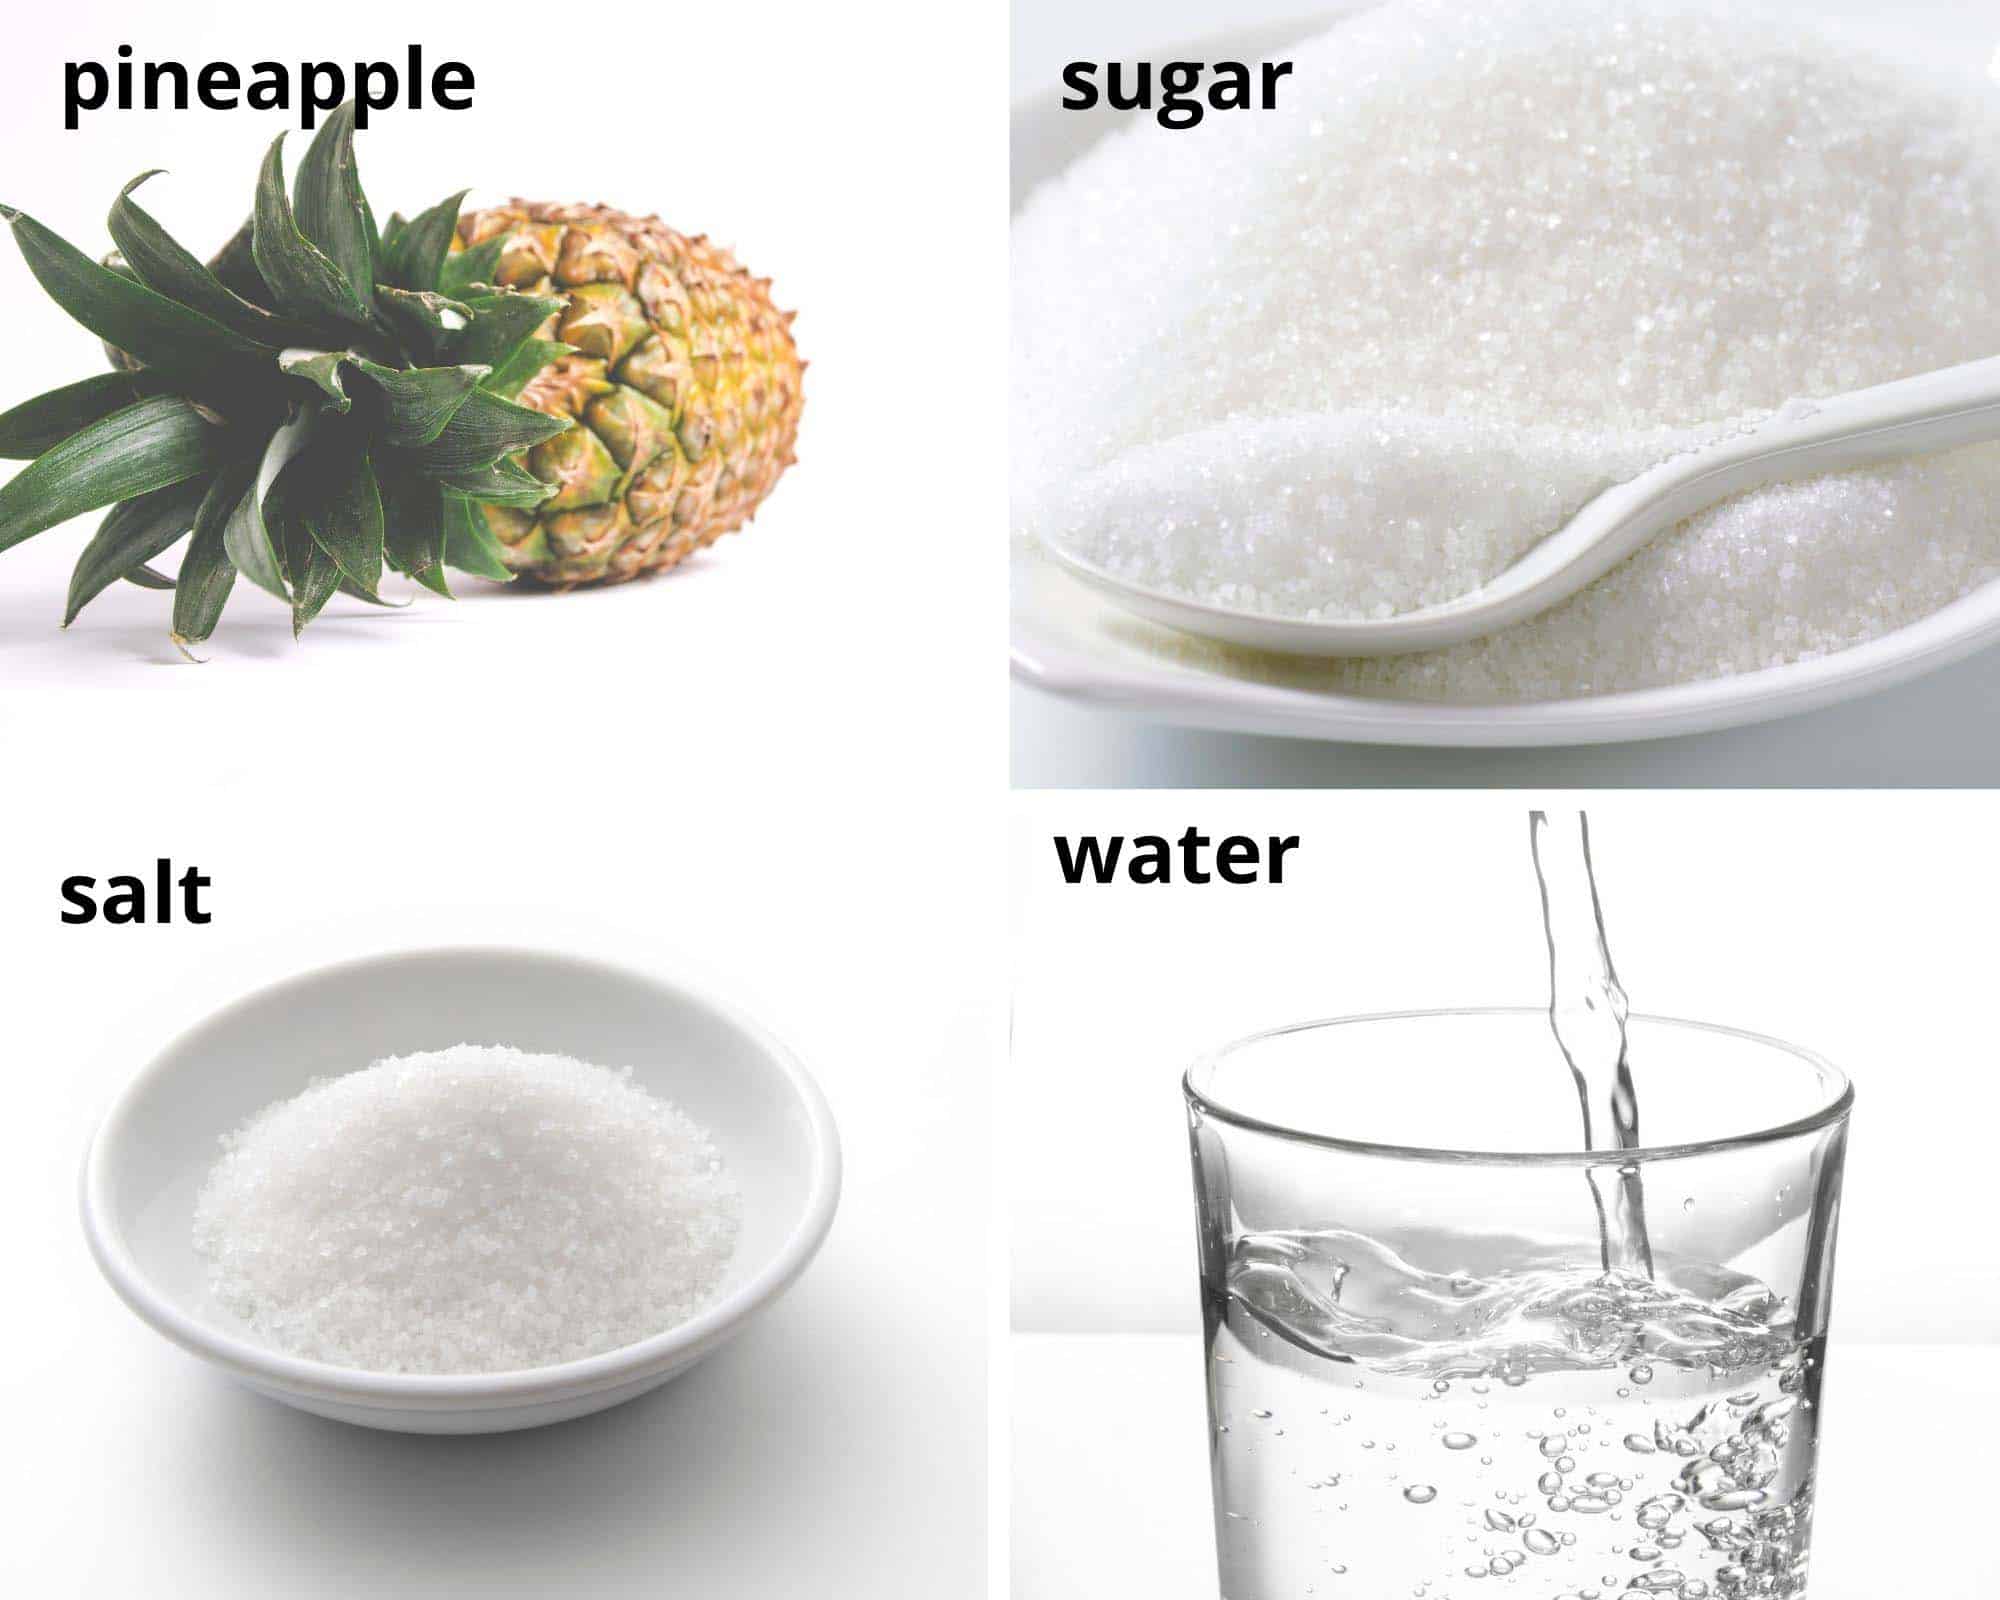
Day 1:
- Peel the pineapple and remove the black spots and the core. (1)
- Weigh about 1 lb/ 500 g of the fruit and cut it into chunks. (2)
- Blanch: Bring a large pot of water to a boil; once it boils, add the salt. Blanch the pineapple pieces in two batches. Only blanch for about 50-60 seconds per batch. Remove to a sieve and refresh immediately with icy water. This will help stop the cooking process. Drain well in the sieve.
- Syrup: Bring water and 5 cups/ 1 kg granulated sugar to a boil.
- Rest: Remove from the heat, add the fruit to the syrup, cover, and let stand for 24 hours. Place a piece of baking/parchment paper directly over the pineapple pieces in the pot; this will prevent them from rising to the surface.
Day 2:
- Drain: Remove the fruit pieces from the syrup using a slotted spoon. Place them into a sieve and let them drain while you boil the syrup again.
- Boil the syrup: Add another ½ cup/ 100 g granulated sugar to the syrup in the pot. Bring to a boil. Remove from the heat and return the pineapple to the pot.
- Rest: Cover again with parchment paper and lid and leave to stand for another 24 hours.
Day 3:
- Repeat adding another ½ cup/ 100 g granulated sugar to the syrup in the pot.
Day 4:
- Repeat adding another 100 g/ 3.5 oz/ ½ cup granulated sugar to the syrup in the pot.
Day 5:
- Repeat adding another 100 g/ 3.5 oz/ ½ cup granulated sugar to the syrup in the pot.
Day 6 and day 7:
- Repeat adding another ½ cup/ 100 g granulated sugar to the syrup in the pot.
- Leave to stand for 48 hours.
Tip: Sometime during these four days, you will notice that the parchment paper is unnecessary; the pieces will be "stuck" in the very thick syrup and will not float anymore.
Day 8 and day 9:
- Repeat adding another ½ cup/ 100 g granulated sugar to the syrup in the pot.
- Leave to stand for 48 hours again.
Day 10 until day 14:
- Repeat adding another ½ cup/ 100 g granulated sugar to the syrup in the pot.
- Leave to stand for four days.
Day 14:
- Remove the pineapple pieces from the syrup. Place them on a baking tray lined with parchment paper.
- Heat the convection/fan oven to 50 degrees Celsius/ 120 degrees Fahrenheit.
- Place the candied pineapple in the oven and let dry for one or two hours.
- Check a few times in between; the crystallized pineapple pieces should feel dry and not sticky.
Good to know!
Start early enough with making the candied pineapple; at least 14 days before you want to eat it, but not more than 16-17 days. The crystallized pieces will keep for about two weeks, but if you're going to give them to someone as a present, they should be able to take advantage of those entire two weeks.
Always make a note on the container so that people will know how long the candy will keep.
After a few days of storage, always check the pieces when eating them to ensure they are not spoiled. If so, discard them.
Check out this Watermelon Rind Jam or Candied Watermelon Rind if you are into candied fruit.
Recipe FAQs
The crystallized pineapple should be kept in an airtight container at room temperature.
This is a homemade product and cannot be compared with bought candied fruit in terms of preservability. It will be fine for at least one week and up to two weeks. After one week, regularly check to make sure it is not spoilt. Its storage life depends on the moisture content of the fruit.
Eat it as it is.
Make a fruit cake or any loaf cake containing candied pineapple instead or in addition to raisins or other dried fruit.
Make cookies containing small pieces of pineapple candy, similar to these Crystallized Ginger Cookies.
Chop some crystallized pineapple very finely and add it to your müsli or granola in the morning.
Add to fruit salads.
Use it to decorate cakes or cupcakes.

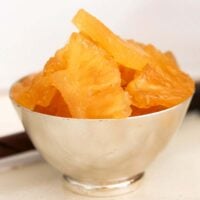
Pineapple Candy or Crystallized Pineapple
Ingredients
- 1 pinepple
- ½ teaspoon fine sea salt
- 8 ½ cups granulated sugar
- 2 ½ cups water
Instructions
- Day 1: Peel the pineapple and remove the black spots and the core. Weigh about 500 g/ 1.1 lb of the pineapple and cut it into chunks. Bring a large pot of water to a boil. Once it boils, add the salt. Blanch the pineapple pieces in two batches in the boiling water for about 50 seconds per batch. Remove to a sieve using a slotted spoon, refresh with icy water to stop the cooking process, and drain well in the sieve.
- Make the syrup: Bring water and 5 cups/ 1 kg granulated sugar to a boil. Remove from the heat, add the pineapple to the syrup, cover and let stand for 24 hours. Place a piece of baking/parchment paper directly over the pineapple pieces in the pot; this will prevent them from rising to the surface.
- Day 2: Remove the pineapple pieces from the syrup using a slotted spoon. Place them in a sieve and let drain while you boil the syrup again. Add another ½ cup/ 100 g granulated sugar to the syrup in the pot. Bring to a boil. Remove from the heat and return the pineapple to the pot. Cover again with parchment paper and lid and leave to stand for another 24 hours.
- Day 3: Repeat adding another ½ cup/ 100 g granulated sugar to the syrup in the pot
- Day 4: Repeat adding another ½ cup/ 100 g granulated sugar to the syrup in the pot.
- Day 5: Repeat adding another ½ cup/ 100 g granulated sugar to the syrup in the pot.
- Day 6: Repeat adding another ½ cup/ 100 g granulated sugar to the syrup in the pot. Leave to stand for 48 hours. (Note 1)
- Day 8: Repeat adding another ½ cup/ 100 g granulated sugar to the syrup in the pot. Leave to stand for 48 hours.
- Day 10: Repeat adding another ½ cup/ 100 g granulated sugar to the syrup in the pot. Leave to stand for 4 days.
- Day 14: Remove the pineapple candy from the syrup. Place them on a baking tray lined with baking/ parchment paper. Heat the convection/fan oven to 50 degrees Celsius/ 120 degrees Fahrenheit.Dry in the oven: Place the candied pineapple in the oven and dry for one or two hours. Check a few times in between; the crystallized pineapple pieces should feel dry and not very sticky (maybe just a little bit sticky still).
Notes
- Parchment paper: Sometime during these four days, you will notice that the parchment paper is unnecessary; the pineapple pieces will be "stuck" in the very thick syrup and will not float anymore.
- :Storage: This is a homemade product and cannot be compared with bought candied fruit in terms of preservability. It will be good for at least one week and up to two weeks in an airtight container at room temperature. After one week check regularly to make sure it is not spoilt. Its storage life depends on the moisture amount that is still left in the fruit.


Mark says
Hi. Wondering if this can be made with canned pineapple.
Adina says
Hi Mark. I really don't know, I only make it fresh. If you try, you could skip the blanching part, I suppose. And remember that canned pineapple is very sweet already. Let me know if you try it.
Mark says
Thanks Adina. I decided to go ahead and try it. I did skip the blanching part and I’m on day three. I’ll let you know how it turns out.
Adina says
Looking forward to hearing from you.
Mark says
Hi Adina. So I am happy to say that using canned pineapple worked beautifully. I used two 20 oz. cans of pineapple chunsk and made sure to use the ones that had the fruit packed in juice instead of syrup, so it was not overly sweet. On day 14 I dried the pineapple in the oven at 130 degrees for 5-6 hours and it came out perfectly! I can't wait to share it with my family on Christmas. Thanks!
Adina says
Mark, thank you so much for this; it will certainly help other users, too. Enjoy the pineapple and have a great Christmas with your family.
Meg says
Hi, i am wanting to make this for my family as gifts, but i would need to scale it up at least 5x to get enough. Will I need to use 5x the initial sugar, or can I just like double or triple it, as long as there is enough of the mixture to submerge all the pineapple. Thanks!!
Adina says
Hi Meg. I think it's best to scale everything 5x. I never tried it otherwise and I think it's important to keep the ratios.
Trys says
Hi, have you tried this recipe with other fruits? We used to be able to buy this crystallized dry version in pears, figs, apricots etc., but not any longer. I once did a similar recipe with pineapple, and this is exactly what I am looking for.
Thank you! Trys
Adina says
Hi. No, I didn't try other fruit. Sorry.
Kim says
Hi, can this be frozen to be used later in the year in bread recipes?
Adina says
Hi Kim. I never did, but I think it will work.
Kathy says
It mentions 9 cups of sugar in the ingredients . When I add up the sugar in the steps I get 8.5 cups . Wondering if I’m missing a step or not reading something properly. Just want to make sure I have the correct amount
Adina says
Hi Kathy. You are right; I miscounted; there are 8 1/2 cups. Thank you.
Kathy says
@Adina, thanks so much for letting me know. I just wanted to make sure I had the right amount 😊