
Refreshing no-bake ricotta cheesecake with a delicious raspberry whipping cream topping. And detailed instructions on working with gelatin.
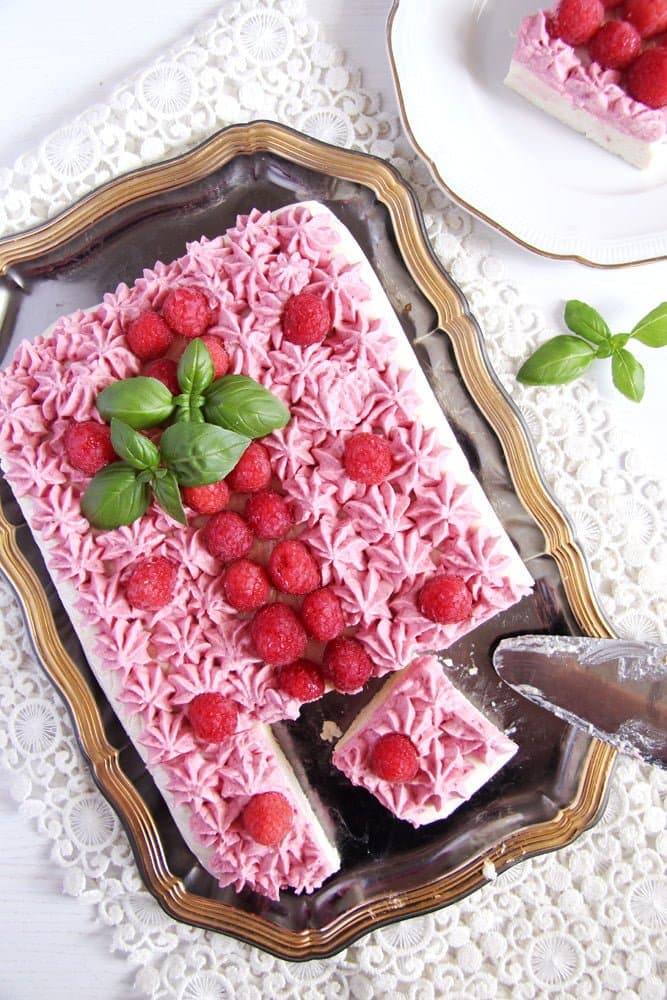
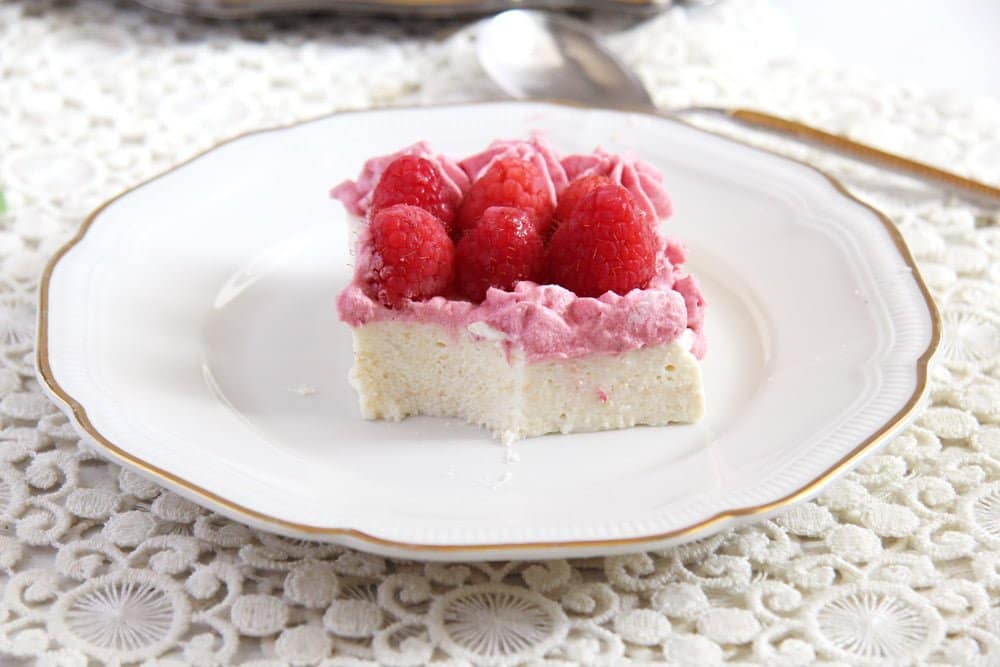
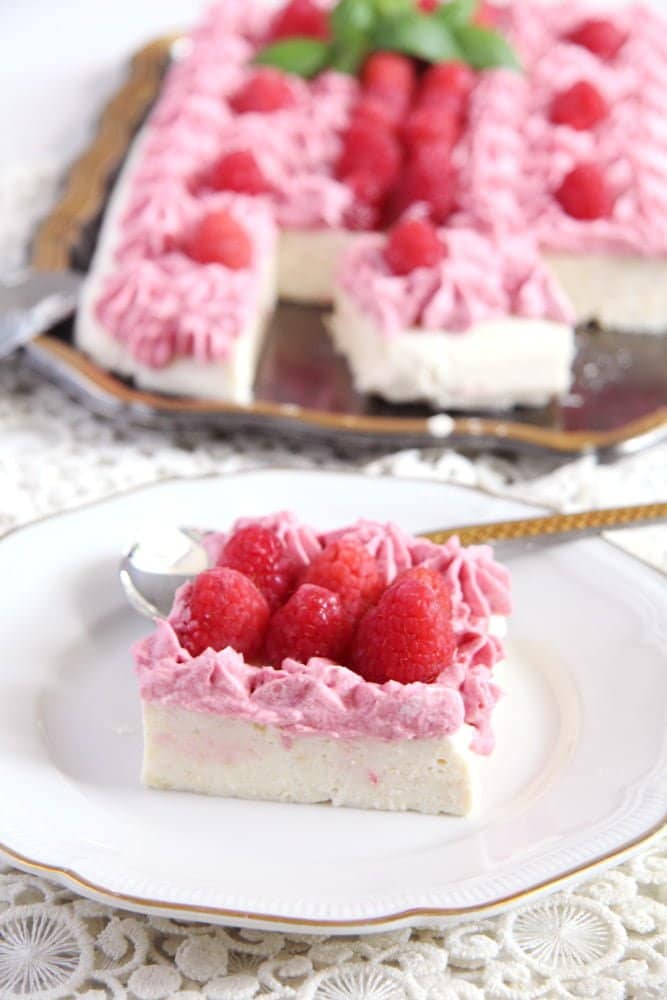
I cannot even begin to tell you how much we liked this no-bake ricotta cheesecake !! A crustless cheesecake, more like a pudding than a cake, a soft, sweet, and delicious ricotta base topped with raspberry whipped cream and fresh raspberries. A dream of a cake, I am telling you!
And so easy to make. There is no crust to worry about and no baking; just stir a few ingredients and let the fridge do the rest of the work for you.
The only thing you have to take into consideration is the time the cake needs to spend in the refrigerator. You should allow it at least four to five hours to get set or overnight.
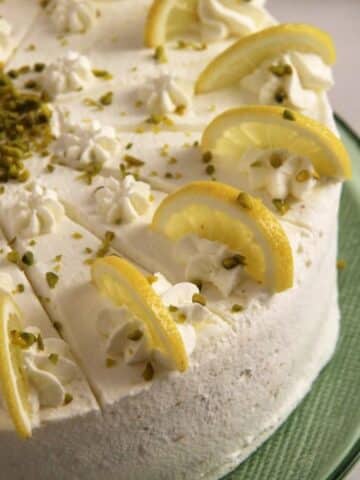
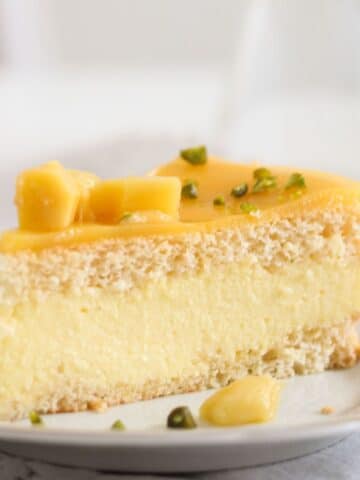
And if you like no-bake cheesecakes, you will love the no-bake lemon curd blueberry cheesecake or the apricot cheesecake. And try our Whipped Ricotta next!
Jump to recipe
How to Use Gelatin
I know many people are a bit intimidated about working with gelatin; I've been there myself at the beginning. But please, don't worry too much about it! Making a cake filling or a cheesecake with gelatin is really easy once you've done it right at least once. You will only need some clear instructions, which I hope I will be able to provide.
A few facts about gelatin
- First of all, I live in Germany, so I work with the products we have here. In this case, I use the well-known Dr. Oetker products.
- If you can't get that brand, use a similar product. Make sure you read the packet's instructions regarding the soaking times and how to add the gelatin to hot or cold mixtures.
- There are two kinds of gelatin: granules/powder and sheets.
- One packet of gelatin granules equals 6 sheets, but if I need more or less gelatin in a cake, it is much easier to get the right amount with the sheets than with the granules.
- Most of the time, I use the sheets because they are easier to divide.
- One packet of sheet gelatin (in Germany) weighs 20 g/ 0.7 oz, and it contains 12 sheets, enough for 1 liter/ 33.8 fl. oz/ 4 cups liquid.
- One packet of powder/granules has 9 g/ 0.3 oz and it's enough for 500 ml/ 17 fl.oz/ 2 cups liquid.
- Gelatin is not vegetarian, Halal, or Kosher, as it is derived mostly from pork. There are vegetarian/Kosher/Halal alternatives available.
- Some fruits sorts like fresh kiwi, pineapple, mango, papaya, and ginger contain protein-digesting enzymes that will affect the gelatin, preventing it from setting. When using this fruit in a recipe, go for the canned alternative.
Steps to follow when working with gelatin
Hydrate/bloom the gelatin;
- Fill a bowl with cold water and hydrate the sheets according to the packet's instructions. I always hydrate mine for about 8 minutes.
- Don't dump the gelatin sheets in bulk in the water, or they will stick to each other, and the middle ones will not get properly hydrated. I always place them in water one by one, the first in one direction, the second one like a cross over it, and so on. I prefer to turn them halfway through the soaking time so that the ones on top will get to the bottom of the bowl.
- In the meantime, mix the ingredients that need to be set with gelatin. If using granules, pay attention to the quantity of water needed to hydrate it; it is important in this case that you do not want to have too much or too little water. The granules I use require 4-6 tablespoons of water, so I always use 5. 🙂
- Fill the required amount of cold water in a small pot (normally the one I would use for dissolving the gelatin once soaked) and sprinkle the gelatin on top. Once again, don't just throw it in there, or the middle parts will not hydrate properly. Sprinkle the gelatin evenly on top of the water and stir gently to mix. The gelatin granules need 10 minutes to bloom.
Mixing the gelatin in warm mixtures:
- This is the easier method, the one used when making desserts like Panna Cotta, for instance, where the cream has to be heated before allowing it to set.
- In this case, warm the milk/cream-sugar mixture gently. Add the hydrated gelatin and stir thoroughly to ensure that the gelatin is properly dissolved.
- Very important! Do not add the gelatin to boiling liquids, or it will "die"! The temperature of the product you are stirring it into should not be higher than 80 degrees Celsius/ 175 degrees Fahrenheit. You will not need a thermometer; just make sure that the mixture is not boiling; the liquid should be only warm.
- The procedure is the same for both gelatin granules or gelatin sheets.
Adding gelatin to cold mixtures:
- Place the bloomed sheets into a small saucepan, yet large enough to hold the entire mixture you intend to mix with the gelatin.
- Place the saucepan on your smallest burner and turn the heat on, keeping it at its lowest setting.
- Squeeze the sheets gently and then place them into the saucepan.
- Dissolve while stirring all the time and turning off the heat the moment the gelatin is liquid. Don't let come to a boil!!
- It will only take seconds, about 20 or 30.
- Start adding the liquid or dairy mixture in only one tablespoon at a time. Add the first tablespoon, incorporate it completely, then add the second tablespoon, and so on.
- Add about ½ or ¾ of the liquid in this manner. Then start adding more than one tablespoon at a time, 2-4 tablespoons, for instance.
- If you add more than one tablespoon from the beginning, the gelatin will get cold too quickly and it will clump.
- The procedure is the same for both granules or sheets. In the case of the granules, you will not have to squeeze it. That is why the amount of water you will use has to be measured before.

Adding whipped cream to the gelatin mixture:
- Many recipes require whipped cream to be added to the mixture that is about to set. I always do that after mixing the main mixture with the gelatin; otherwise, the whipped cream will lose its airiness.
- After making the initial gelatin mixture, place the pan in the fridge for at least the time needed to beat the cream.
- However, this initial setting time differs from recipe to recipe and depends on the amount of liquid you have. Some mixtures only need 5 minutes to begin to set, while others need half an hour. Make sure to follow the recipe instructions and check the mixture in the fridge every 5 minutes or so.
- It is important to add the whipped cream when the initial mixture has only begun to set. If you wait too long, the mixture will not be smooth anymore; it will have little clumps all over.
Allow the gelatin to set:
- Any gelatin mixture will need at least 4-5 hours to set; the larger the amount, the longer the time. I always let it sit overnight in the fridge.

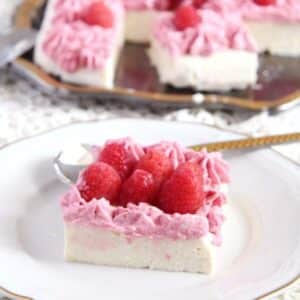
No-Bake Ricotta Cheesecake (with Raspberries)
Ingredients
- 7 sheets gelatine
- 100 g/ 3.5 oz ladyfingers
- 200 ml/ 6.7 fl.oz/ ¾ cup milk
- 250 g/ 8.8 oz / 1 cup ricotta
- 165 g/ 5.8 oz/ ⅔ cup sour cream
- 130 g/ 4.6 oz/ ⅔ cup sugar
- 1 teaspoon lemon zest
- 500 ml/ 17 fl.oz/ 2 cups heavy/double cream divided
- 1 teaspoon vanilla extract divided
- 2 tablespoons granulated sugar
- 200 g/ 7 oz raspberries
Instructions
Cheesecake:
- Read the packet's instructions as well before you start working with the gelatin. Soak in cold water according to the packet's instructions, I soak mine for about 8 minutes. See detailed instructions for working with gelatin above.
- Soak the ladyfingers in milk. In the meantime, mix together the ricotta, smetana or sour cream, sugar, and lemon zest. Mash the soaked ladyfingers and add them to the ricotta mixture. Mix well.
- Place the soaked gelatin leaves into a saucepan. Dissolve on very low heat while stirring gently all the time. It will only take about 20-30 seconds until it is dissolved. Do not let it come to a boil! Take off the heat.
- Quickly stir in one tablespoon of the ricotta mixture. Add the remaining ricotta mixture, one tablespoon at a time, only adding the next tablespoon when the previous is completely incorporated. Place the mixture for about 5 minutes in the refrigerator until it starts to set. Only starts to set, don't let it set yet.
- In the meantime, beat the heavy/double cream, adding the vanilla extract. Continue beating until the heavy cream is stiff. Fold the heavy cream into the ricotta mixture.
- Line a baking dish of approximately 21x32 cm/ 8x13 inch with cling film. Pour the ricotta - heavy cream mixture into the pan. Shake the pan to help the mixture spread evenly into the pan. Cover with another piece of cling film and place in the fridge for at least 4-5 hours or until set.
Topping:
- When set remove the cling film from the top of the cake. Place a fitting serving tray on top of the baking dish and turn the cake onto the serving tray. Remove the other piece of cling film.
- Beat the remaining heavy cream/double cream with the remaining sugar and vanilla extract.
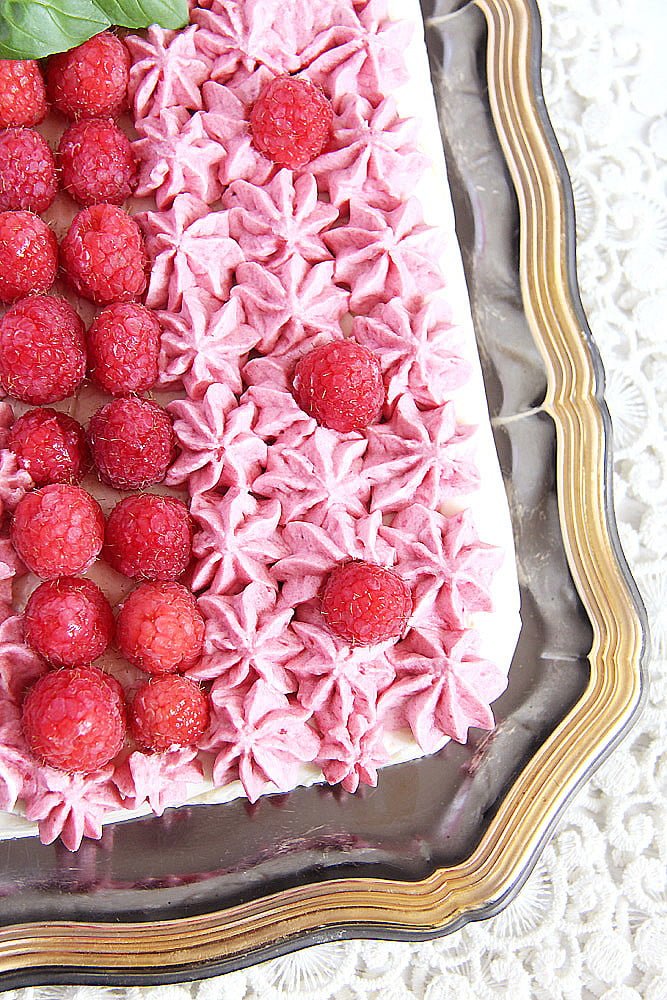
- Puree half of the raspberries and fold the puree into the heavy cream. Pipe this mixture over the ricotta cake. Decorate with the remaining raspberries.
- Serve immediately or place in the fridge until ready to serve.


Anu - My Ginger Garlic Kitchen says
What a lovely idea of making ricotta and sour cream cheesecake. And that whipped raspberry is so pretty. I wish I could have a BIG slice of this cake.
Sissi says
No bake cheesecake is a very popular summer cake in Poland and I always loved it apart from the jelly top most people covered it with (I don't know why but I hate sweet jelly...). Your cake doesn't have one and it's so packed with delicious raspberries I am sure it tastes fantastic. (I also like Dr Oetker products! They always work, contrary to some other brands).
Angie@Angie's Recipes says
That raspberry whipped topping looks so good!