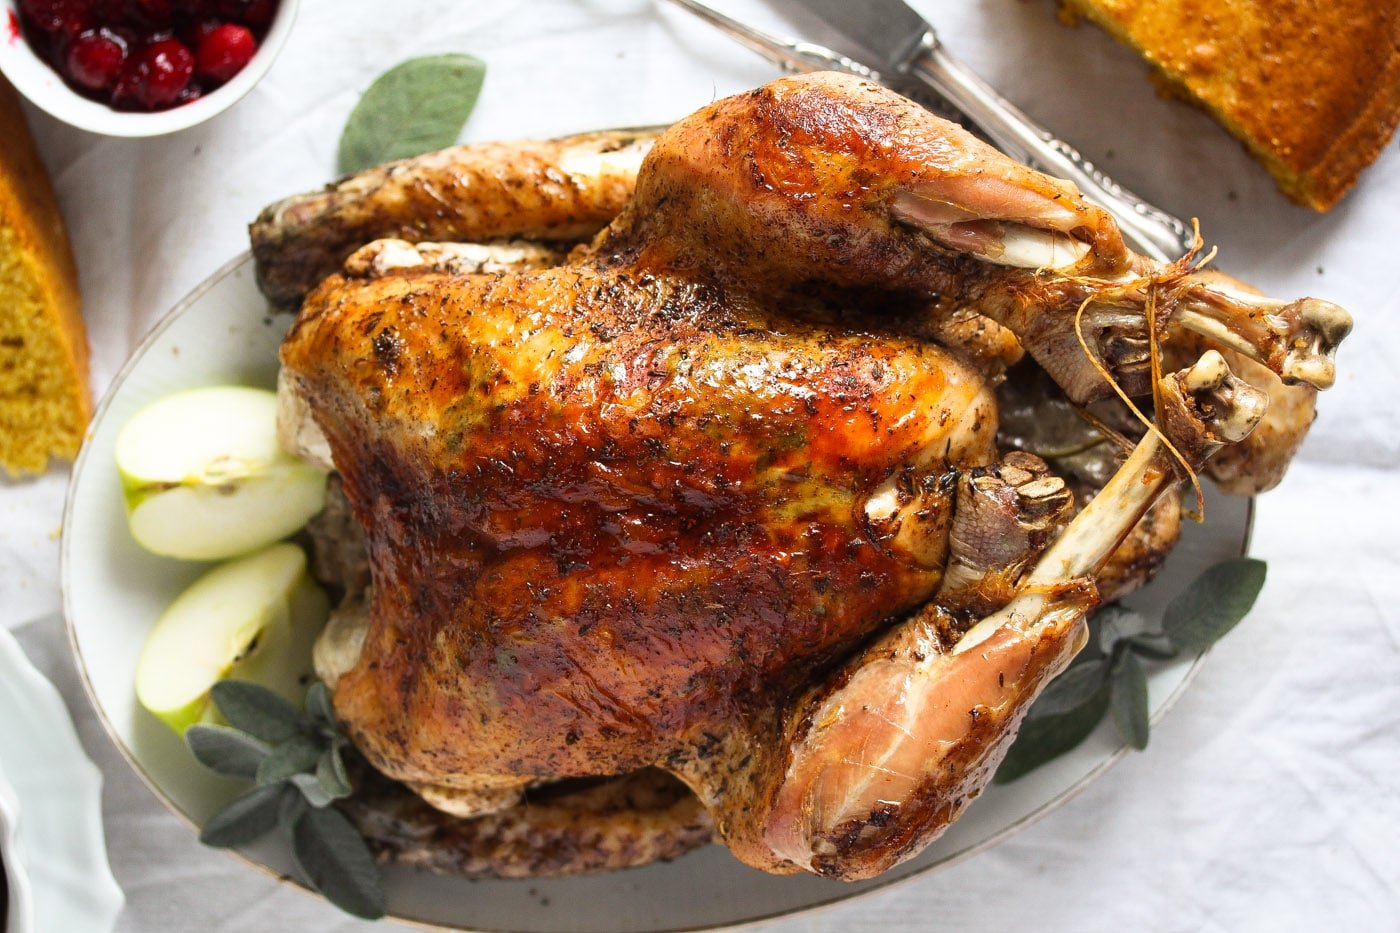
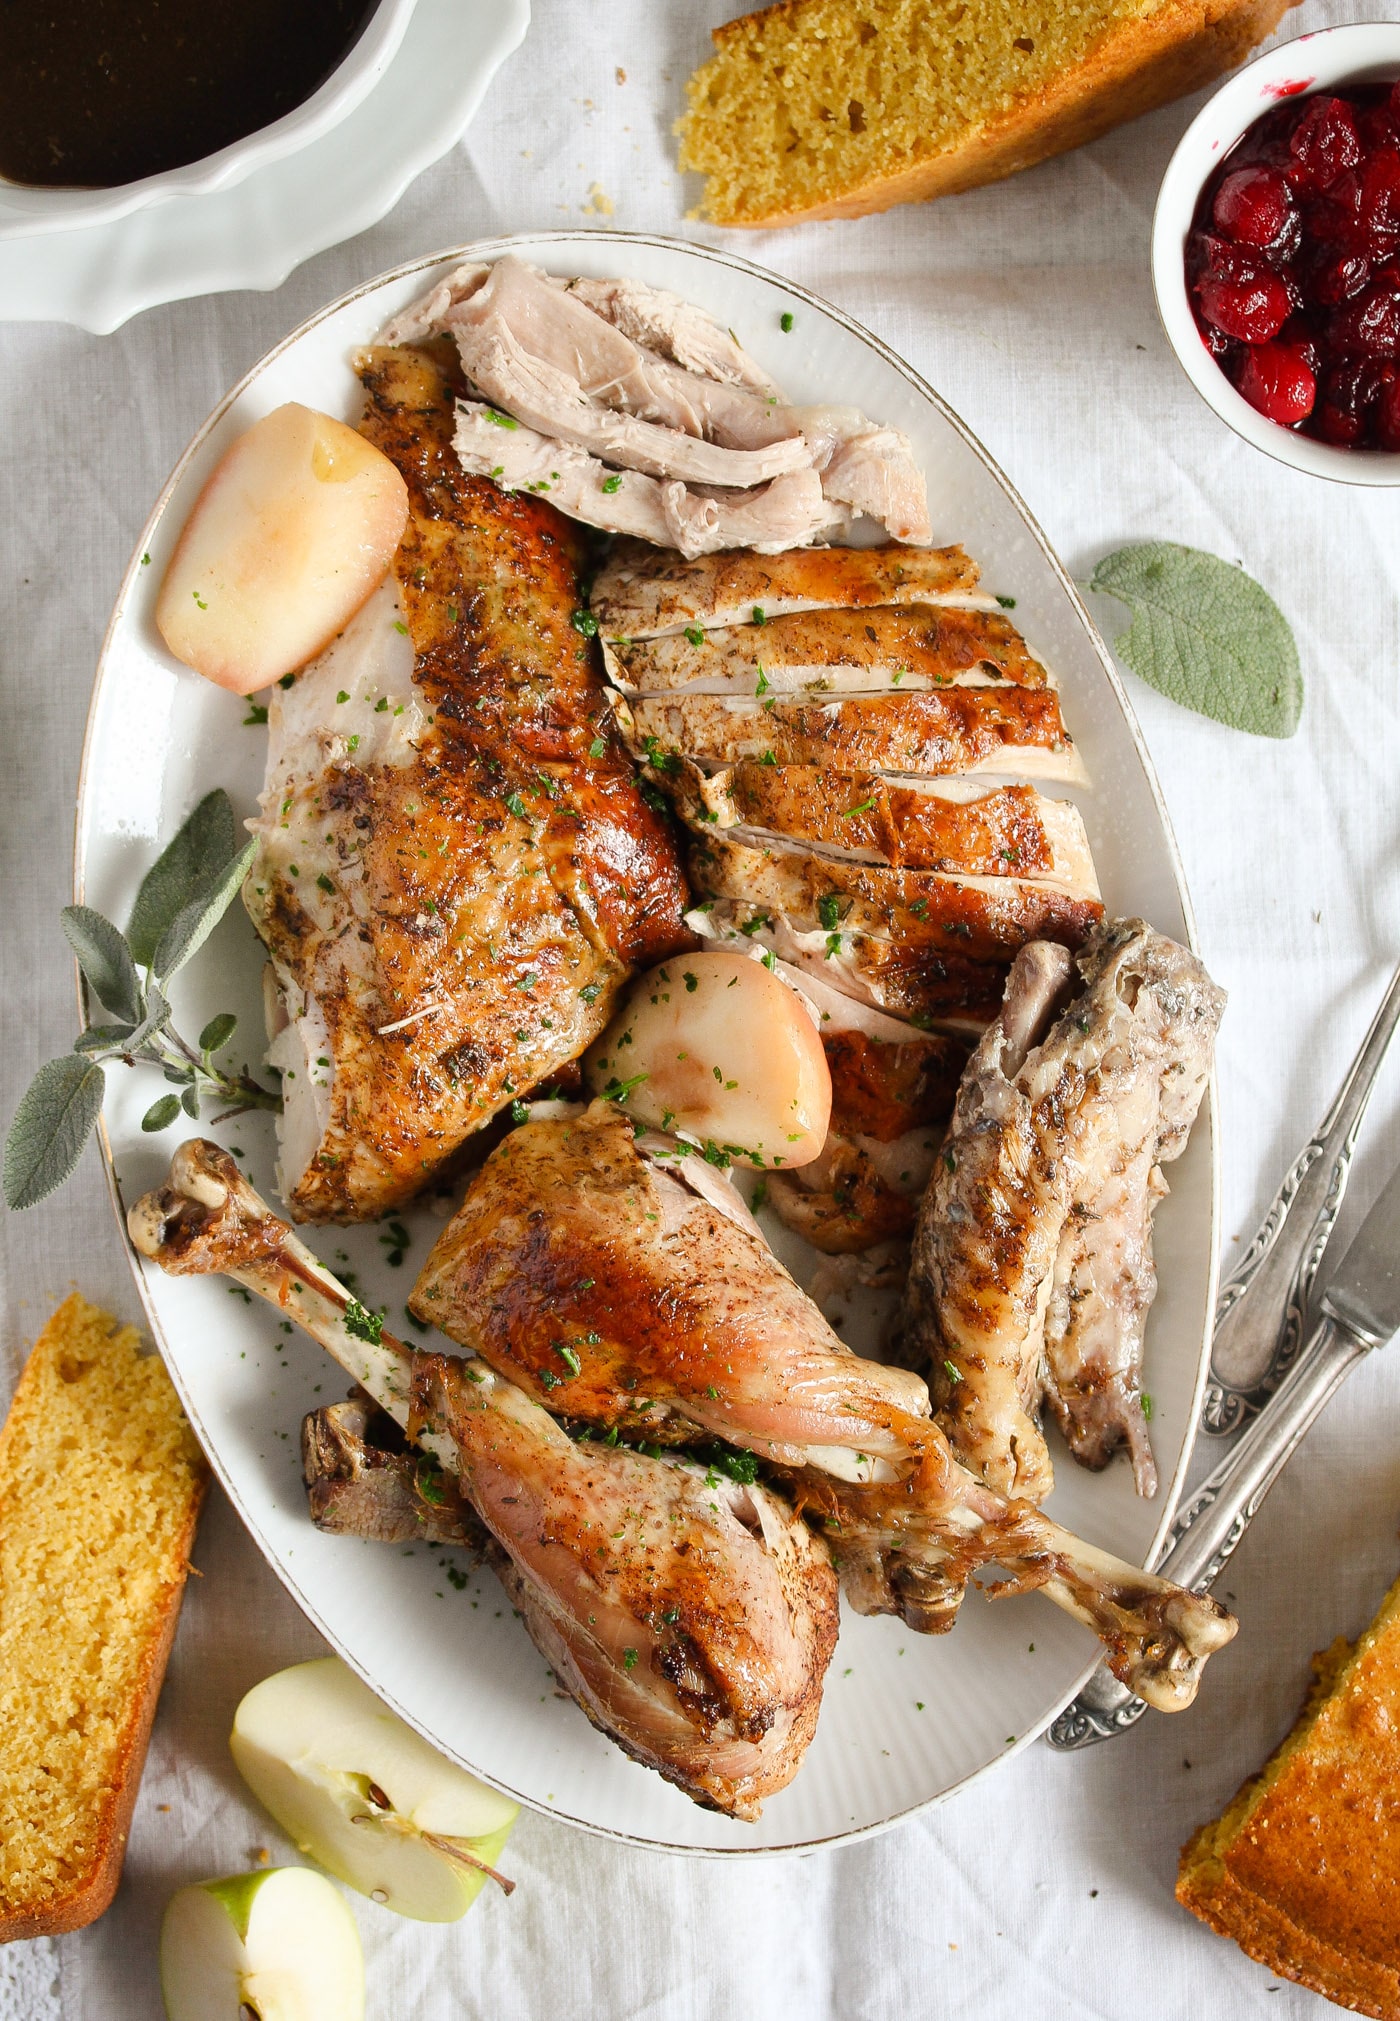
Dutch oven turkey: This is the easiest, quickest way of roasting a whole turkey. Incredibly moist and flavorful meat, crispy skin, everything you could wish for in a turkey.
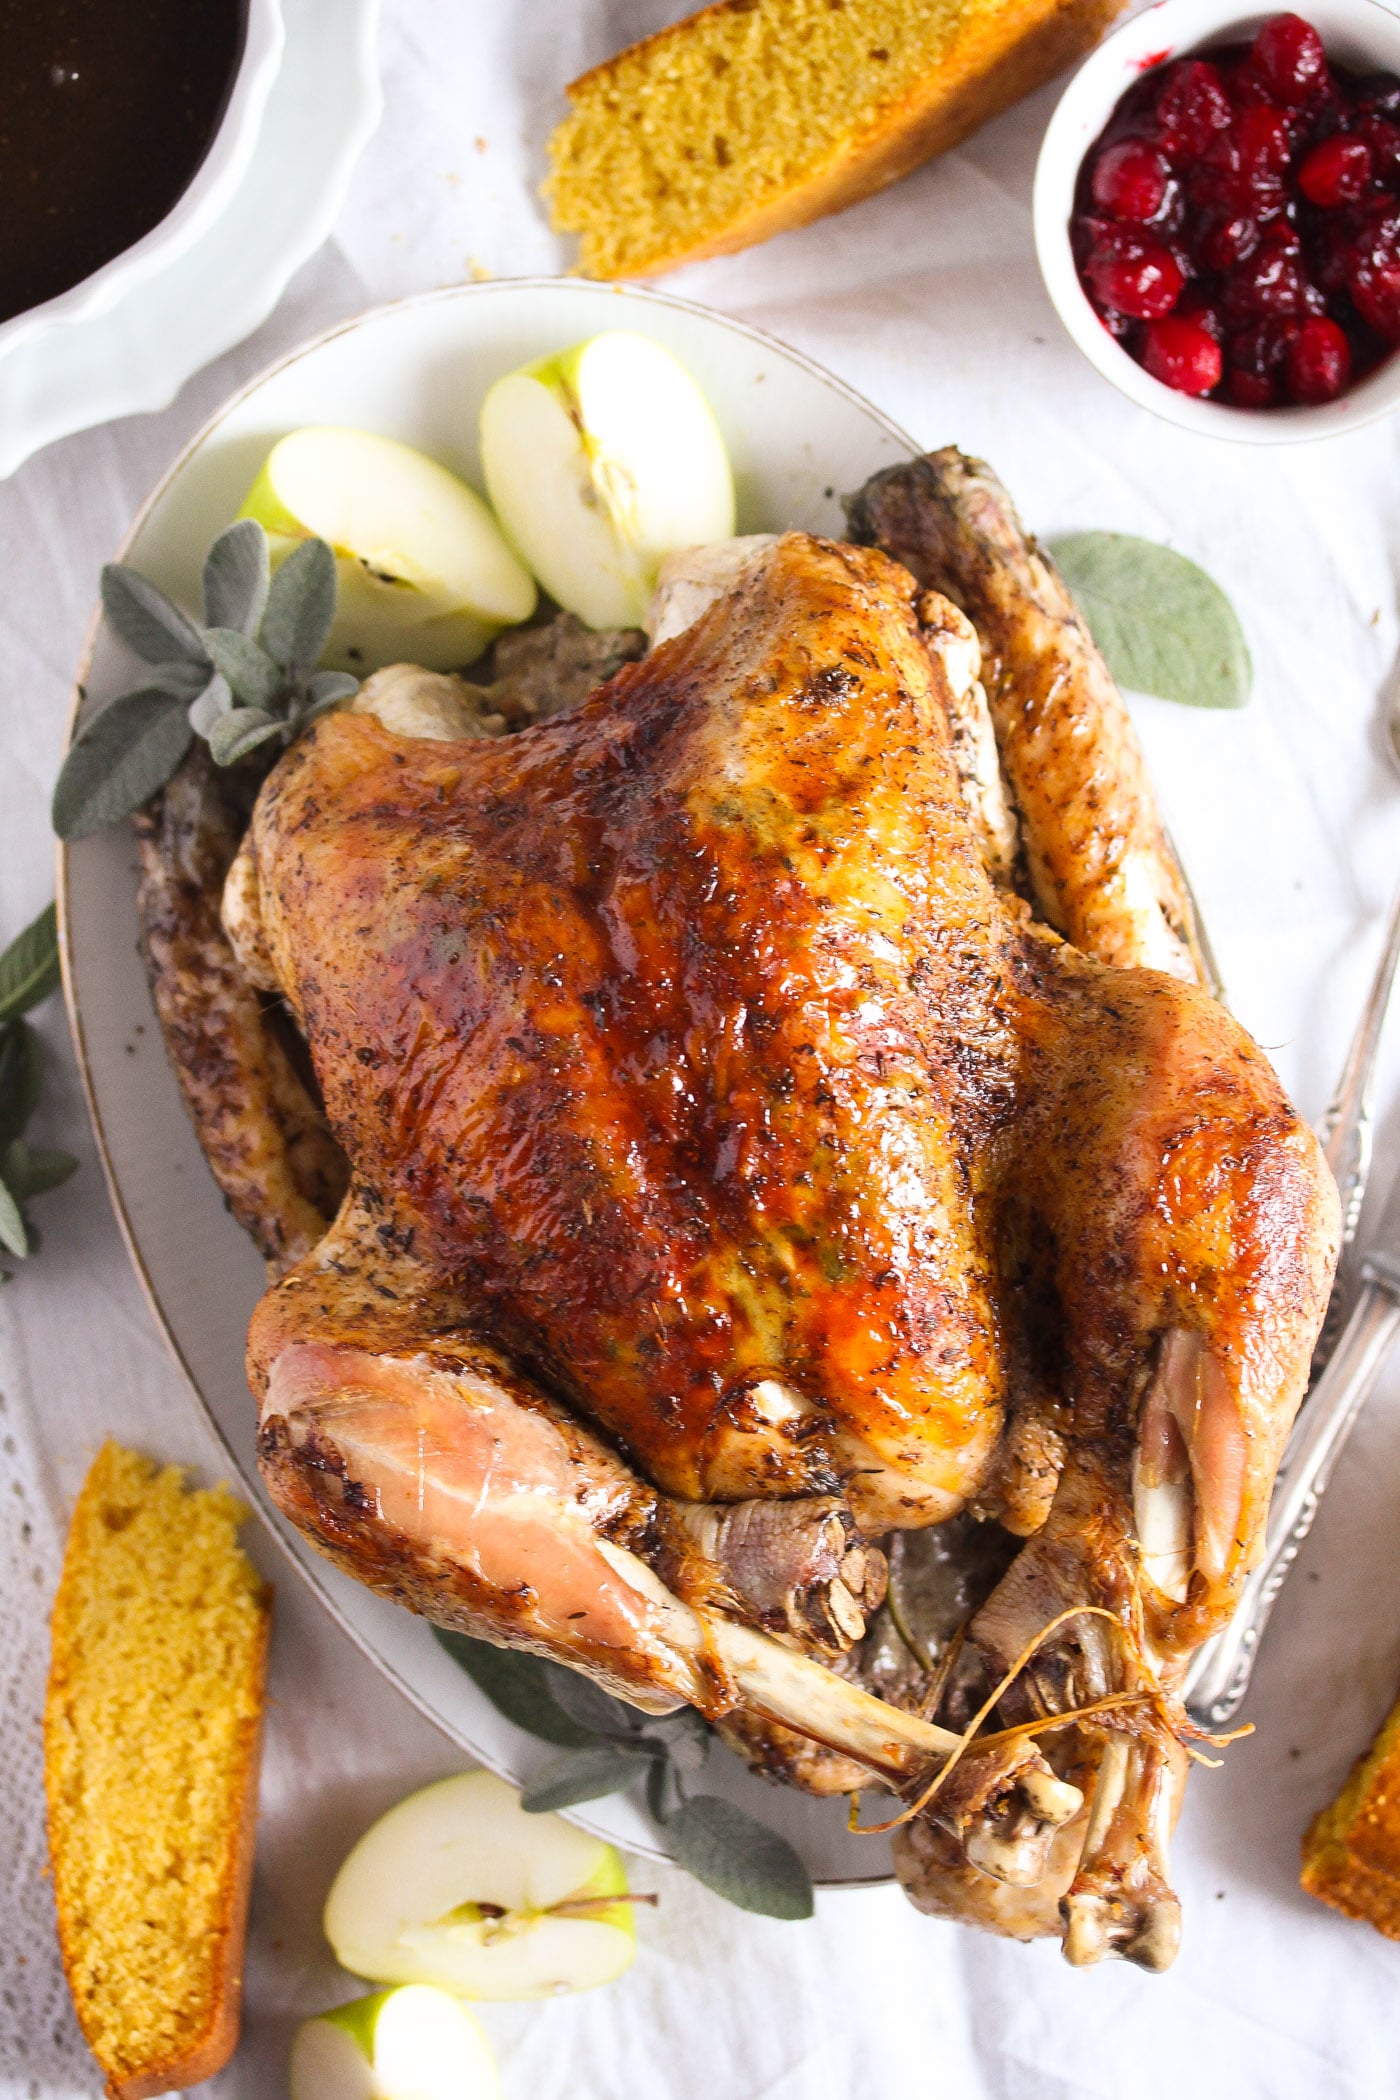
Cooking turkey in a Dutch oven is truly the quickest, most delicious way I found when it comes to cooking a whole turkey. Roasting it in the oven is fine; if you brine and butter the bird well, it will be a delight.
But the Dutch oven makes it even better. And most of all, quicker! It takes 1 ½ hours to cook a 4 kg/ 9 lbs turkey, and that is really not much compared to the time it would need in the oven and without the brining. The shorter cooking time is determined not only by the Dutch oven but by the brine as well.
And the best thing about this Dutch oven turkey? There is not one dry piece of meat on it. Everything is moist and full of flavor. For smaller gatherings, you could also try the Dutch Oven Turkey Breast, the Slow Cooker Turkey Legs (with Gravy), or the Slow Cooker Turkey.
Jump to recipe
Ingredients
The turkey:
- I had a 4 kg/ 9 lbs turkey, which is tiny compared to some of the birds I've cooked over the years.
- Still large enough to feed a greedy family of four twice. And make some sandwiches on top of everything.
- And liters and liters of turkey bone broth made with the carcass and neck.
Dry brine:
- A mixture of salt, dried herbs, and spices.
- I always use fine sea salt or Kosher salt.
Stuffing:
- Butter and fresh herbs to smear under the bird's breast skin.
- Onions, apples, and herbs for the cavity.
How to cook a turkey in the Dutch oven?
Thaw turkey:
- In the refrigerator, it will take between 2 and 3 days for a turkey of this size. I always dry brine it when it is partially thawed, after about 1 ½ days in the fridge.
How to dry brine it?
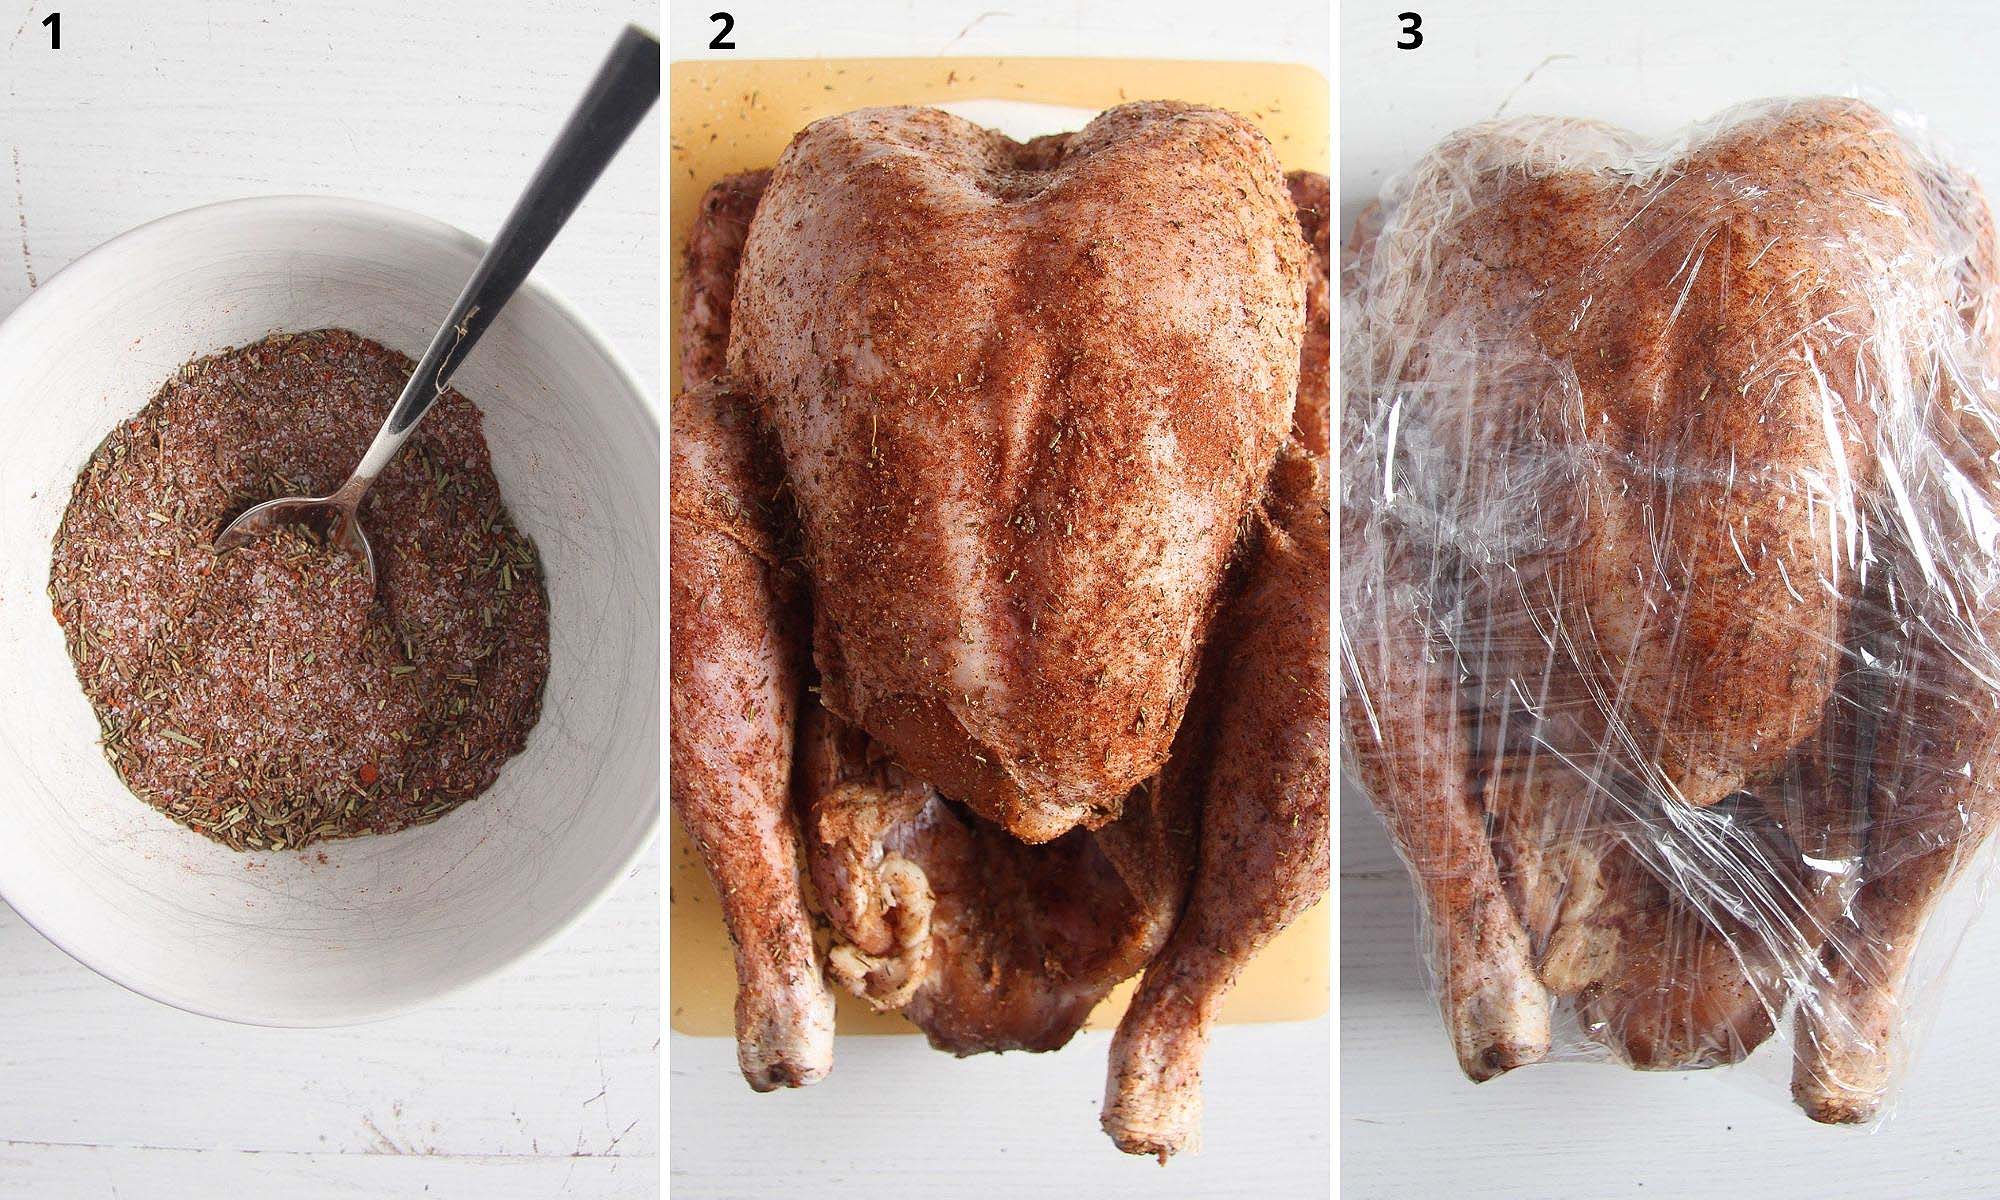
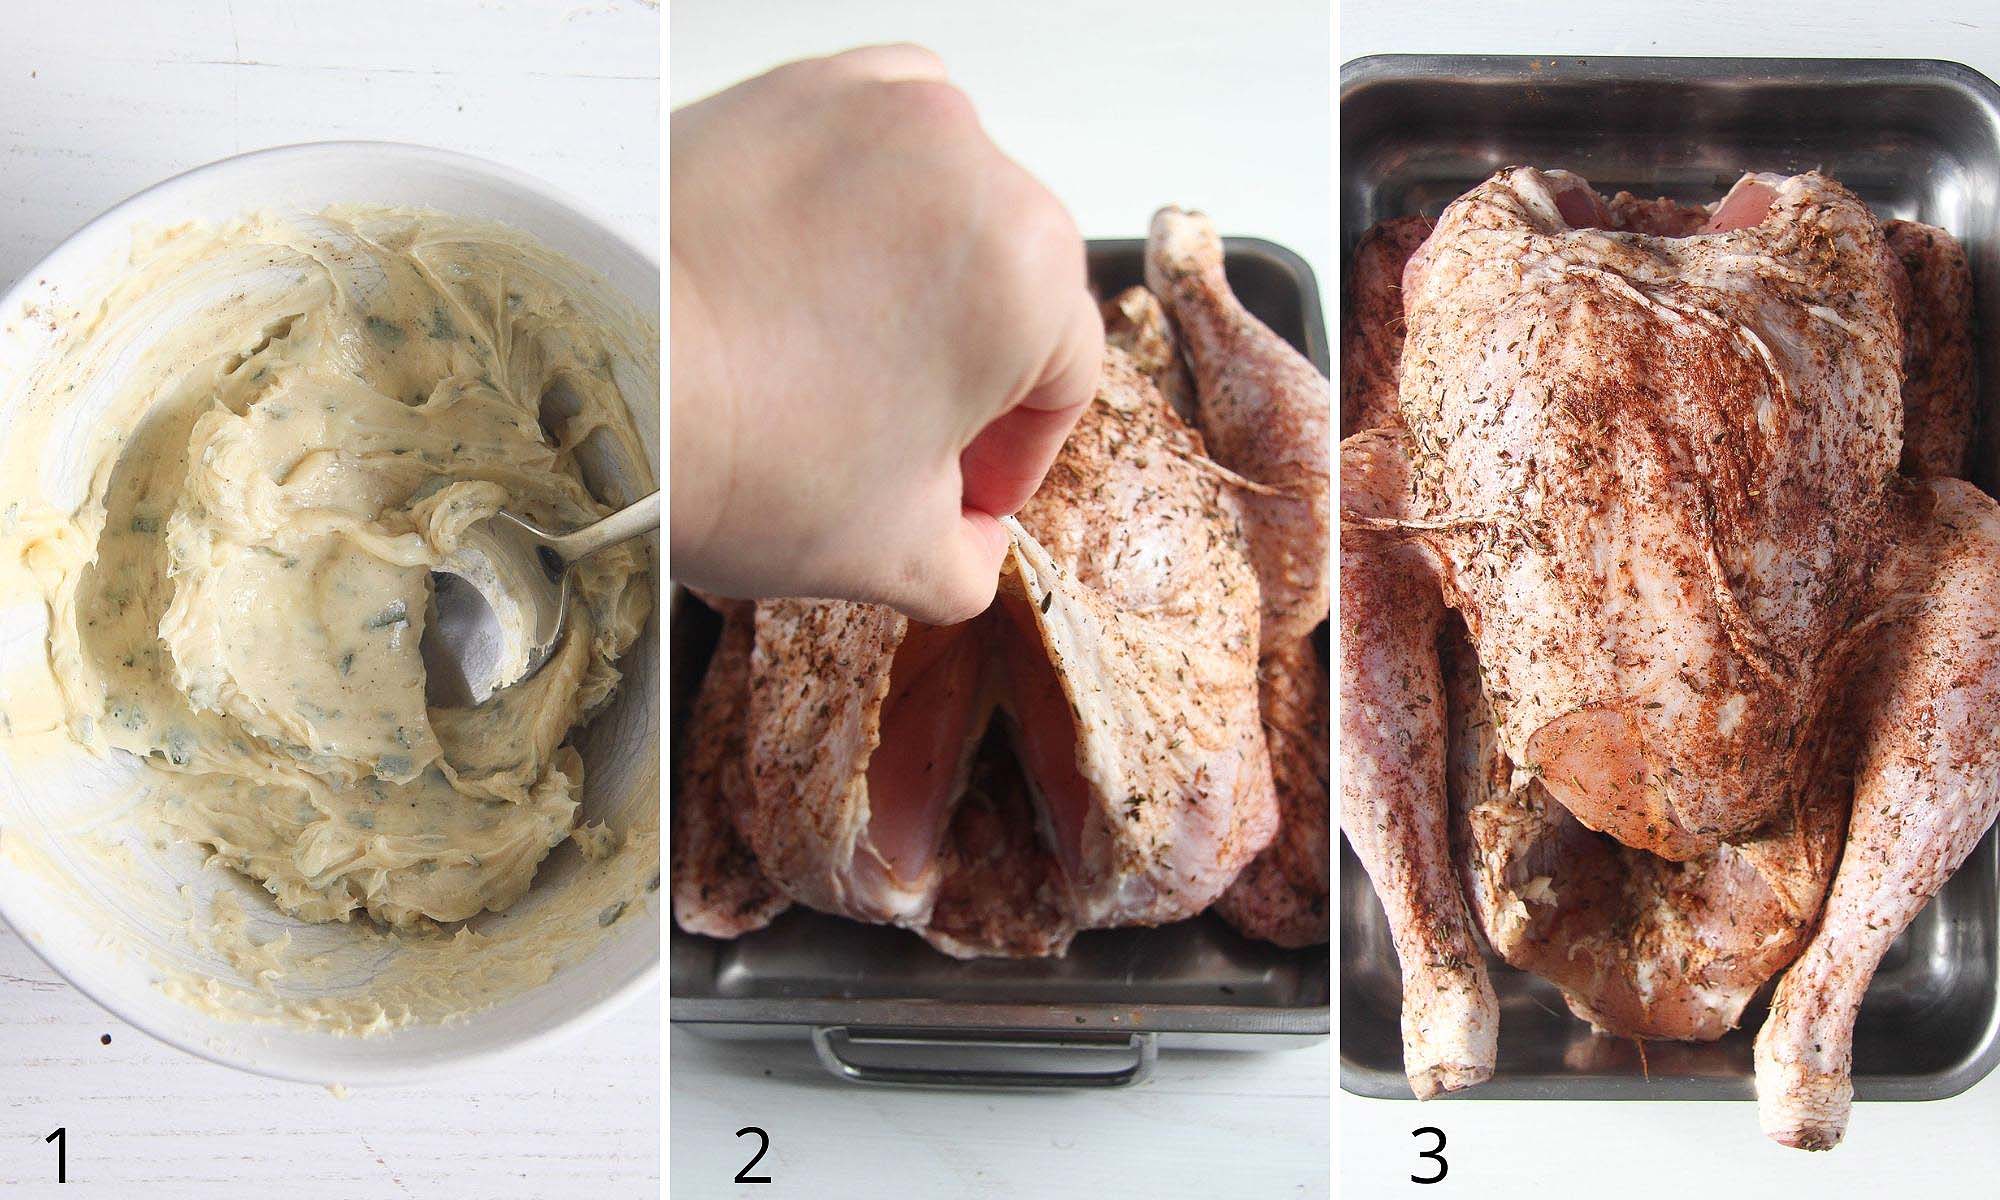
- Mix all the ingredients for the dry brine. (1)
- Pat dry with kitchen paper and remove the neck and gizzards.
- Don't wash it! It is unnecessary and unrecommended by the FDA: "Do not rinse raw meat and poultry before cooking. Washing these foods makes it more likely for bacteria to spread to areas around the sink and countertops."
- Rub it with the dry brine all over. Use your hands and massage them well, don't forget to go under the wings as well. (2)
- Cut three large pieces of cling film/plastic foil and place them on the working surface. Place the turkey on top and wrap it really well with it. You might need an extra piece of cling film to make sure that everything is covered. (3)
- Place in a suitable dish and refrigerate for 24 hours and up to 48.
How to prepare it for roasting?
- Remove from the fridge about 1-2 hours before cooking it. Remove the plastic wrap.
- Start preheating the oven about ½ hour before you are ready to roast the bird.
Butter:
- Mix the soft butter, very finely chopped sage, garlic powder, nutmeg, salt, and pepper in a small bowl. (1)
- Use about 1 heaped teaspoon of the mixture to rub the bird inside the cavity. Set aside another 2 heaped teaspoons of butter.
- Carefully loosen the breast skin by sliding your fingers under it and gently lifting it. If you find that gross, use the back end of a wooden spoon, but be careful not to tear the skin with it, or the butter will ooze out during cooking. (2)
- Spread the remaining butter under the skin. Be thorough. (3)
- Use the butter you set aside to brush the bird on the upper side as well. There is no need to butter it on the underside.
- If the butter is really, really soft, you will be able to brush it as it is. If not, soften it shortly in a small saucepan or microwave. It doesn't need to be melted, just really soft.
Stuff:
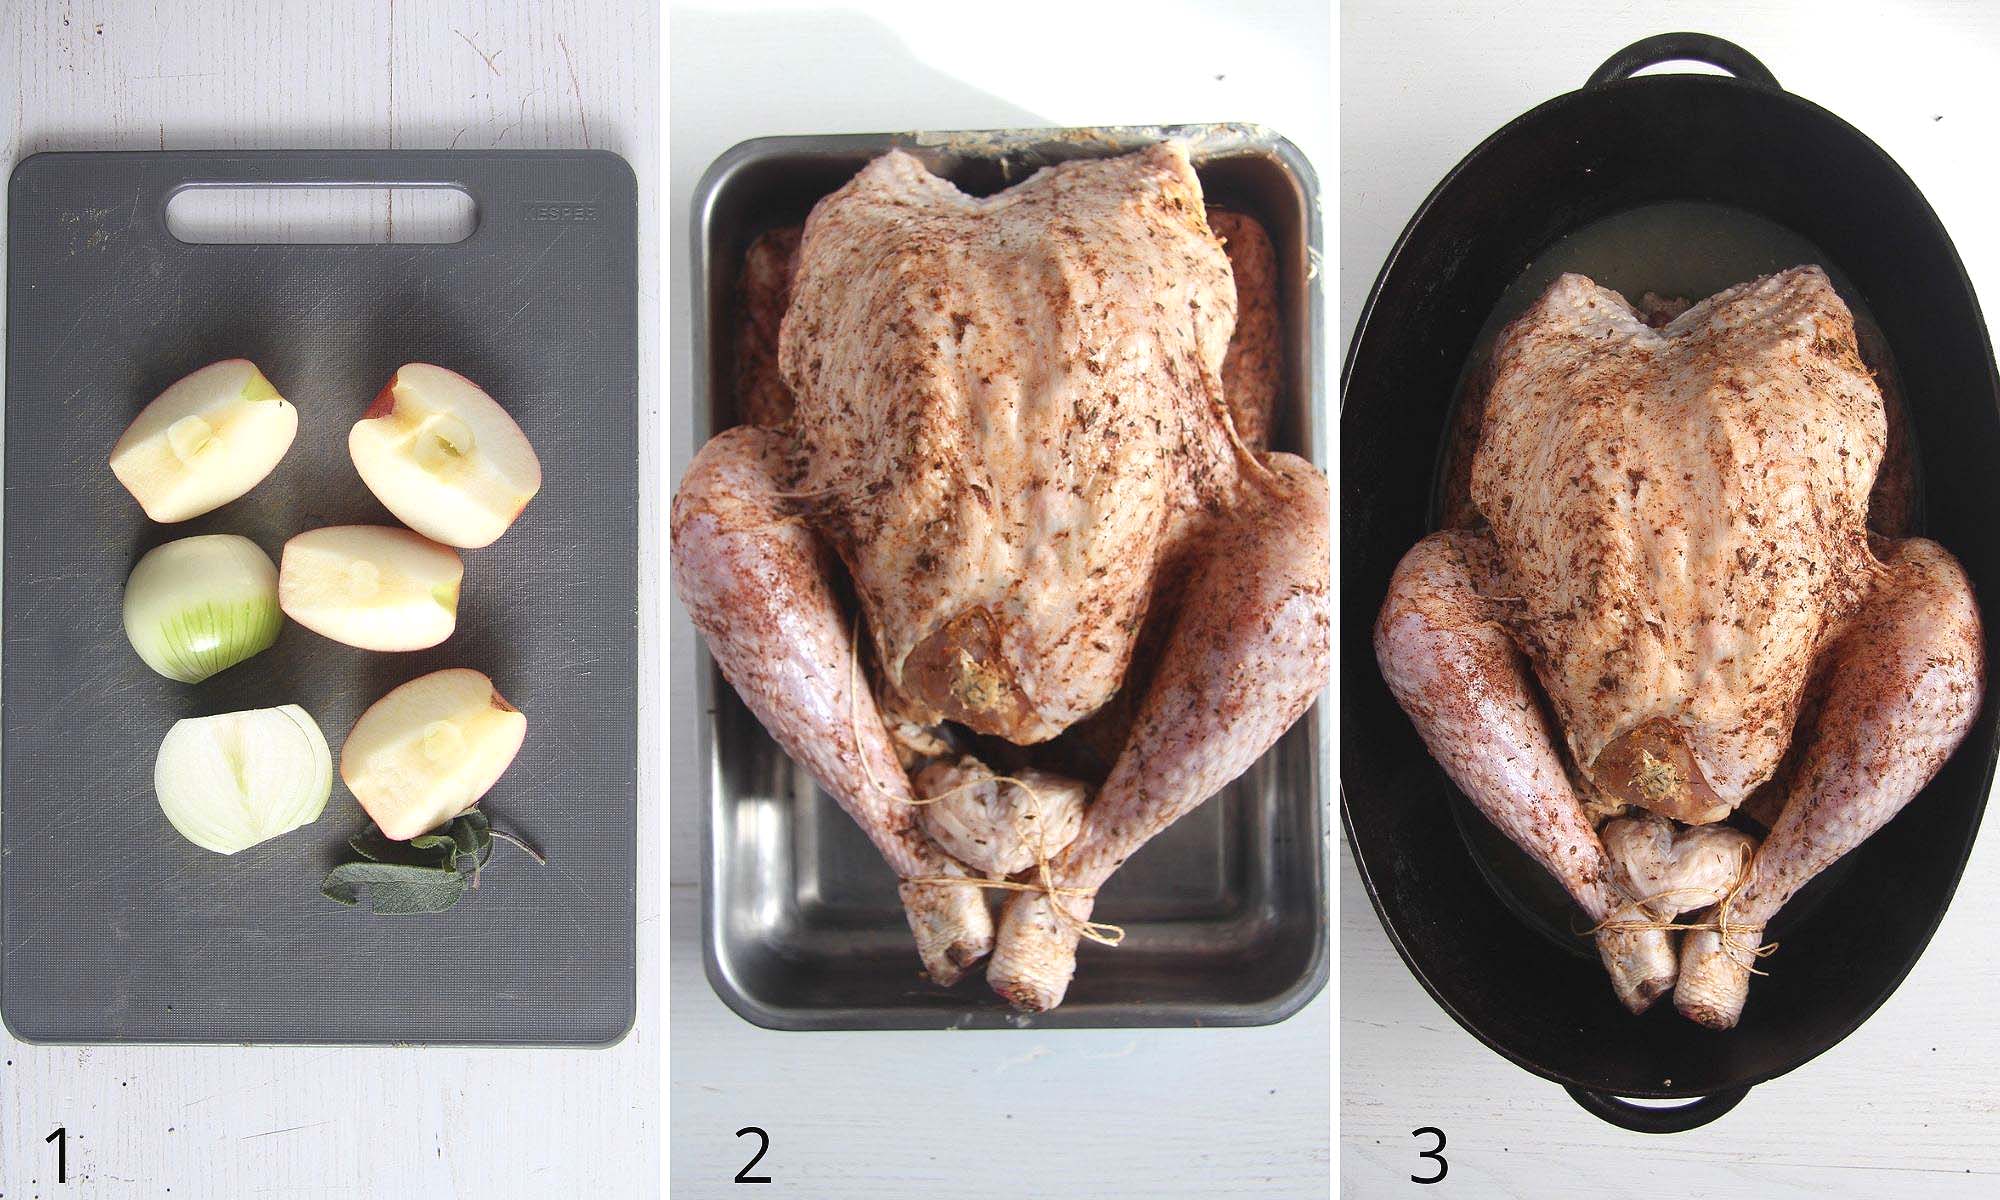
- Fill the cavity with the onion, apple, and sage leaves. (1)
Truss, optional:
- You can truss the turkey or just bind the legs together with kitchen twine. (2)
- It is not a mandatory step; I usually don't bother with trussing; I just bind the legs, and that is only to make the bird look nicer.
- Place the prepared bird in the Dutch oven. (3)
Roast:
- Heat the chicken or turkey stock in a saucepan.
- Carefully pour the liquid around the turkey, but not on top of it; you don't want to wash away the seasoning and butter.
- Cover with the lid and place the pot in the oven.
- Roast for 1 hour.
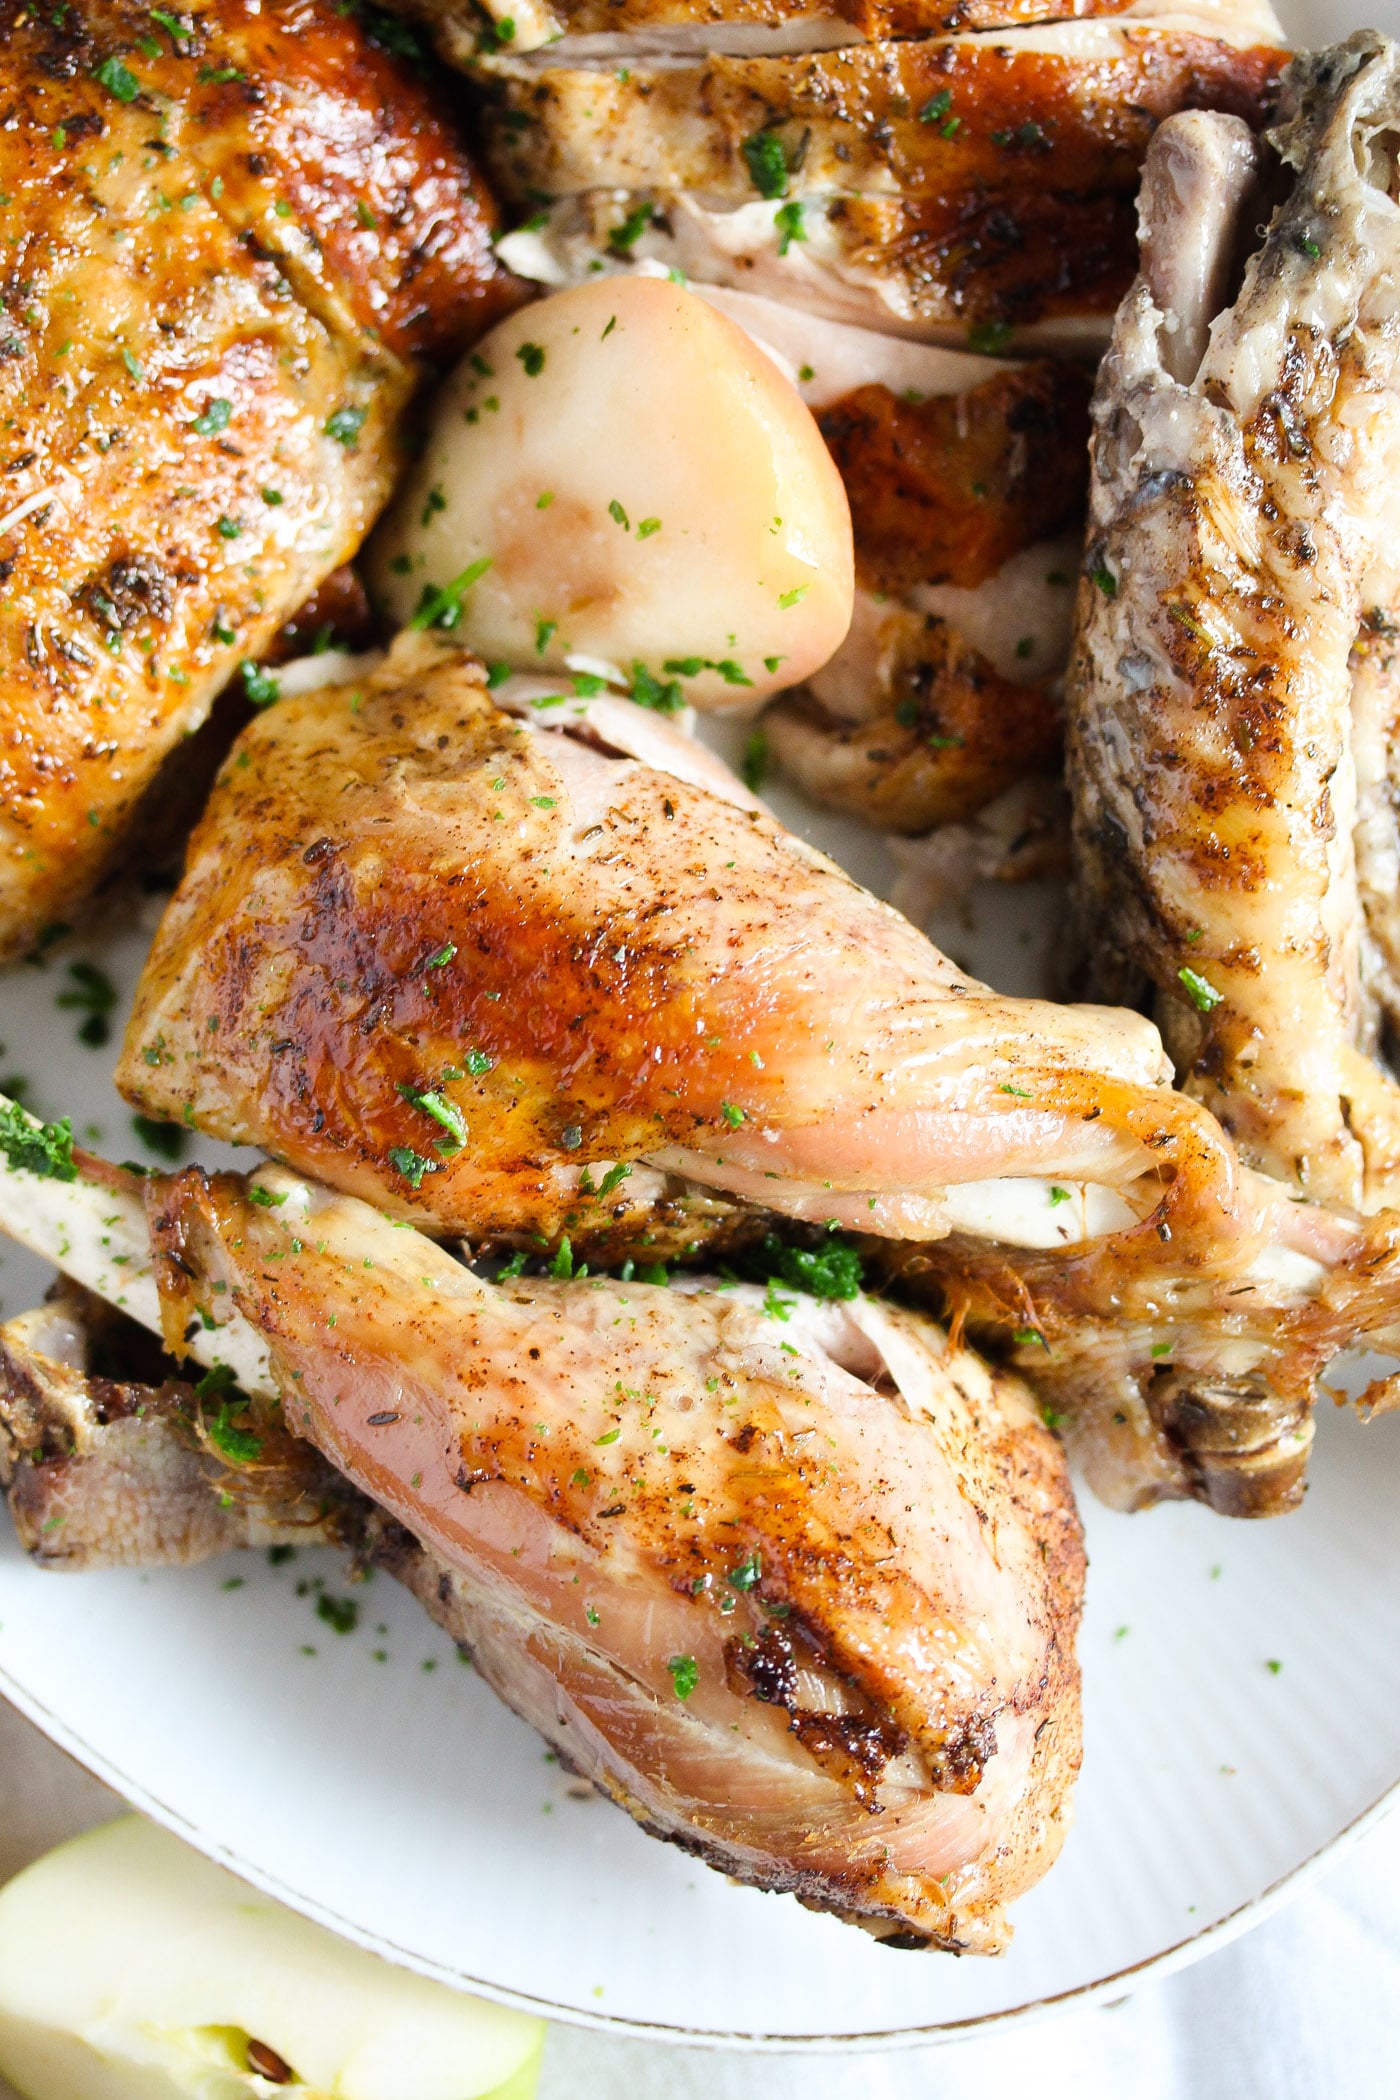
- Remove the lid and roast for 30 minutes more or until the internal temperature is 74 degrees Celsius/ 165 degrees Fahrenheit and the skin is crispy and golden brown.
- The roasting time might seem too short if you are used to roasting a turkey for hours and hours. The brining and the Dutch oven both help reduce the cooking time.
- Rest for 30 minutes and carve.
How to check the internal temperature?
- Check the temperature with a meat thermometer (the Amazon affiliate link opens in a new tab).
- Insert it into the thickest part of the thigh, not the drumstick. I mention the drumsticks because they are the ones sticking out of the body, and you might be tempted to check them there.
- What you need is to stick the thermometer into the meatiest part of the thigh, which is a little under the drumstick, but not as obvious as a chicken thigh is.
- Insert the thermometer in the thigh, keeping it parallel to the body of the bird. If it gets difficult due to the shape of the Dutch oven, very carefully lift the bird to one side (with a sturdy spatula) and try to keep it steady while you measure.
- Make sure that you don't touch the bone when measuring the temperature.
- If the turkey has the right temperature, remove it from the oven. If not, give it 10 more minutes and check again.
The gravy
- The stock from the pot makes the quickest and most delicious gravy.
- After removing the bird, place the Dutch oven on the stovetop.
- In a small bowl, mix about 3 tablespoons of cornstarch with some cold water, enough to make a thick yet pourable paste.
- Slowly add the slurry to the stock while whisking continuously. Let bubble for 1 minute until thickened. You might not need to use all the slurry, just enough to thicken the gravy to your liking.
- However, as the sauce has quite a light color, I used a trick to make it brown. It is not necessary, but I always feel that one expects a darker sauce when serving turkey.
- So, I just added a small splash of dark soy sauce to the thickened gravy. Perfect brown color, without any soy sauce aftertaste.
- There is no need to season the sauce; the salt from the dry brine and the soy sauce is enough.
What to expect?
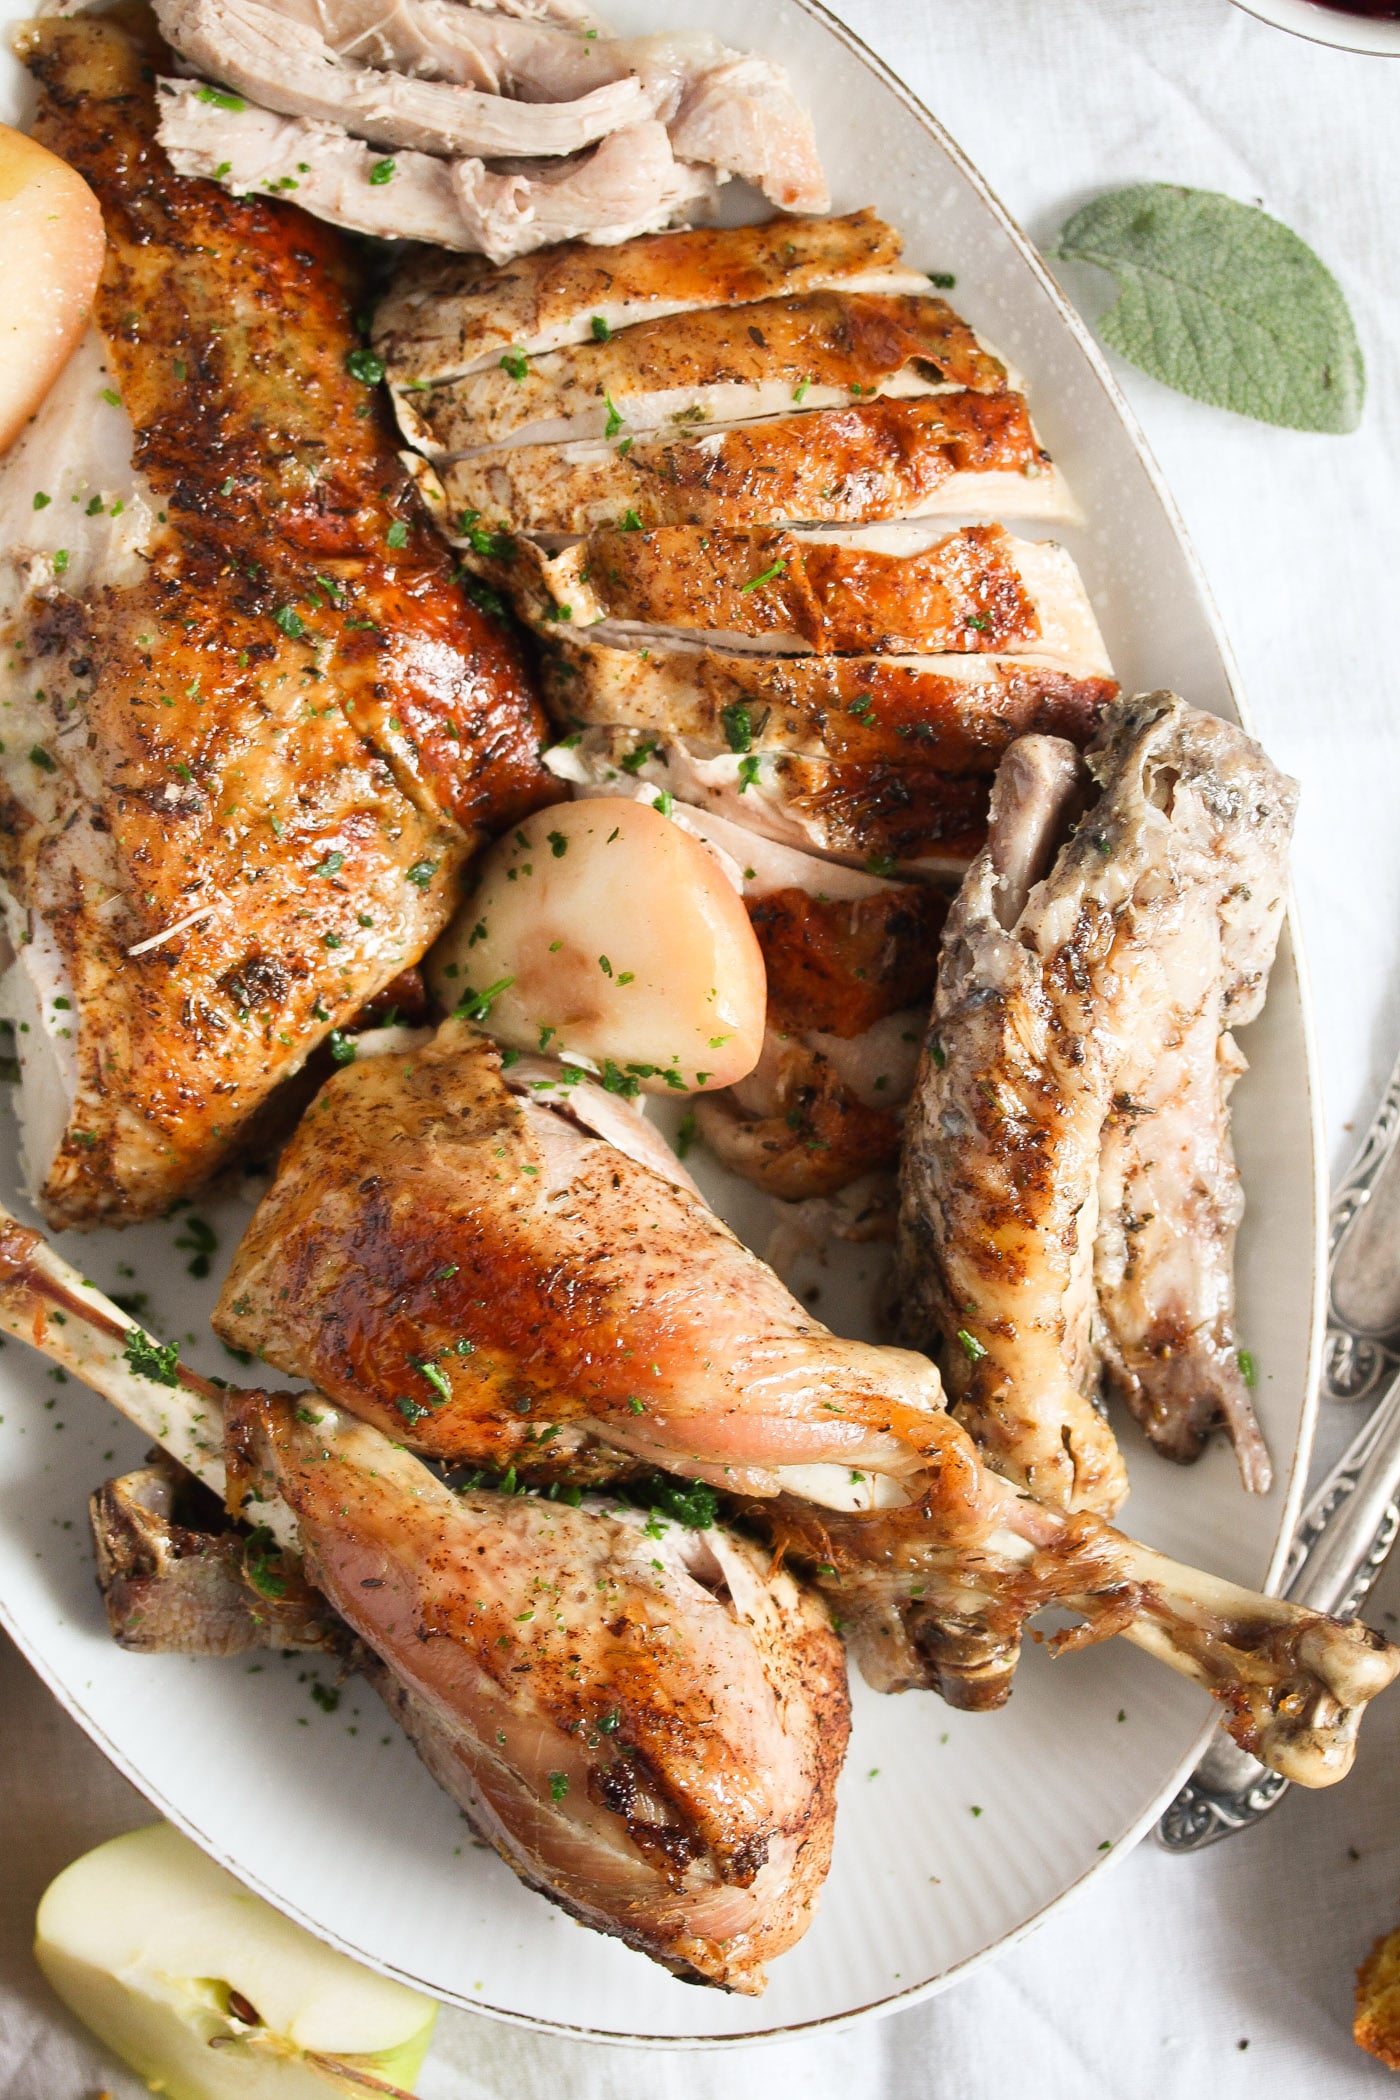
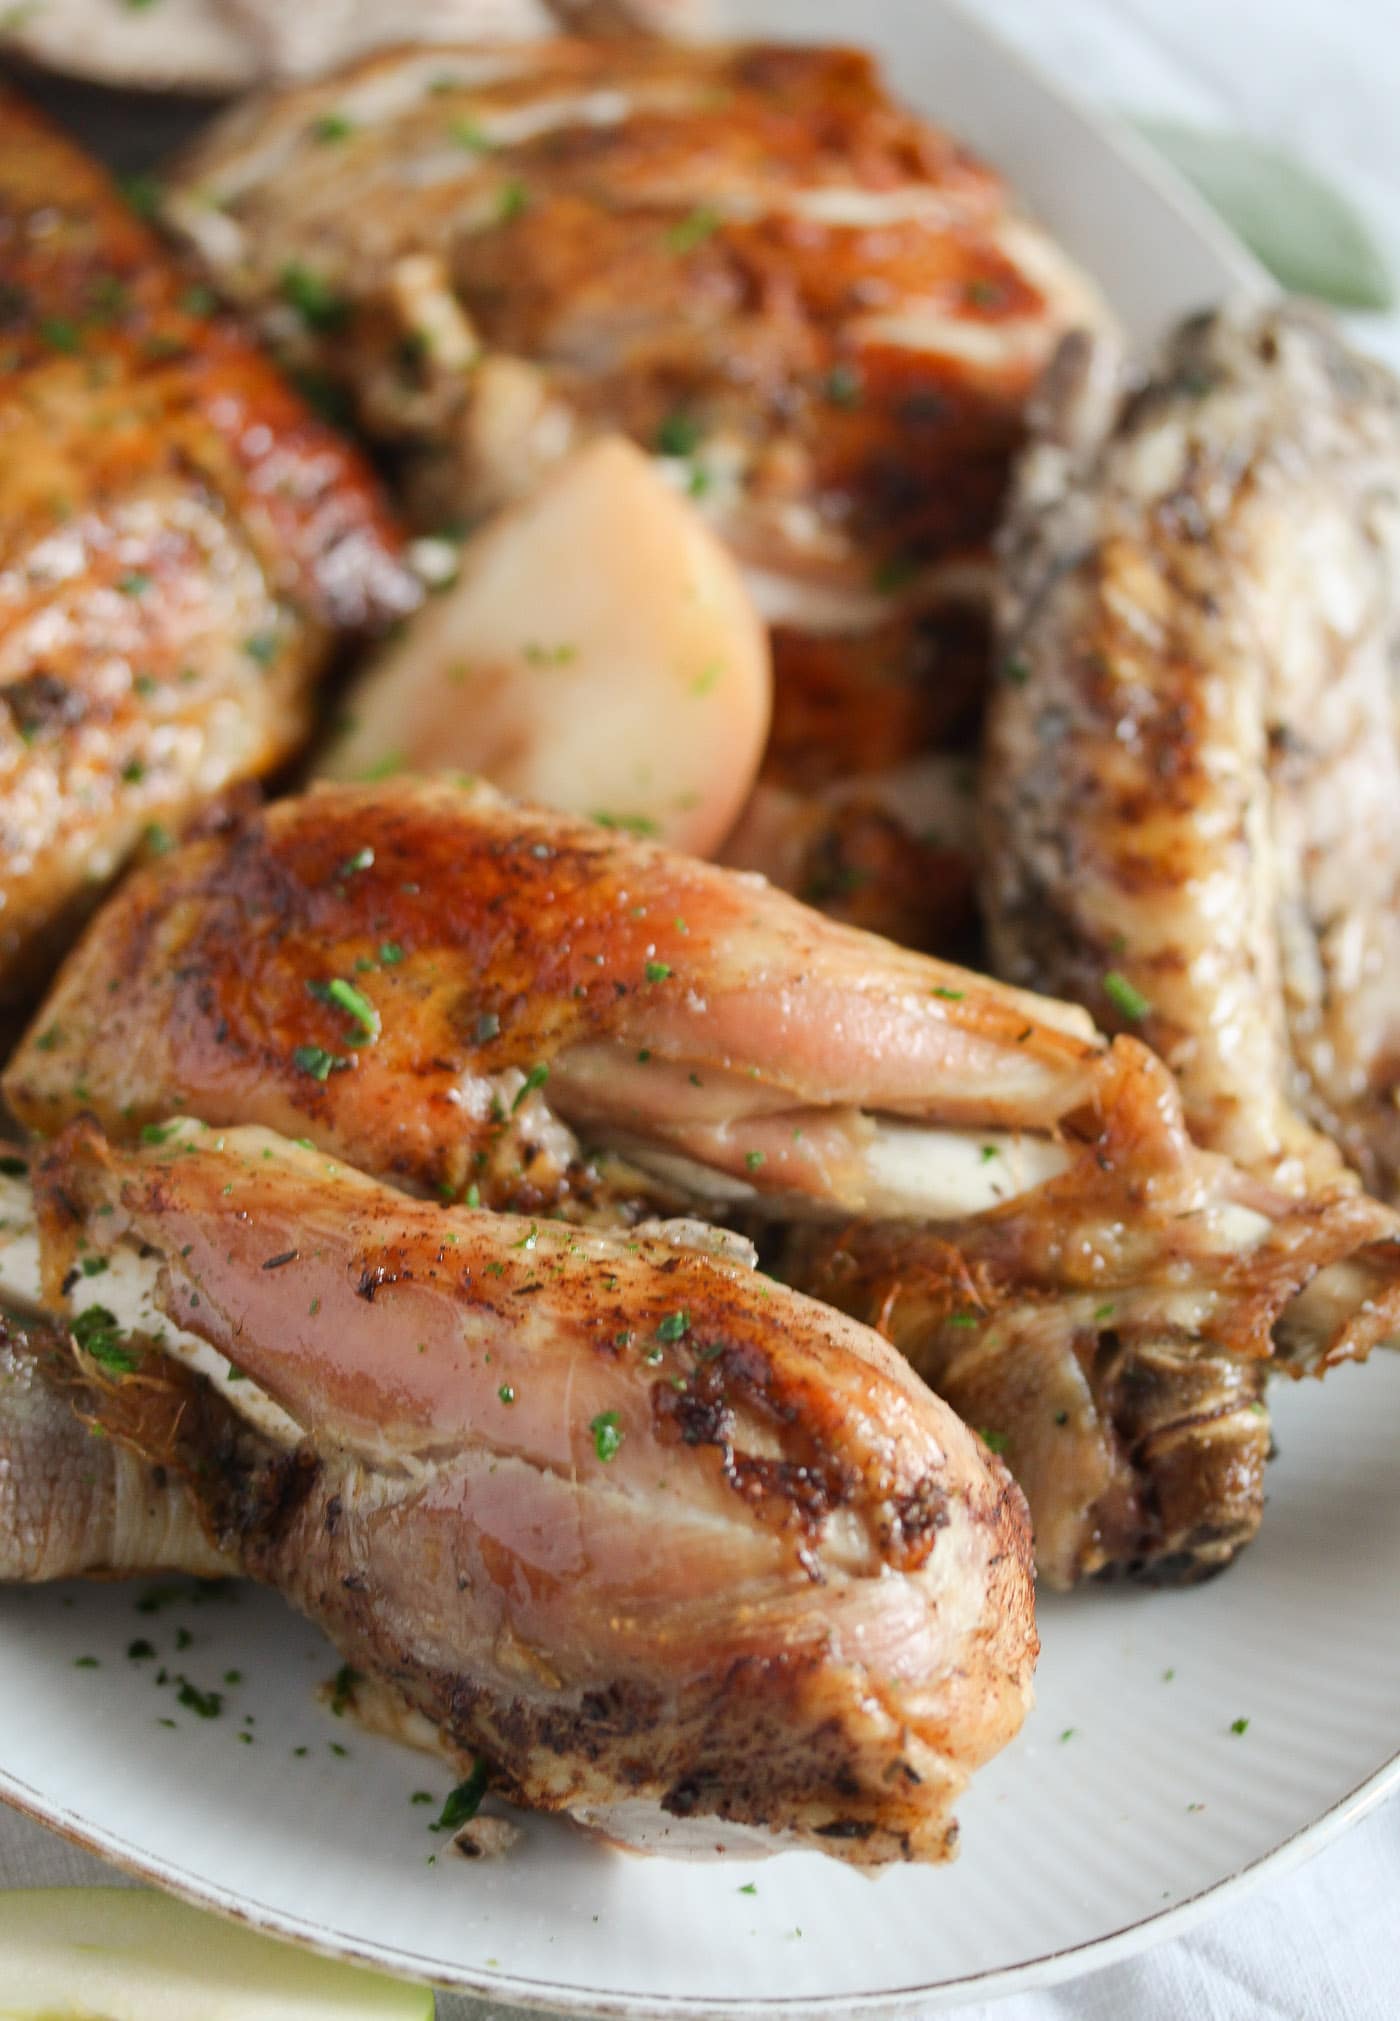
Tender, very flavorful meat. Even though the breast is tender, there is nothing dry about this Dutch oven turkey.
Crispy skin on the upper side. However, as the underside of the bird cooks immersed in stock, the skin on the underside will not be crispy at all. It doesn't bother me one bit, but you should know that from the start.
How to carve?
- Use a large sharp chef's knife.
- Place a kitchen towel on the working surface and a large cutting board on top. The towel will help stabilize the board.
- Cut the thighs at the joint. Separate the drumsticks from the thighs by cutting at the joint as well.
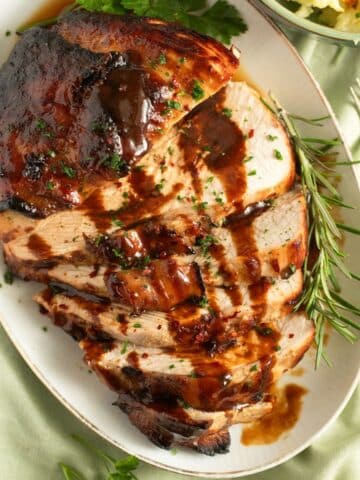
- Carve down the breast bone of each breast to remove the breasts from the bones. Slice the breasts thickly.
- Remove the wings by cutting at the joint.
- You can serve the thighs whole or slice off the meat as well.
- Pick all larger meat pieces still hanging on the bones.
- Use the carcass (and the neck and gizzards) to make stock.
How to serve?
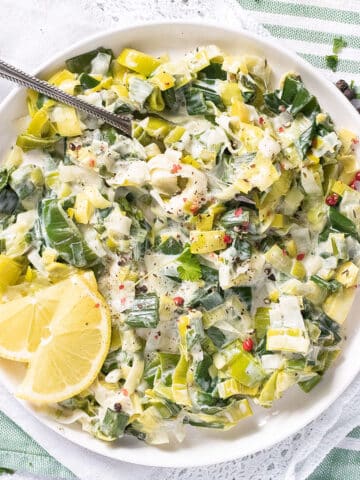
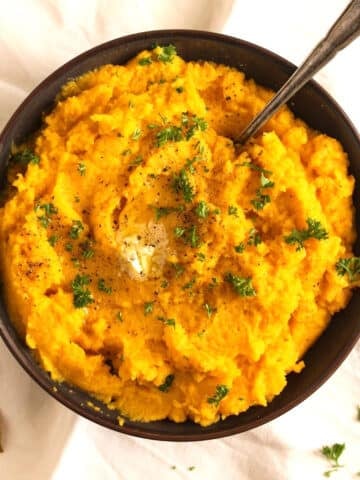
- With any Thanksgiving or Christmas side dishes you would usually serve on such occasions. We had this cranberry sauce and Cornbread in the Cast-Iron Skillet on the first day and Garlic Parmesan Mashed Potatoes on the second.
- I also made The Best Caramelized Brussels Sprouts and White Cabbage Salad. All served with that amazing gravy.
Recipe
Dutch Oven Turkey
Ingredients
- 1 turkey 4 - 5 kg/ 9 -11 lbs (Note 1)
Dry brine:
- 2 tablespoons fine sea salt Note 2
- 1 teaspoon dried thyme
- 1 teaspoon dried rosemary
- 1 teaspoon sweet paprika
- ½ teaspoon ground black pepper
- Butter mixture:
- ⅓ cup unsalted butter 75 g, very soft
- 4 sage leaves Note 3
- ½ teaspoon garlic powder
- a few grindings of nutmeg
- ¼ teaspoon fine sea salt
- ⅛ teaspoon ground black pepper
Stuffing:
- 1 onion
- 1 apple
- 3-4 sage leaves
Gravy:
- 2 ¾ cups turkey or chicken stock 650 ml
- 3 tablespoons cornstarch
- a few tablespoons cold water
- 1-2 tablespoons dark soy sauce optional
Instructions
Thaw turkey:
- In the refrigerator, it will take between 2 and 3 days for a turkey of this size. I always dry brine it when it is partially thawed, after 1 ½ day in the fridge.
Dry rub:
- Pat the turkey dry inside and outside with kitchen paper. There is no need to wash it.
- Mix rub: In a small bowl, mix together the salt, thyme, rosemary, paprika, and pepper.
- Rub the turkey inside and out with it. Massage it well and don't forget to do it under the wings as well.
- Refrigerate: Cut 3 large pieces of cling film/plastic wrap. Use them to wrap the bird very well. Make sure it is completely wrapped. Place in a roasting tin (or large bowl/casserole dish) and refrigerate for 24 hours and up to 48.
Prepare and stuff:
- Bring to room temperature: Remove from the fridge and unwrap about 1 hour before roasting. Pat it dry with kitchen paper.
- Start preheating the oven to 180 degrees Celsius/ 350 degrees Fahrenheit about ½ hour before roasting.
- Combine the very soft butter, very finely chopped sage, nutmeg, garlic powder, salt, and pepper. Set 2 heaped teaspoons of the mixture aside. Smear inside the cavity of the bird with 1 heaped teaspoon of the butter.
- Smear turkey: Carefully loosen the breast skin by sliding your fingers under it and gently lifting it. Thoroughly spread the remaining butter under the skin.Use the butter you set aside to brush the bird on the upper side as well. There is no need to butter it on the underside.
- Stuff with the quartered onions, apples, and sage leaves. Bind the legs with kitchen twine. Place the bird into the Dutch oven.
- Heat the stock in a saucepan. Carefully pour the liquid around the turkey, but not on top.
- Roast: Cover with the lid and place the pot in the oven. Roast for 1 hour.
- Rest for 30 minutes.
Gravy:
- Make gravy: After removing the bird, place the Dutch oven with the cookign liquid on the stovetop.
- Thicken gravy: In a small bowl, mix cornstarch with some cold water, enough to make a thick yet pourable paste. Slowly, pour the slurry into the stock while whisking continuously. Let bubble for 1 minute until thickened. You might not need to use all the slurry, just enough to thicken the gravy to your liking.
- Adjust: If you wish to have a brown gravy, stir 1-2 tablespoons dark soy sauce into the gravy. There is no need to season the gravy.
- Carve: Once the turkey has rested for 30 minutes, carve (Note 5) and serve.
Notes
- My turkey weighed exactly 4 kg/ 9 lbs, but a 5 kg/ 11 lbs would have also fit into the Dutch oven. I have a very large Dutch oven; check beforehand to see how big a bird fits inside. If your bird is larger than 4 kg, adjust the cooking time accordingly. The best way of ensuring that the turkey is safely cooked (without overcooking) is to use a meat thermometer (Amazon affiliate link opens in a new tab).
- I always use fine sea salt (or Kosher salt). If using table salt, adjust the quantity; it is usually more potent than sea salt.
- Sage has a fantastic flavor, but it can be replaced with other herbs. For example, try fresh rosemary or even parsley.
- The roasting time might seem too short if you are used to roasting a turkey for hours and hours. However, the brining and the Dutch oven helps reduce the cooking time.
- How to carve:
- Use a large sharp chef's knife.
- Place a kitchen towel on the working surface and a large cutting board on top. The towel will help stabilize the board.
- Cut the thighs at the joint. Next, separate the drumsticks from the thighs by cutting at the joint.
- Carve down the breast bone of each breast to remove the breasts from the bones. Slice the breasts thickly.
- Remove the wings by cutting at the joint.
- You can serve the thighs whole or slice off the meat as well.
- Pick all larger meat pieces still hanging on the bones.
- Use the carcass (and the neck and gizzards) to make stock.




Jen says
Quick question --do you place the turkey on a rack inside the Dutch oven or just lay it on the bottom of the pot with the stock/water? Thank you!
Adina says
Hi Jen. No rack, just put it in there. Just to be sure, this is a Dutch oven not an instant pot. I am only saying it because the instant pot usually needs a rack.
Kallen says
This was my first time making turkey at all, not just for Thanksgiving. I was so scared. This recipe helped me make the best turkey my MIL has ever had! Made a 7 lb turkey in my Lodge dutch oven. Only modification was I added celery and carrots with the apples and onions inside the turkey. That butter rub made the meat so moist and flavorful. Thank you so much for this recipe!!
Tam says
One direction I noticed is missing is where to rest the bird. Do we keep it soaking in the juices or remove and place on a platter.
Adina says
Hi Tam. I wrote about removing the bird from the pot because you will need that pot and the juices to make the gravy. So transfer the turkey to a large platter and make the gravy.
Martha Palm says
I wonder why it takes a fraction of the time cooking. I have a 12 lb turkey that I plan to stuff, and it tells me I should plan on 4-5 hours. Here it says it will be done in two hours tops.
Adina says
I explained in the notes. But always check the internal temperature especially if your turkey is bigger. I can't say how the stuffing would affect the cooking time as I haven't tried that.
Louis says
Sorry, I just saw it at 350. Thanks
Louis says
Any suggestions for oven temp - seems to have been overlooked.
Jessica M says
I followed this recipe as best I could considering I accidentally bought 9 lbs of turkey breast (rather than the whole turkey) and that it was too big to fit into my dutch oven. After much maneuvering I was able to just barely fit it into the pot and it truly came out delicious! This was my first time cooking Thanksgiving dinner by myself and this turkey recipe honestly saved me despite my user errors. My only question is: what size dutch oven did you use? I really want to make this recipe again, but properly. It was so tender and quick to make!
Adina says
Hi Jessica. So happy to hear that it worked! I have an old, huge one, but I really don't know about the size. I might try to figure out.
Belle says
Do I use parchment paper on bottom of black Dutch oven ?
Adina says
Hi Belle. No, I didn't use parchment paper.
Kristin Lucas says
You mention adding hot stock to the dutch oven during roasting, but I can't find how much. Can you tell me the volume of stock?
Adina says
Hi Kristin. It is the stock mentioned in the Gravy ingredient list. 650 ml/ 2 3/4 cups. Maybe I should list it somewhere else for better understanding.