
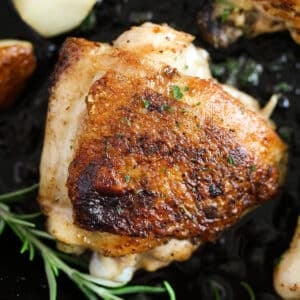
These cast-iron chicken thighs are cooked to perfection in a cast-iron skillet. Juicy meat, crispy skin, minimum work, and ingredients. And they are ready in about 30 minutes.
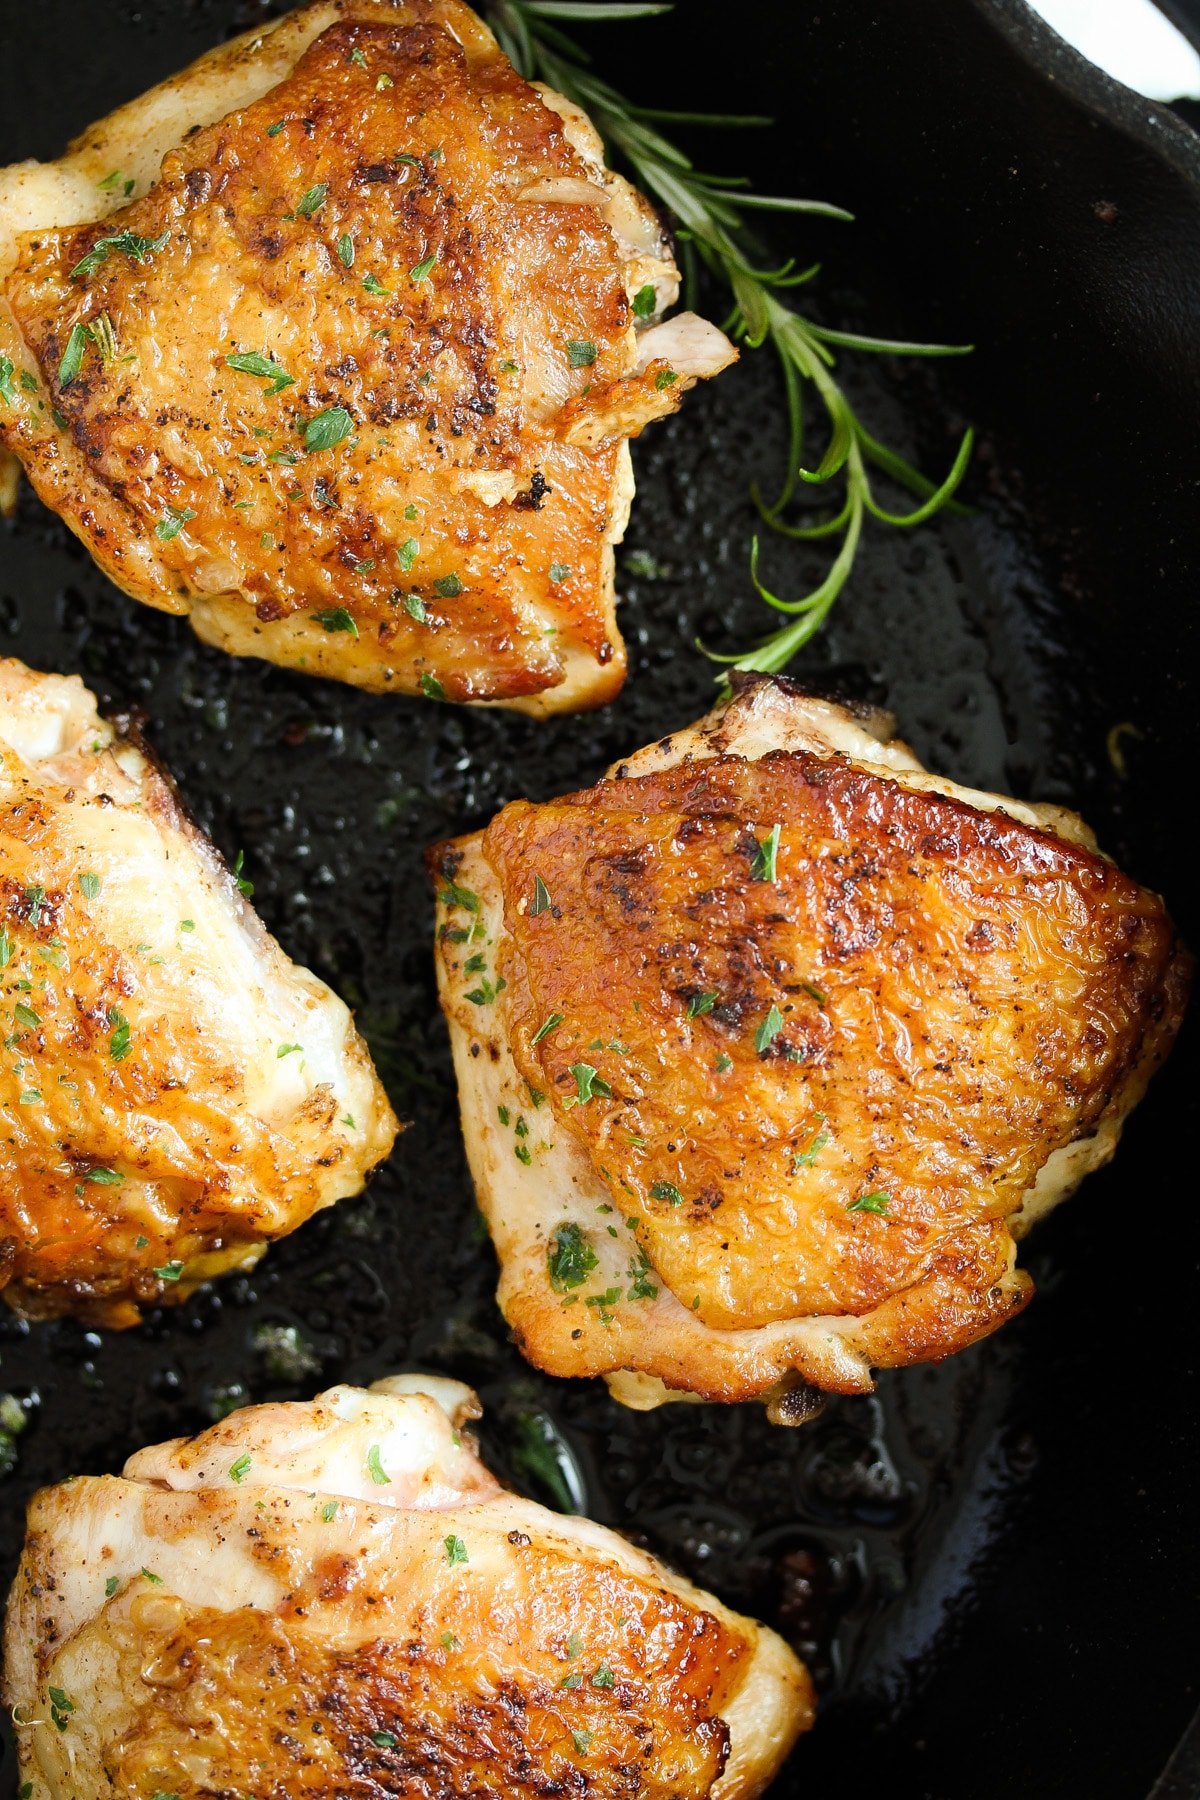
These are the best cast-iron chicken thighs! With only one main ingredient (the chicken) and some basic spices, 5 minutes of prep time, and about 30 minutes of cooking time, this 4-step recipe is perfect for a quick dinner on a busy night.
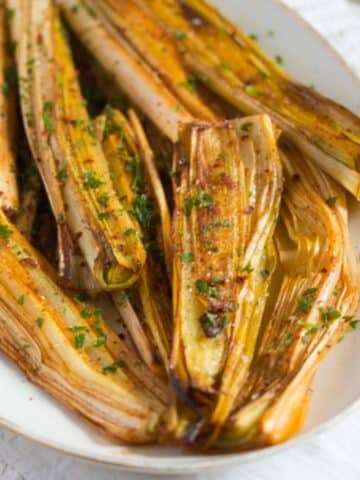
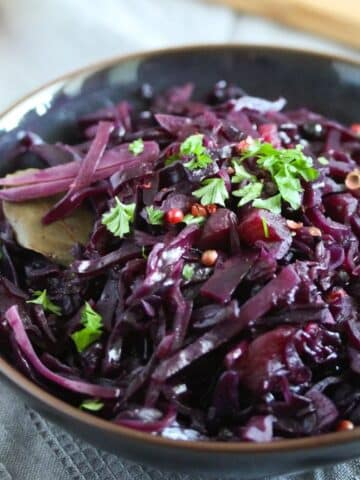
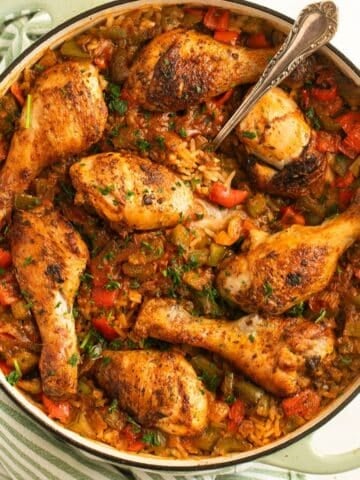
We love to serve these skillet chicken thighs with Pan-Fried Asparagus and Potatoes in spring, Zucchini with Pesto in summer, Roasted Pumpkin Wedges in autumn, or this Brussels Sprouts and Potatoes recipe in winter.
Jump to recipe
😋Why will you love this recipe?
- It is a one-ingredient recipe (not counting oil, salt, and pepper). You can add a bit of garlic and rosemary for extra flavor, but they are totally optional.
- It's a technique that every cook should master: cooking no-fuss, perfectly crispy, and delicious cast-iron chicken thighs that can make dinner on their own or be integrated into other recipes.
- Only 4 steps: Drying and seasoning, cooking on the skin side, and then flipping to cook on the other side.
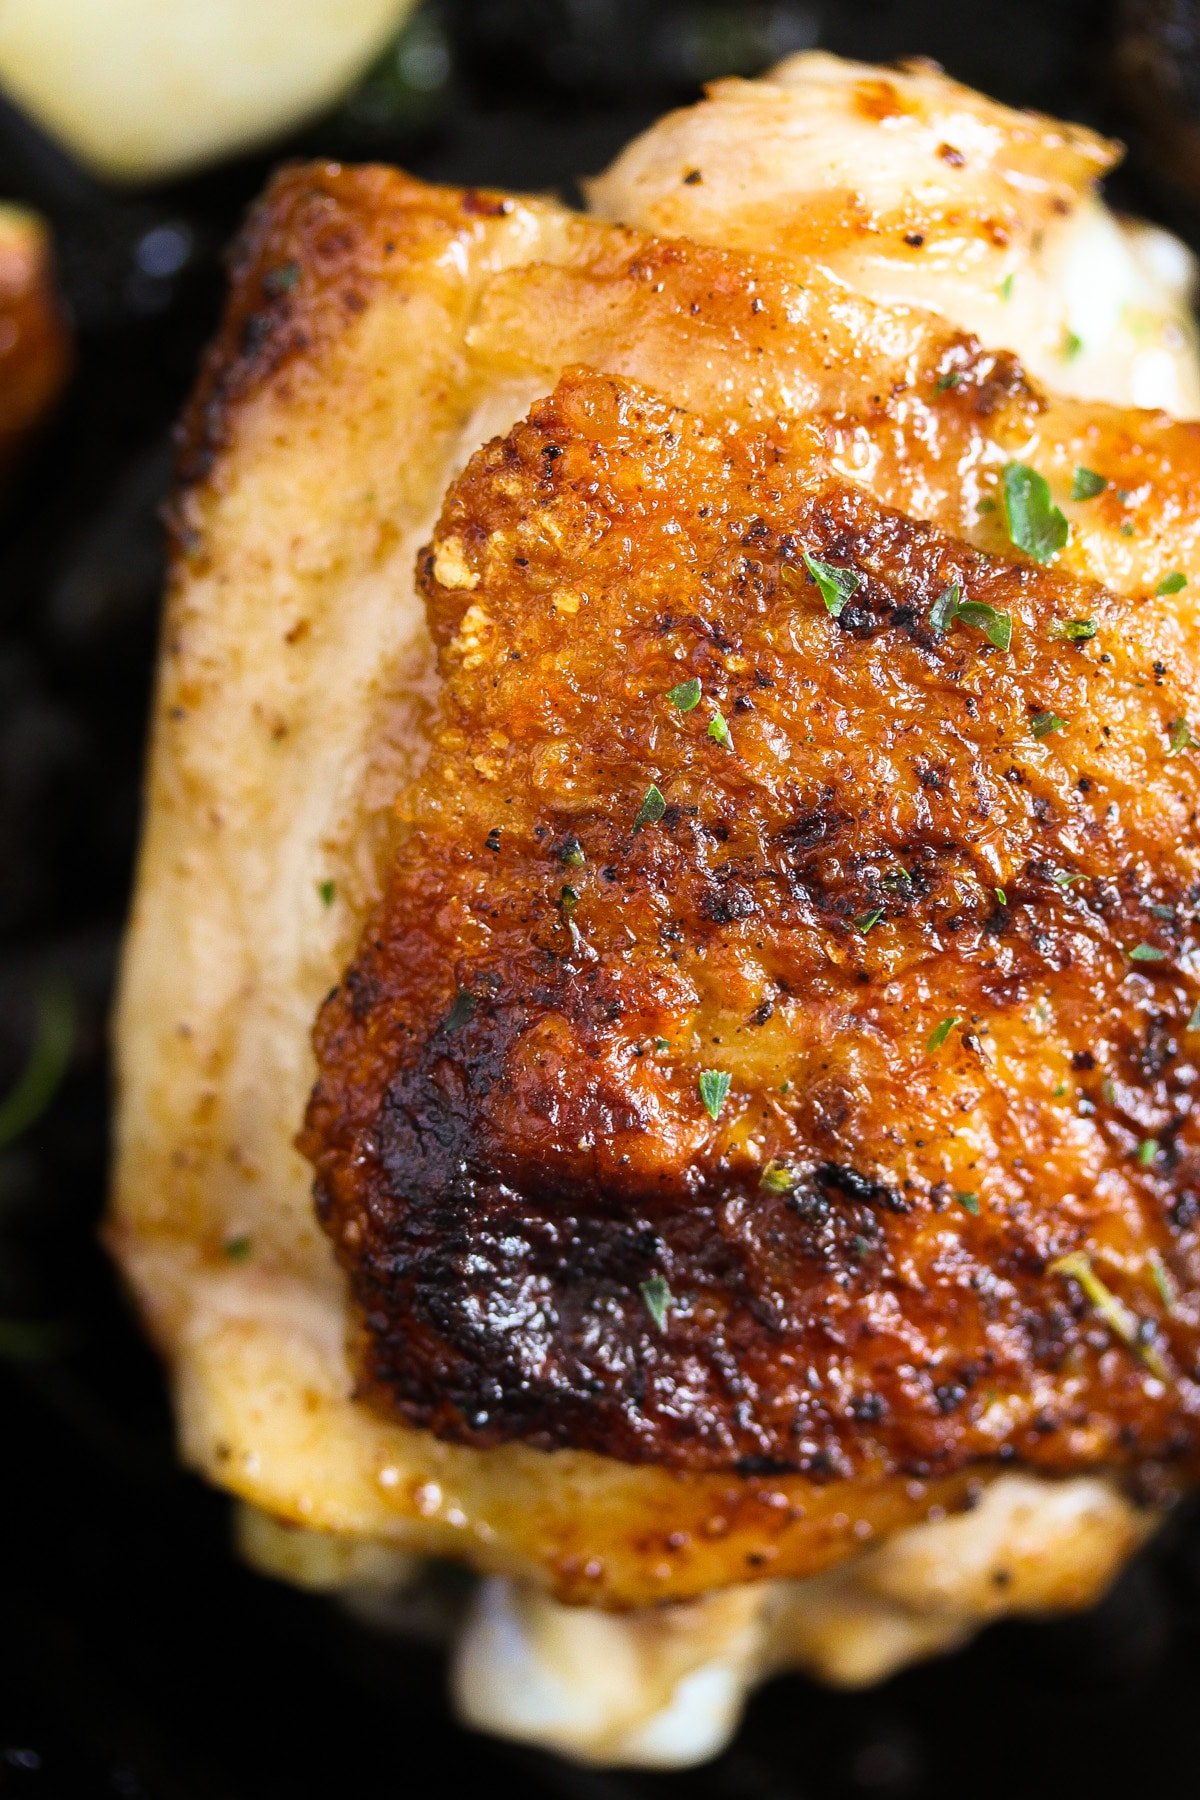
- The crispy chicken thighs are ready in 25-30 minutes, perfect for a busy weeknight or a quick Sunday supper.
Check out more delicious thigh recipes: Baked BBQ Chicken Thighs, Teriyaki Chicken Thighs in the Oven, Nando's Peri-Peri Chicken, Sticky Honey Lime Chicken Thighs with Soy Sauce, Tender Pan-Fried Chicken Thighs, or Baked Chicken Thighs.
📋Recipe ingredients

- Bone-in skin-on chicken thighs. They have the most flavor; the skin will get crispy and savory due to the spices! The portions I usually have weigh between 5.5-6.2 oz/150 g-175 g.
- Other basic ingredients: Vegetable oil, fine sea salt, and ground black pepper.
- Optional ingredients: Sweet paprika powder, fresh garlic cloves, and a rosemary sprig.
🌿Alternative spices
The paprika powder can also be replaced with other spices of your liking, for instance:
- Any spice mixture for chicken you like. You could try our Dry Rub for Chicken Wings or this hot Peri Peri Seasoning.
- Different kinds of ground paprika: hot, sweet smoked, or hot smoked.
- Your favorite curry powder, chili powder, Cajun, or Italian seasoning.
- You can add some garlic powder to any of those other spices.
❕Tips
Don't use chopped fresh garlic or fresh herbs to rub on the chicken; they will burn during the relatively long frying process.
You can add two large garlic cloves and some rosemary sprigs to the pan and think about turning them regularly. Then, remove them from the skillet if they start turning too dark.
See the recipe card for full information on ingredients and quantities.
🍳The skillet
- This recipe is perfect for a large cast-iron skillet (the Amazon link opens in a new tab) with a diameter of 12 inches/30 cm.
- However, the recipe will also work in a heavy nonstick skillet.
- Cook more chicken in the cast-iron skillet, for instance, Cast-Iron Chicken Breast, Cast-Iron Chicken Drumsticks, Chicken Pot Pie in the Skillet, or Crispy Panko Fried Chicken.
👩🏻🍳How to cook cast-iron chicken thighs?
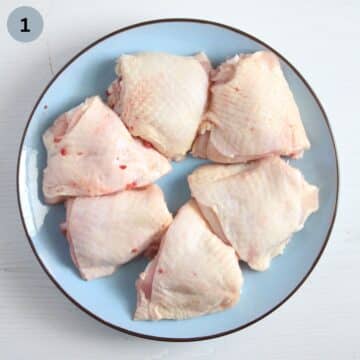
Step #1: Dry the parts with paper towels before rubbing them with the spices.
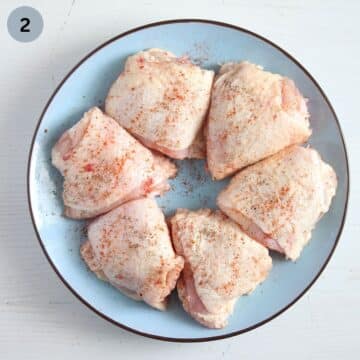
Step #2: Season the thighs with the spices all over.
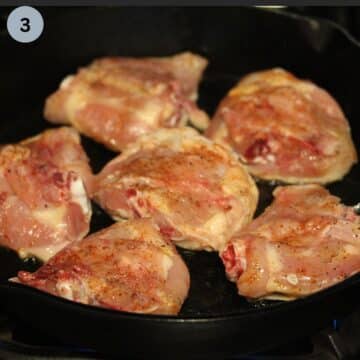
Step #3: Heat the skillet (hot but not smoking). Add oil, thighs (skin side down), garlic, and herbs. Cook for 10- 12 minutes.
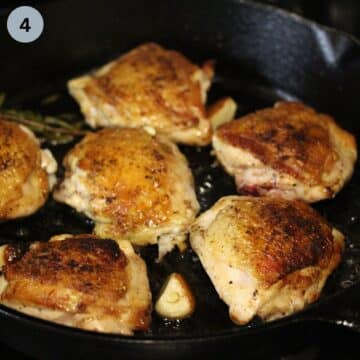
Step #4: Flip and continue cooking for another 15 minutes or until cooked through.
⏲️How long does it take to cook chicken thighs in the skillet?
- Cook on the skin side for 10 to 12 minutes (without moving for the first 5 minutes) or until the skin is deeply golden.
- Flip and continue cooking for another 15 minutes, moving the skillet and the pieces a few times in between.
🌡️Check doneness
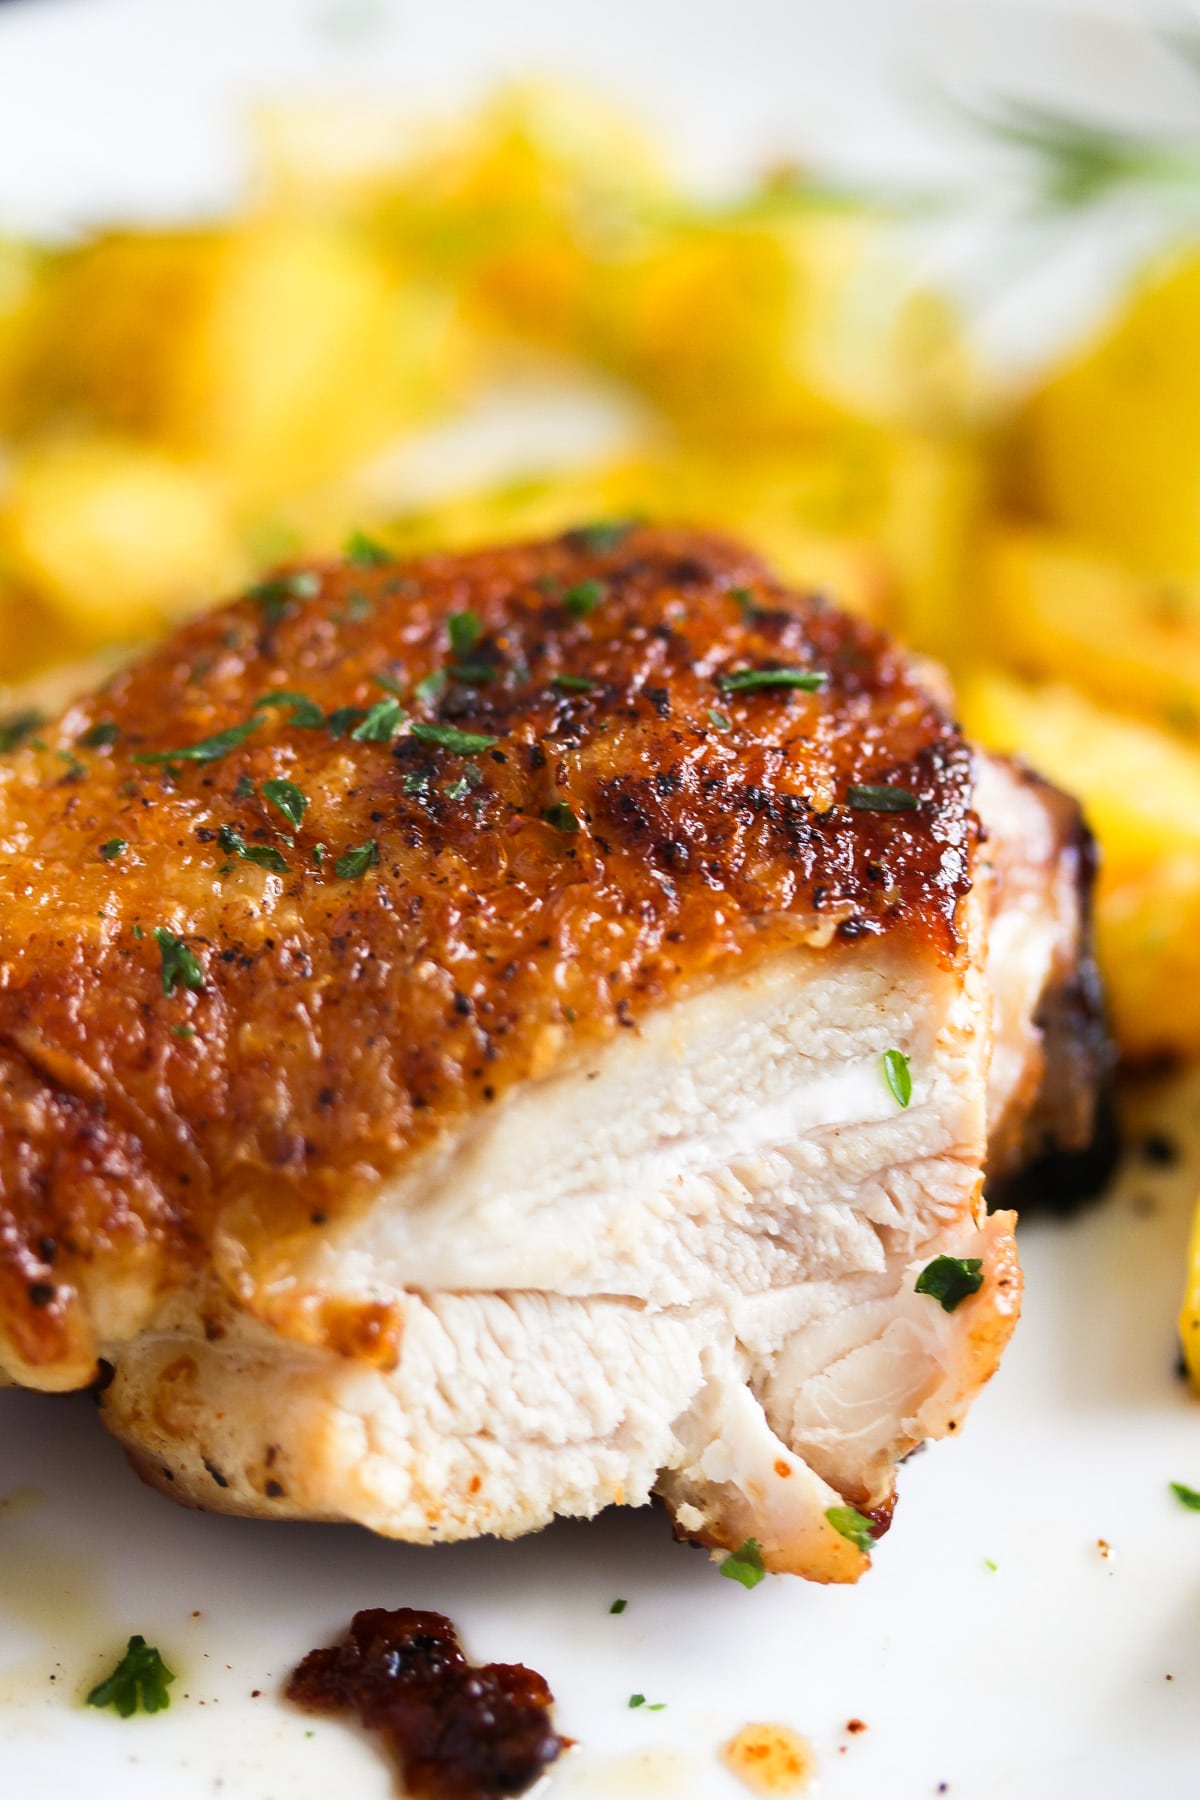
- Check the internal temperature of the cast-iron skillet chicken thighs with a meat thermometer (the Amazon affiliate link opens in a new tab); it should be 165-170°F/ 74-77°C.
- If you don't have a thermometer, cut with a small sharp knife near the bone, the meat should be thoroughly cooked through with no signs of red or pink.
- If the portions are larger, you should increase the cooking time and recheck every few minutes.
🔊Expert Tips
Please don't wash the chicken; the bacteria will not be destroyed, which will only happen during the cooking process. The only thing you will "achieve" when washing poultry is to transfer some of those bacteria onto your sink.
Don't overcrowd the pan; the skin will not render nicely. I can fit 5 large or 6 smaller thighs into my 12-inch/ 30 cm skillet.
Turn the skillet on the stove once or twice during cooking. My experience is that the skillet might get unevenly hot, and you will get darker skin on one side of the skillet if you don't move the skillet or the meat around.
Another issue when using a gas stove top is that the flame might burn stronger on one side, that is the case with my own, so I always must think about turning the pan around.
Use a splatter guard (the Amazon affiliate link opens in a new tab); the fat rendering process will create a fair amount of splatter.
❓Recipe FAQs
Pat the chicken parts dry with a paper towel before seasoning them.
Ensure that the skillet is really hot before adding the oil and the meat.
Don't move the parts in the pan for the first 5 minutes of the cooking time, or the chicken skin might stick to the pan and tear. Once the fat has been rendered and the skin crisps, moving the thighs in the pan will be very easy.
No, if you cover the skillet with a lid or aluminum foil, the meat will steam, and the skin will become soft instead of crispy.
Sure, but you will have to adjust the cooking time. Cook them on each side for about 5-6 minutes and check the internal temperature. If they're not done yet, cook them for a couple more minutes and check again.
Refrigerate the cooled cast-iron chicken thighs in an airtight container for 3-4 days. You can serve the leftovers cold or reheat them in the preheated oven at 400°F/200°C for 12-15 minutes or until heated through.
Freeze the skillet thighs in an airtight container or freezer bag for about 2 months. Defrost in the refrigerator and reheat before serving.
The skin will not be crispy anymore after freezing, but you can put the parts under the broiler for a couple of minutes before serving to refresh the skin.
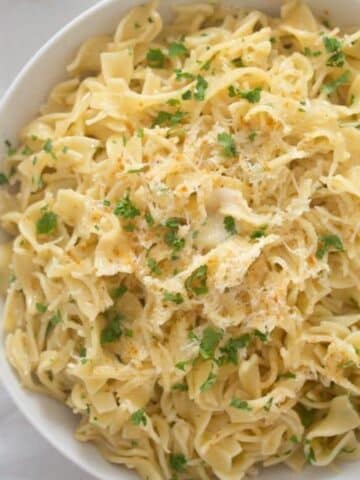
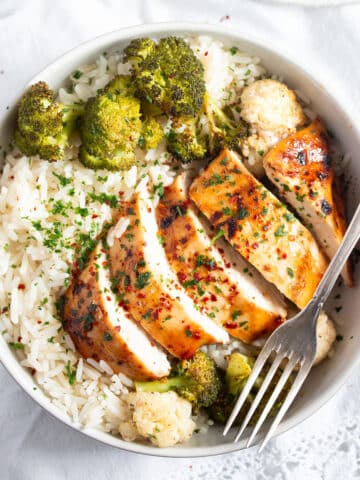
🍽️How to serve?
This recipe for cast-iron chicken thighs goes well with pretty much anything you feel like eating!

Do you like this recipe?
Please leave a good rating in the recipe card below. Stay in touch through social media: Pinterest, Facebook, and Instagram. Don't forget to tag #whereismyspoon when you try a recipe!📖Recipe
Crispy Cast-Iron Chicken Thighs
Equipment
- Large cast-iron skillet 12-inch/30 cm diameter
- Splatter guard optional but recommandable
Ingredients
- 4-6 bone-in skin-on chicken thighs about 5.5 - 6.2 oz each/ 150 g-175 g
- 1 tablespoon vegetable oil
- fine sea salt
- black ground pepper
- sweet paprika powder optional, Note 1
- 2-3 garlic cloves and 2-3 sprigs rosemary optional, Note 2
Instructions
- Heat a large cast-iron skillet (Note 3).
- Season chicken thighs: Dry the chicken parts with paper towels and rub them with the spices on both sides.4-6 bone-in skin-on chicken thighs + fine sea salt + black ground pepper + sweet paprika powder
- Add the oil to the pan and swirl the skillet around to cover its bottom with oil. Slowly add the chicken thighs to the pan, skin side down. Don't overcrowd the pan. Turn the heat down to medium-low. 1 tablespoon vegetable oil
- Add the peeled but left whole garlic cloves and the rosemary. Don't forget to turn them around the pan several times during cooking and remove them once they turn too dark.2-3 garlic cloves and 2-3 sprigs rosemary
- Turn the skillet on the stove once or twice during cooking; the skillet might get unevenly hot. If you use a gas stove top, move the skillet around a few times, as the flame often burns stronger on one side.
- Cook on the skin side for 10 to 12 minutes or until the skin is deeply golden. Wait to move the chicken in the pan for the first 5 minutes, or you might break the skin. Once the fat has been rendered, you can move the thighs around as you wish.
- Move the chicken and the skillet around a few times to ensure that all the pieces cook evenly. Adjust the temperature if the skin turns too dark too quickly.
- After 9-10 minutes, check the color of the skin; it should be deeply golden.
- Flip the chicken and continue cooking for another 15 minutes, moving the skillet and the meat a few times in between.
Notes
- Spices: The sweet paprika is optional. You can also replace it with other spices, like spice mixtures for chicken, different sorts of paprika powder, curry powder, and so on.
- If using garlic cloves and fresh rosemary, remember to turn them around in the pan and remove them if they turn too dark.
- Using a splatter guard is recommendable. Don't cover the pan with a lid or aluminum foil, or the chicken will steam and the skin will become soggy.
- If you don't have a meat thermometer (the Amazon affiliate link opens in a new tab), cut with a small sharp knife near the bone, the meat should be thoroughly cooked through, with no signs of red or pink.

Lu says
I loved this recipe! Super easy and versatile 🙂 I just used salt, pepper and garlic powder and enjoyed this shredded up in my salad 🙂
Adina says
So happy to hear it!
CC says
Juiciest chicken thighs ever! I made this recipe for me and my boo thang. We both enjoyed it thoroughly!
Adina says
Thank you for the feedback! I am so glad you liked the recipe.
My says
I was looking for Stove top Cast Iron Chicken thighs bone in recipe. This is my first time to use cast iron. I read your instructions and followed them ... not moving chicken for 5 min ... after shake pan .. and move skillet around .. prevented chicken to burn. Great Idea.
As your suggestion ... pat it dry ... used himalayan salt, blk pepper, cumin, paprika, onion and garlic powder ... let it sit.
Cooked it .. 10-11 min skin side down. Flip .. add 2 garlic cloves w/ jacket on .. 2 sprigs oregano and rosemary. Cooked it 10 - 12 min .. moving skillet around. Drizzle lemon juice. At end .. smashed cooked garlic .. added flavor to sauce.
Delicious ... Serve it with cooked potatoes w/ red onion, red bell pepper .. for Hubby and mine with brown rice and Green salad
Thank you for great instruction and tasty dish.
Adina says
Hi My. It sounds great! I am so glad you liked it. Thank you for the feedback!