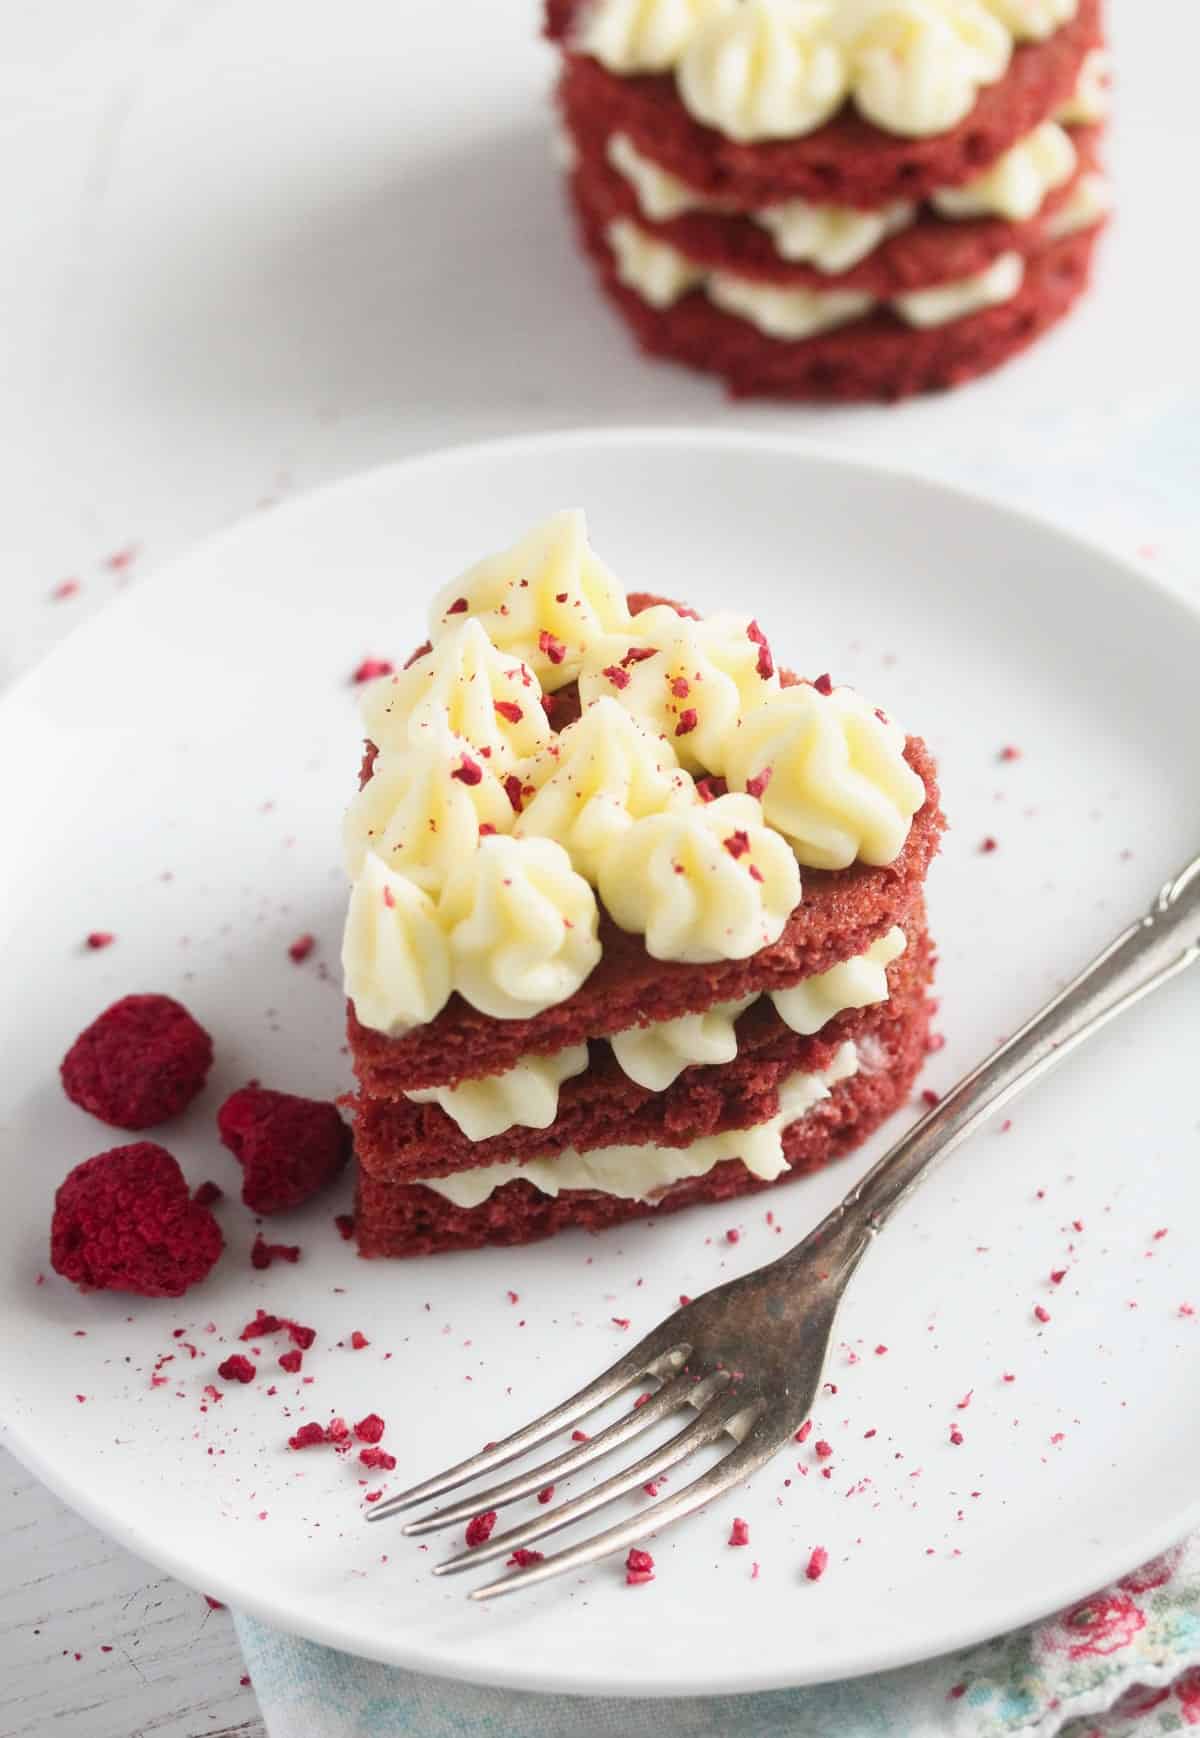
Pretty red velvet mini cakes filled with a sinfully delicious cream cheese vanilla frosting. These small cakes are super easy to make and are a perfect Valentine’s Day dessert.
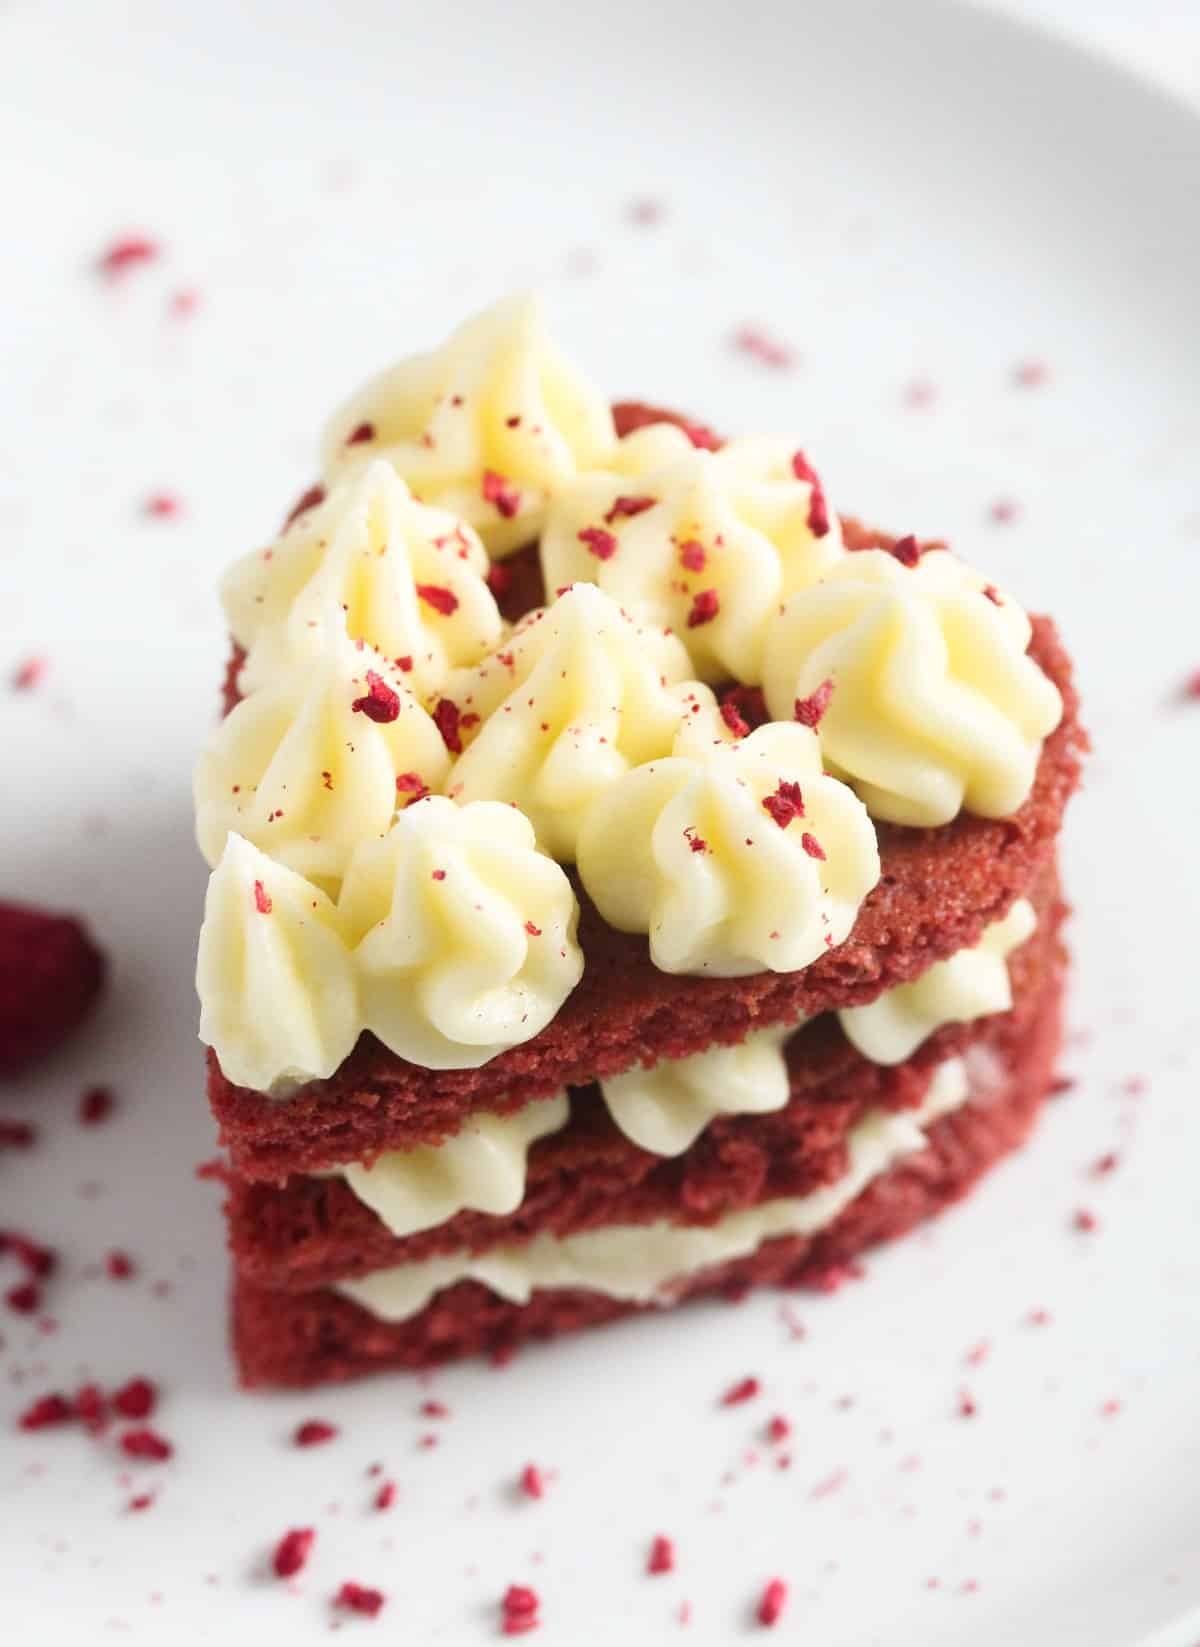
Why will your Valentine love these minis?
- Delicious: chocolate-flavored red velvet cake layered with sweet vanilla cream cheese frosting… how can this combination not taste incredible?
- Pretty: red and adorable small red velvet cakes, precisely what you would expect for Valentine’s Day.
- Easy to make: the mini red velvet cake recipe is so much easier and quicker to make than you might think. Making the batter and the frosting involves only a bit of stirring; the batter needs about 10 minutes in the oven. The decoration is all about using a cutter and piping a bit of frosting.
- Great leftovers: you can use the leftover scraps to make cake balls, pops, or a trifle.
And you could also try these Red Velvet Muffins; they are even easier to make and taste amazing.
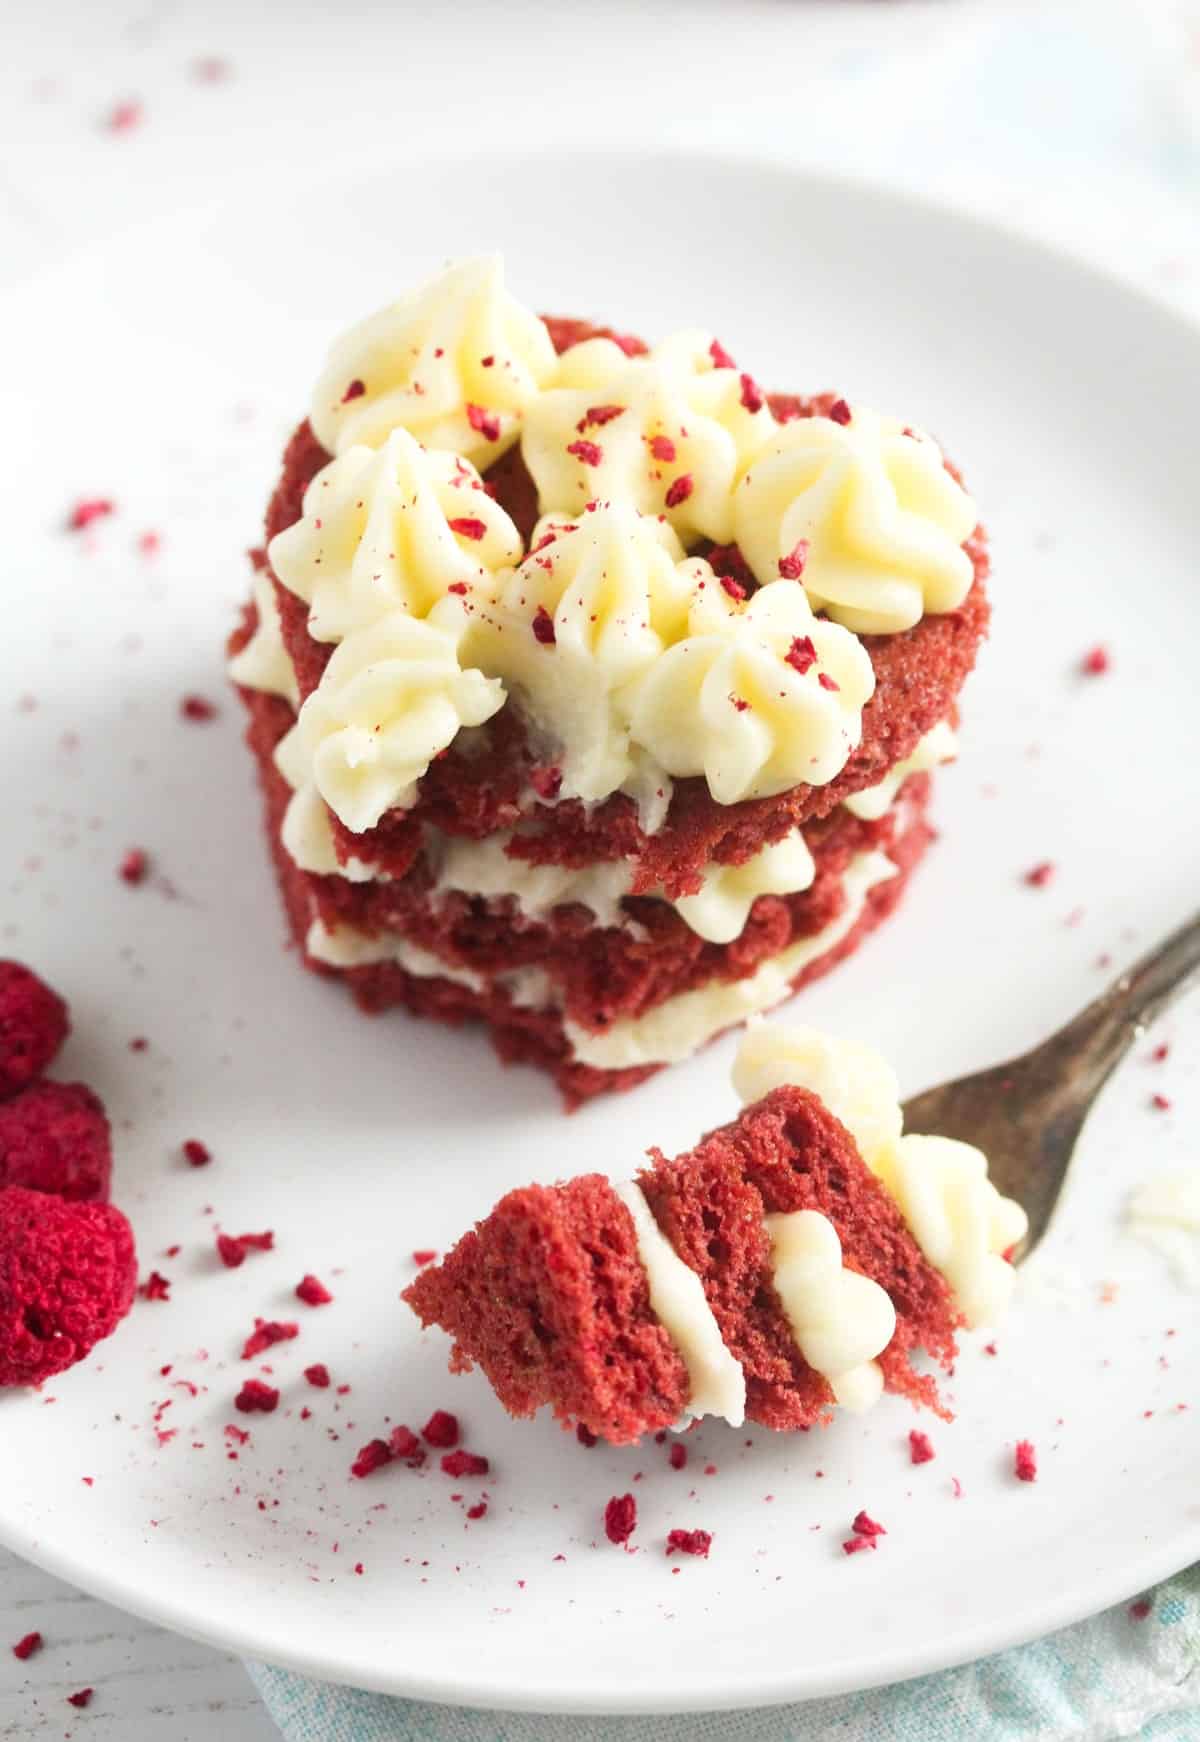
Tips
- Measurements: Use a digital kitchen scale to measure the ingredients for best results (Amazon affiliate link).
- Room temperature: The egg, buttermilk, and butter should be at room temperature.
- Cutters: You can make round or heart-shaped mini red velvet cakes. If you don’t have a cutter, use a glass or mug to cut circles out of the cake.
- Size: You can make the portions as large or as small as you wish; please don’t stress too much about the size of the cutter or glass; it’s not important at all.
- Gel food coloring or a paste is the best choice (Amazon affiliate link). When using liquid red food coloring, you will need quite a lot of it, at least 1 tablespoon, depending on the brand. And you will probably still not get a nice vibrant red color. You might not find the gel at regular grocery stores; you might need to find a baking supply shop or order it online. But it's worth it, it's not very expensive, and a small container will be enough for many red velvet cakes.
- Piping bag and nozzle: if you don’t have them, spread the frosting on the cakes with the help of a teaspoon. The piped frosting looks nicer, but whatever you do, the taste remains the same.
Recipe ingredients
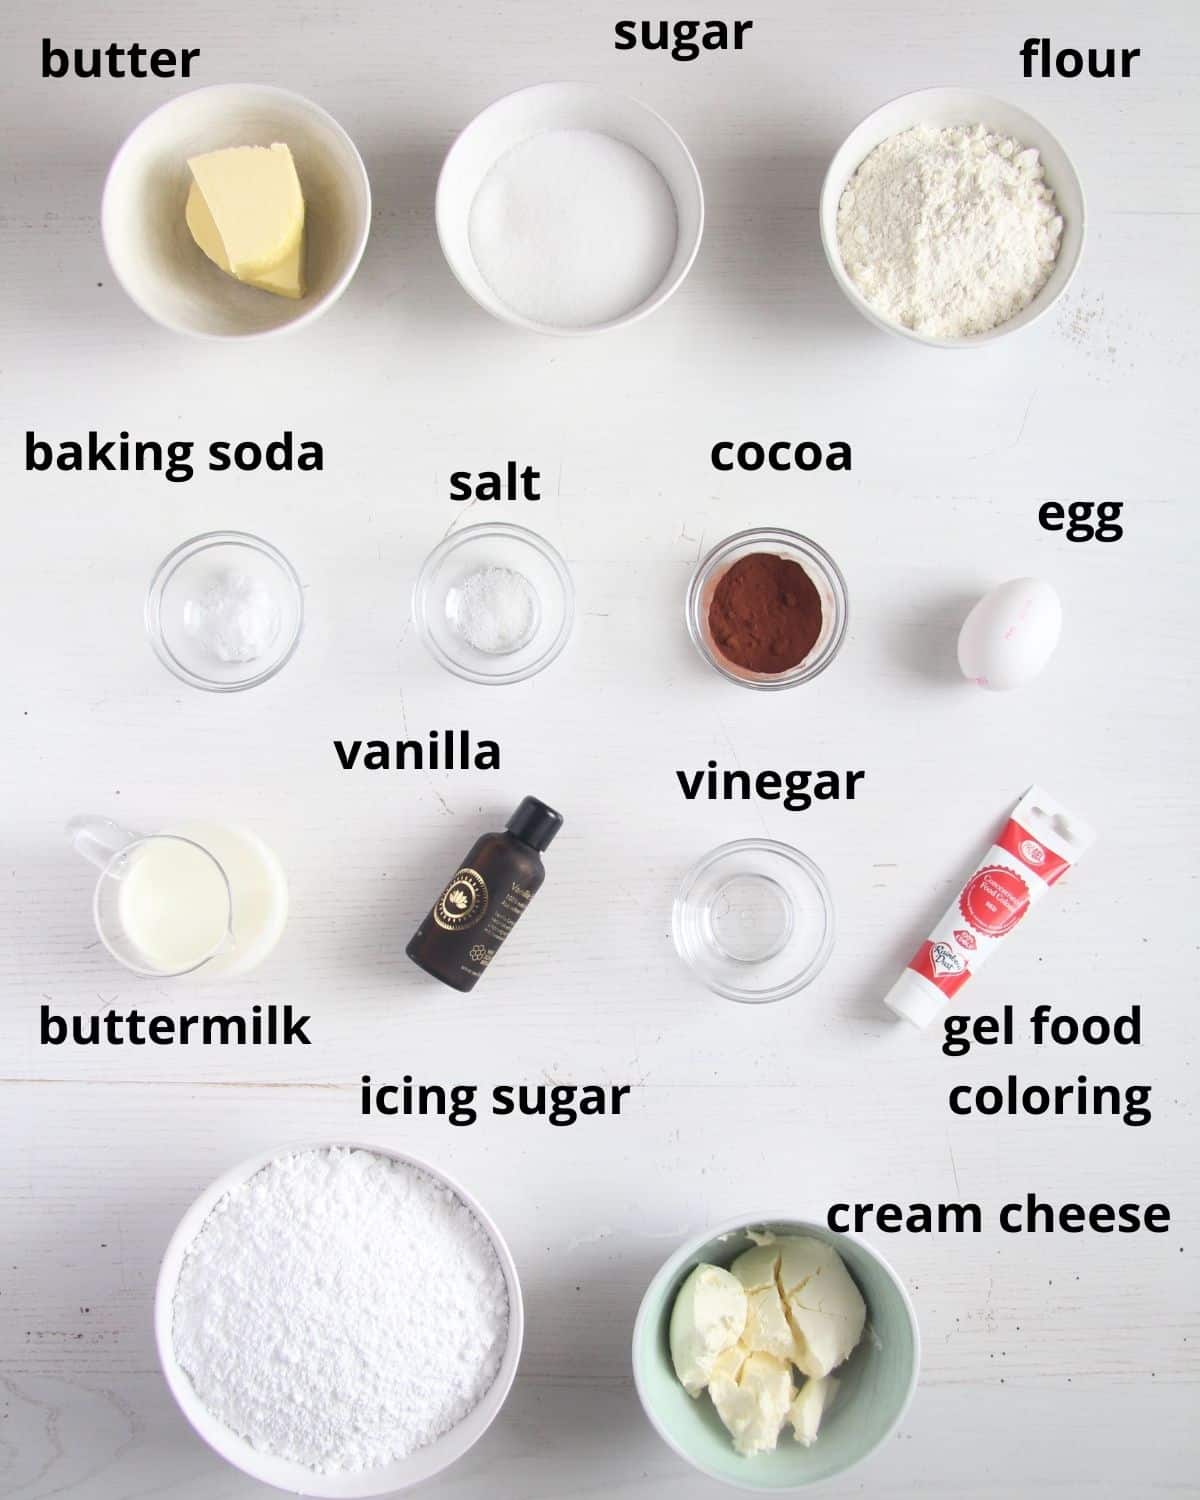
- Dry ingredients: cake flour or all-purpose flour, baking soda, a pinch of salt, fine sugar (or granulated), a small amount of cocoa powder.
- Wet ingredients: unsalted butter (not light or whipped butter), buttermilk, a large egg, red gel coloring, vanilla extract, white vinegar.
Recipe steps
Cake
- Preheat the oven and line the baking tray with parchment paper.
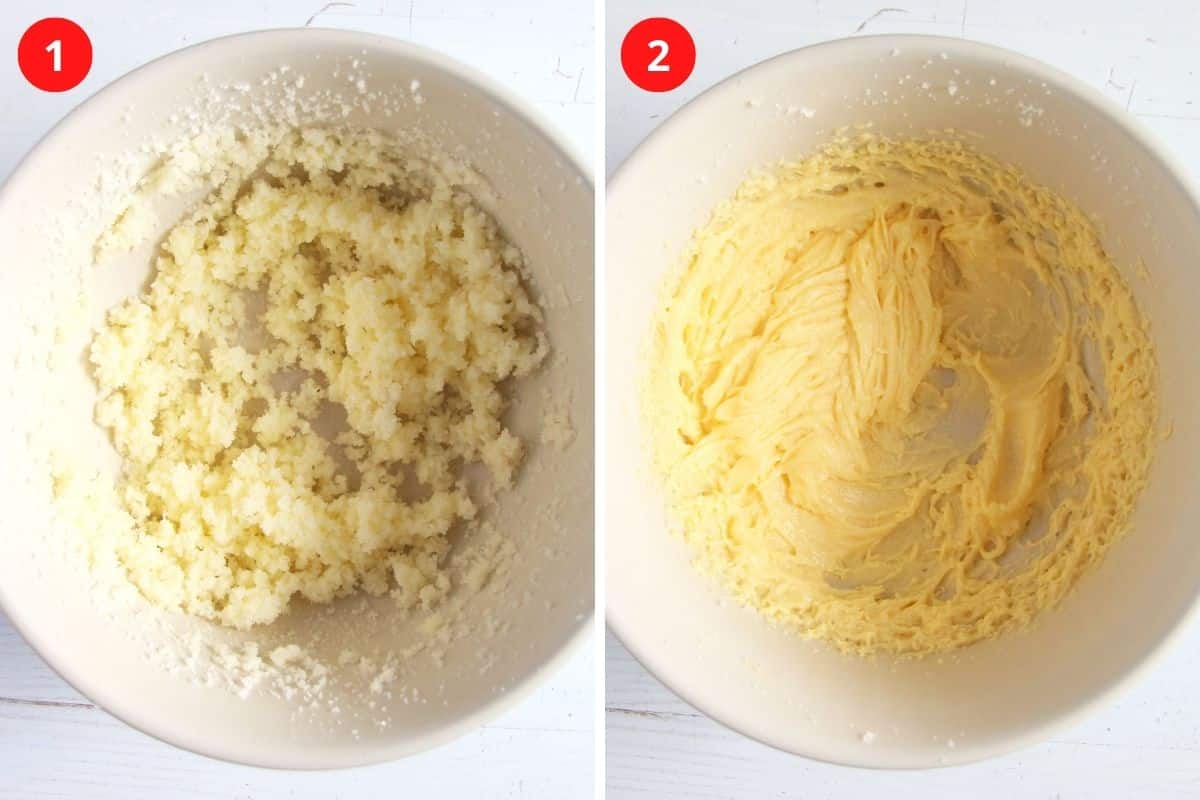
- Wet ingredients: Beat soft butter and sugar in a large mixing bowl until well combined (1). Add the egg and beat again until pale and fluffy (2). Add buttermilk, vanilla extract, food coloring, and vinegar. Combine well .
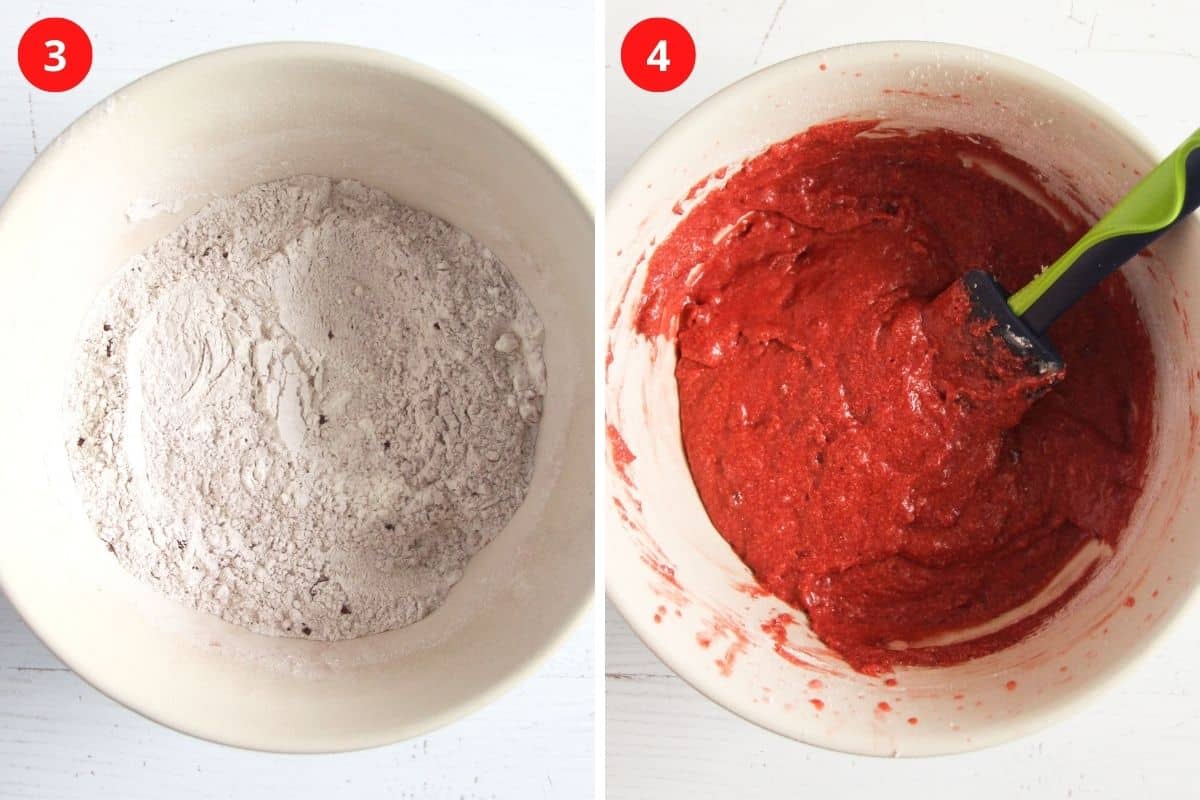
- Dry ingredients: Mix flour, cocoa powder, baking soda, and salt in a medium bowl. Sift the flour mixture over the buttermilk mixture (3).
- Fold in gently and shortly until just combined. Don’t overmix; there should be no streaks of flour, but the batter should not be completely smooth either (4).
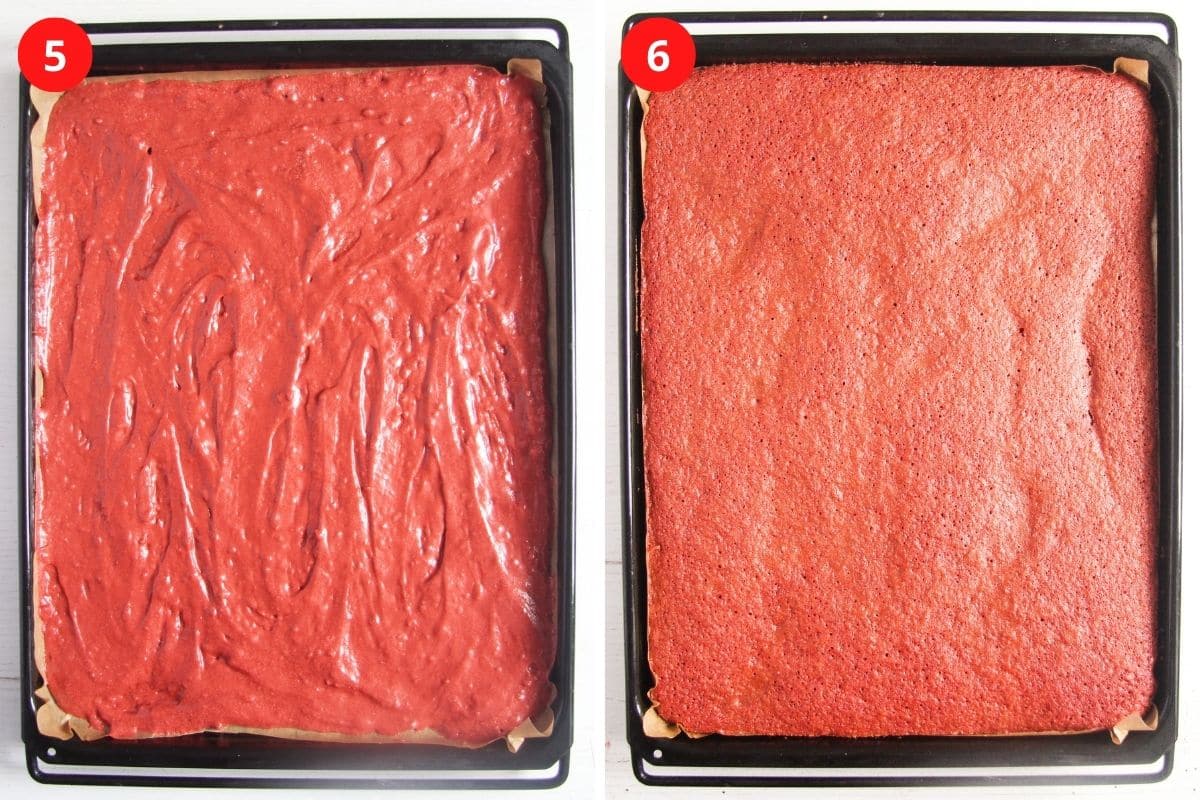
- Pour the cake batter into the prepared baking tray and level it with a spoon (5).
- Bake for 10 to 12 minutes. Check with a skewer; it should come out clean (6).
- Cool: Turn the bake onto a clean kitchen towel and remove the parchment paper. Do it gently, taking care not to break the edges. Let cool completely.
Cream cheese frosting
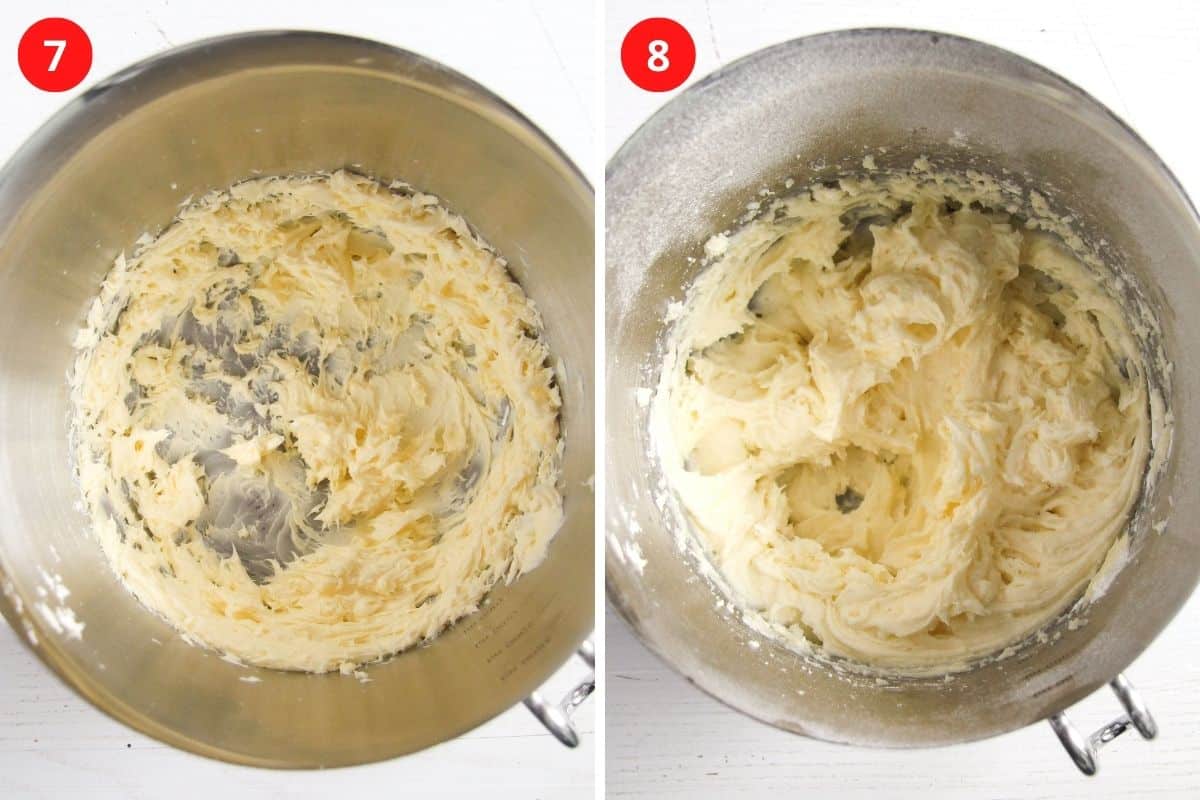
- Beat the room temperature butter until paler and fluffy, about 1-2 minutes. Use an electric mixer or a stand mixer (7).
- Add ⅓ of the icing sugar and beat again until fully incorporated. Start at a low speed so that the sugar won't get all over the place and increase the speed once it is incorporated. Add the remaining icing sugar in two batches, beating well in between. Scrape the walls of the bowl a few times in between.
- Add cream cheese and vanilla extract and beat again until fluffy, about 1 minute. Scrape the walls of the bowl when needed. The frosting should be creamy but still hold its shape (8).
- Transfer the frosting to a piping bag fitted with a star tip or another tip of your choice.
Assemble the mini-cakes
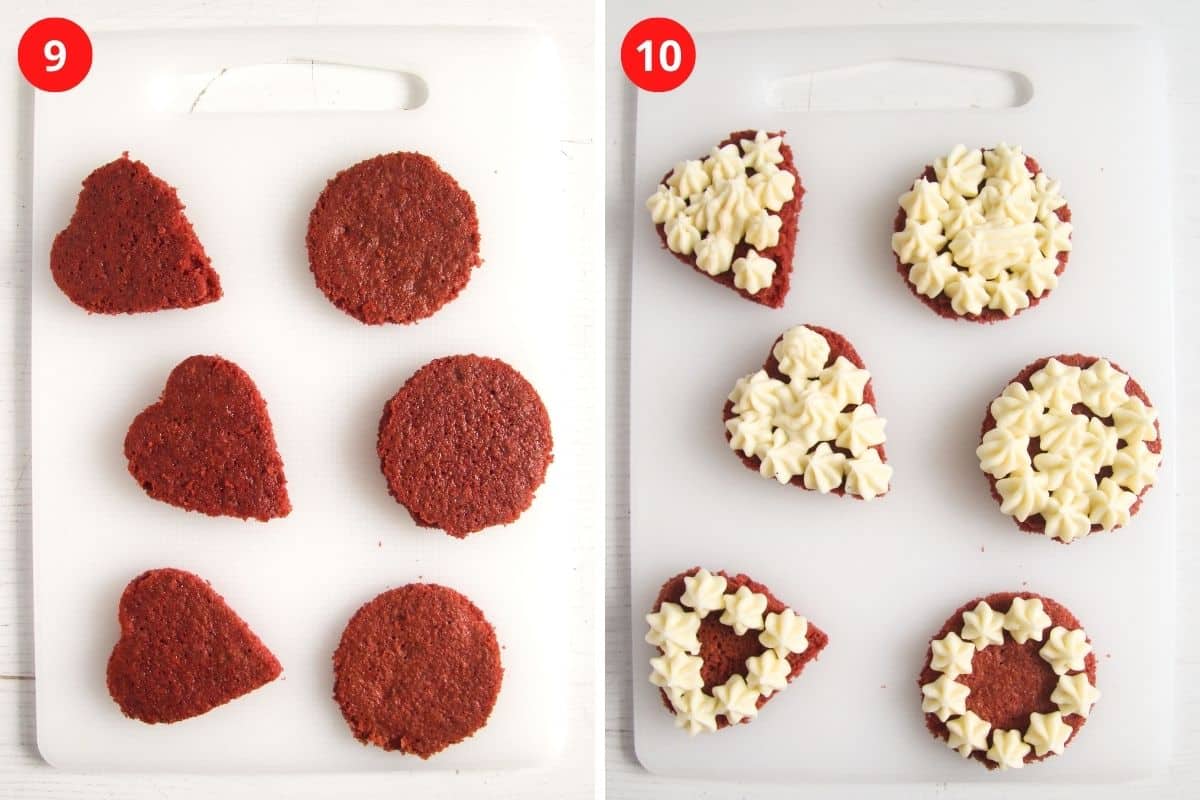
- Cut circles or hearts out of the red velvet cake (9). You can cut enough circles or hearts to form double or triple-layered red velvet mini cakes. I don’t have a round cookie cutter, so I used a glass with a diameter of 6 cm/ 2 ½ inches and the largest heart from a set of heart cutters.
- Pipe the cream cheese frosting on all the pieces (10).
- Build double or triple layer cakes.
- Refrigerate until ready to serve but remove from the fridge about 15 minutes before serving to allow the frosting to soften slightly.
- Crush a few freeze-dried strawberries or raspberries with your hand and sprinkle the mini cakes with the powder. You can sprinkle bakes with powdered sugar instead. This step is optional.
Recipe FAQ
I used two kinds of cutters, circles, and hearts, but they were both more or less the same size, about 6 cm/ 2 ½ inches. I had 2 triple-layered circle and 4 triple-layered heart mini cakes. You can make double-layered mini-cakes if you need more than 6 pieces.
The frosting amount fitted this many cakes perfectly; I had no leftovers.
A great way of using them is making cake pops, balls, or a trifle. If you can’t use them immediately, freeze them in a freezer bag, they will be fine for at least 3 months.
I didn’t have any at all. However, should you have any, you can make cake balls. Crumble the cake scraps and mix them with enough frosting to make them hold their shape when rolled into balls. If you don’t have enough frosting, mix a little soft butter with cream cheese and add some to the mixture. There is no need to add extra sugar.
Keep the mini cakes refrigerated but remove them from the fridge about 15 minutes before serving to allow the frosting to soften slightly. However, the frosting should not become too soft, so don’t keep the cakes at room temperature for too long.
The minis will keep in the fridge for 2-3 days in an airtight container.
More Valentine's Day desserts
- Strawberry Fudge with Marshmallow Fluff
- Valentine Sugar Cookies
- Romanian Strawberry Foam
- Champagne Truffles
- Berry Puff Pastry Cake
Do you like this recipe?
Please leave a good rating in the recipe card below. Stay in touch through social media: Pinterest, Facebook, and Instagram. Don’t forget to tag #whereismyspoon when you try a recipe!
Red Velvet Mini Cakes
Equipment
- Baking tray 30x40 cm/ 12x18 inches.
- Large heart or round cookie cutters (about 6 cm/ 2 ½ inches)
Ingredients
Red velvet cake (Note 1):
- 50 g unsalted butter 3 ½ tablespoons/ 1.8 oz, soft
- 150 g fine sugar ¾ cup/ 5.5 oz, Note 2
- 1 egg large
- 1 tablespoon pure cocoa powder
- ¼ teaspoon gel red food coloring Note 3
- 120 ml buttermilk ½ cup/ 4 fl.oz
- ½ teaspoon pure vanilla extract
- 1 pinch of salt
- 300 g flour 2 ½ cups/ 10.5 oz, Note 4
- ¾ teaspoon baking soda
- ½ tablespoon white wine vinegar
Frosting:
- 125 g unsalted butter ½ cup/ 4.5 oz, soft
- 300 g icing sugar 3 cups/ 10.5 oz
- 150 g cream cheese ⅔ cup/ 5.5 oz
- ½ teaspoon pure vanilla extract
- a few freeze-dried strawberries or raspberries optional for decoration
Instructions
Red velvet cake:
- Preheat the oven to 180 degrees Celsius/ 350 degrees Fahrenheit. Line the baking tray with parchment paper.
- Wet ingredients: Beat soft butter and sugar until well combined. Add the egg and beat again until pale and fluffy. Add buttermilk, vanilla extract, food coloring, and vinegar. Combine well.
- Dry ingredients: Mix flour, cocoa powder, baking soda, and salt in a small bowl. Sift them over the buttermilk mixture.
- Fold in gently and shortly until just combined. Don’t overmix.
- Bake: Pour the batter into the prepared baking tray and level it with a spoon. Bake for 10 to 12 minutes until a skewer inserted in the cake comes out clean.
- Cool: Turn the cake onto a clean kitchen towel and carefully remove the parchment paper. Let cool completely.
Cream cheese frosting:
- Beat the soft butter until paler and fluffy, about 1-2 minutes with an electric mixer or stand mixer.
- Add ⅓ of the icing sugar and beat again until fully incorporated. Add the remaining icing sugar in two batches, beating well in between. Scrape the walls of the bowl a few times.
- Add cream cheese and vanilla extract and beat again until fluffy, about 1 minute. Scrape the walls of the bowl when needed. The frosting should be creamy but still hold its shape.
- Transfer the frosting to a piping bag fitted with a star tip or another nozzle of your choice. If the frosting seems too soft for piping, refrigerate for about 30 minutes.
Assemble the mini-cakes:
- Cut circles or hearts out of the red velvet cake. I cut 6 circles of 6 cm/ 2 ½ inches and 12 hearts. I made triple-layered mini-cakes, but you can make them only double-layered and have more, smaller cakes (Note 5).
- Pipe frosting on all the cake pieces. Build double or triple-layered mini cakes.
- Refrigerate until ready to serve but remove from the fridge about 15 minutes before serving to allow the frosting to soften slightly.
- Sprinkle lightly with crushed dried raspberries or strawberries. Crush the berries with your hand.
Notes
- Use a digital kitchen scale to measure the ingredients; it guarantees for best results (Amazon affiliate link).
- Or granulated sugar.
- I strongly recommend using gel food coloring or paste. If using liquid food coloring, you will need more, at least one tablespoon, and the color won’t be so intense.
- I use cake flour most of the time, but plain/all-purpose flour is fine.
- Reserve cake trimmings for another use. You can freeze them and use them to make trifles, cake pops, or cake balls.






Leave a Reply